3 Reasons to Use Digital Art Software
Digital Illustration is becoming ever more popular. In this tutorial, I compare the differences between hand-drawn and digital illustrations.
Even if we weren’t great at it, as elementary students, most if not all of us have the experienced drawing by hand whether it was just doodling in school or painting in art class. For those who are interested in drawing digitally but only have experience drawing traditionally, and want to understand the differences between the two, then this tutorial is for you!
Correcting digital art is easy!
It’s common to mess up when drawing! However, one of the main strengths of digital art is the ability to correct mistakes using your art program’s undo feature. Furthermore, you can adjust and save the characteristics of your drawing media such as line thickness, line tapering, etc.
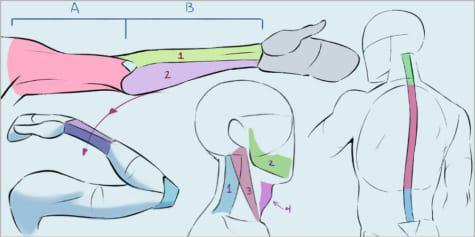
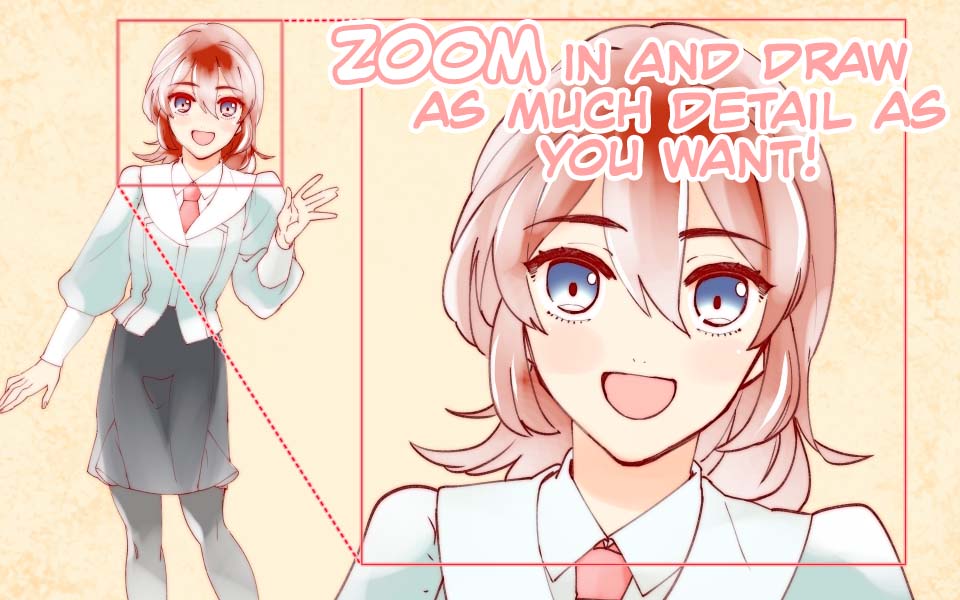
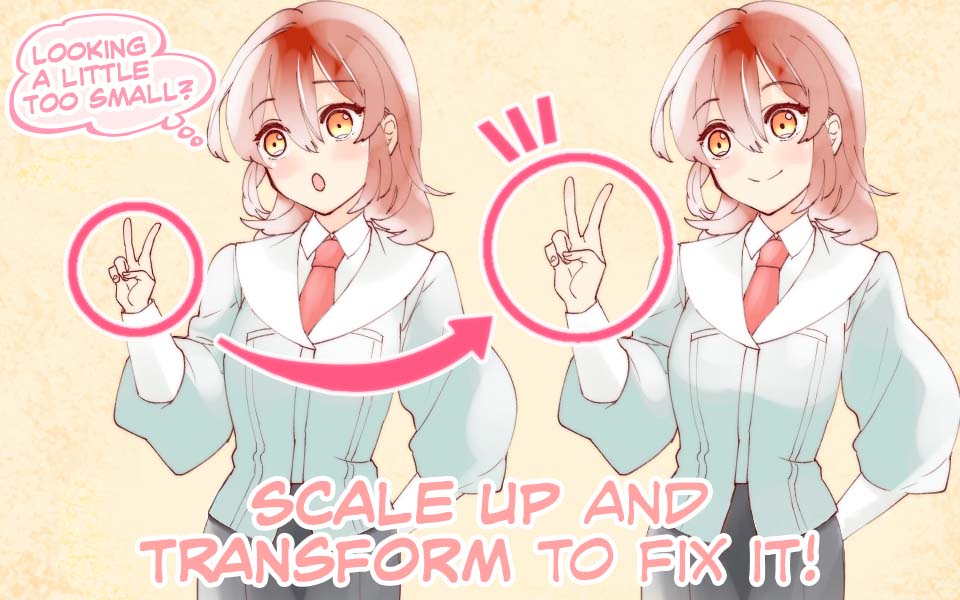
Other invaluable features also exist in most drawing software such as scaling, rotating, and adjusting things like brightness and contrast. These features allow you to fine-tune your work in ways you cannot do with traditional art. For example, you can easily correct the balance of a character’s body, such as the size of hands, feet, and eyes, as shown in the image below.
If you wish to do the same thing when drawing by hand, you’d have to edit your ink work using white-out, wait for it to dry, and then begin drawing your corrections. Even worse, you might have to cut and paste your work together, which is extremely time-consuming. Finally, if these options don’t work, you might even have to start all over. Compared to all of this, digital illustration is far more convenient.
Digital Coloring Characteristics
A characteristic of coloring with digital art is the use of layers. Layers are like transparent sheets of paper, like animation cels.
In digital art, we draw figures, clothing, and accessories individually on separate layers. Figures are often divided into even more layers, such as the face, body, hair, eyes, etc. Dividing layers into parts allows you to edit a specific layer without affecting the others. For example, if your character’s hair and face are on separate layers, you can correct the hair without affecting the face. You can even change the clothing color without affecting anything else.

Now, let’s take a look at some coloring tools.
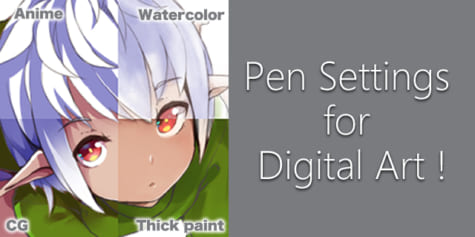
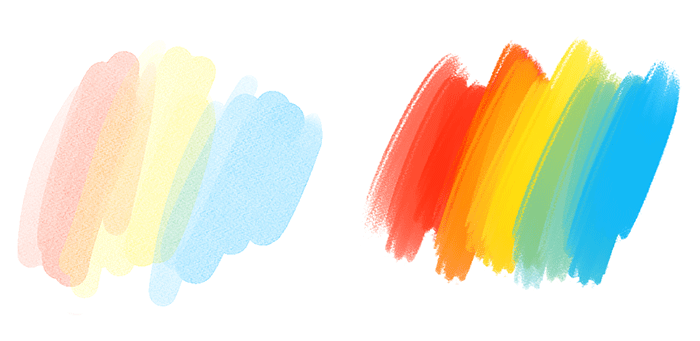
For non-digital artists, you will need to prepare various tools for different types of art before you can start drawing such as watercolor paper and paintbrushes for watercolor painting, and oil paints, a painter’s palette, and a palette knife for oil painting. On the other hand, most mainstream illustration software has a brush tool that lets you draw in various styles (some basic software may not have this). This tool allows you to digitally adapt to many styles of art, such as anime-like solid coloring, smudged watercolor painting, and thick oil painting.
↑Clip Studio Paint’s [Brush] tool
This difference is huge, even cost-wise. If you were to procure all of the materials needed for each style of art, it would be quite expensive. However, for digital art, all you need is a PC, a pen tablet, and illustration software! Overall, digital Illustration is a more economic choice for those who want to try out various styles of art.
Effects
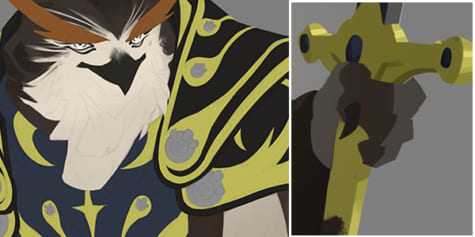
Another important characteristic of digital illustrations is their ability to create various effects using the same layer technique as when coloring. For example, take a look at the image below. By adding many layers to the eyes to color them, using a Multiply effect on the eyebrows, and then adding a Glow for the highlights, you can make very detailed eyes! You can even add purple or red overlays to create more depth.

The types of effects you can use vary by software and they might require overcoming a bit of a learning curve but, books and tutorial sites can be very helpful in this regard.
Although it may be tempting to try and hide a weak area with these kinds of effects, they aren’t the main tools for drawing, but rather a supplementary tool to improve the overall aesthetic of your work. If you don’t have the fundamentals of drawing down your weak areas will still show when attempting more complex work.
Fancy is not necessarily perfect.
・Easy Tips for Drawing Eyes
Things to keep in mind when pursuing digital illustration
Protect your eyes!
Looking at your monitor exposes your eyes to a lot of light which tires your eyes out considerably quicker than drawing with pen and paper. It’s also a good idea to wear glasses that filter blue when using a monitor to draw for an extended period.
Don’t completely rely on the software!
Although illustration software has many features that help the user, completely relying on them when drawing prevents you from improving and using your skills to their fullest potential. Furthermore, correcting your image in its final stages is a time-eater.
Be sure to keep a constant eye on your over composition as you draw.
It can be hard to keep an eye on your overall composition as you work due to the size of your screen. You might end up spending hours on the details only to realize that the entire image’s balance was off. Of course, you can always fix any issues afterward, but getting it right the first time is always beneficial. Be sure to keep a constant eye on your over composition as you draw.
Final Thoughts
Digital tools are convenient, but you won’t improve just because you bought them. Digital or not, the time spent drawing and using any artistic tool is by far the biggest learning factor. The more you use it, the better you will get. Just don’t forget to have fun and enjoy drawing on the way!
Created by: Nile Inc.
Writer: Ishida Wakako (いしだ わかこ)
Illustration: Yuuko (ゆうこ)