My Digital Coloring Process Plus Tips on Useful Features
Artist Nesskain shows their coloring process and how to set useful functions unique to digital art software as shortcuts to improve your workflow.
Introduction
This is a tutorial on how I usually do colors. It focuses on a different set of functions that improve the workflow. Learning how to use and set shortcuts will help increase your productivity and may even affect your style. There’s a lot of shortcuts that you can customize in Clip Studio Paint, but we’ll focus on the most important one:
– Select layer
– Transparent color
– Locking layers
– Clip to layer below
Setting the shortcuts
– Select layer
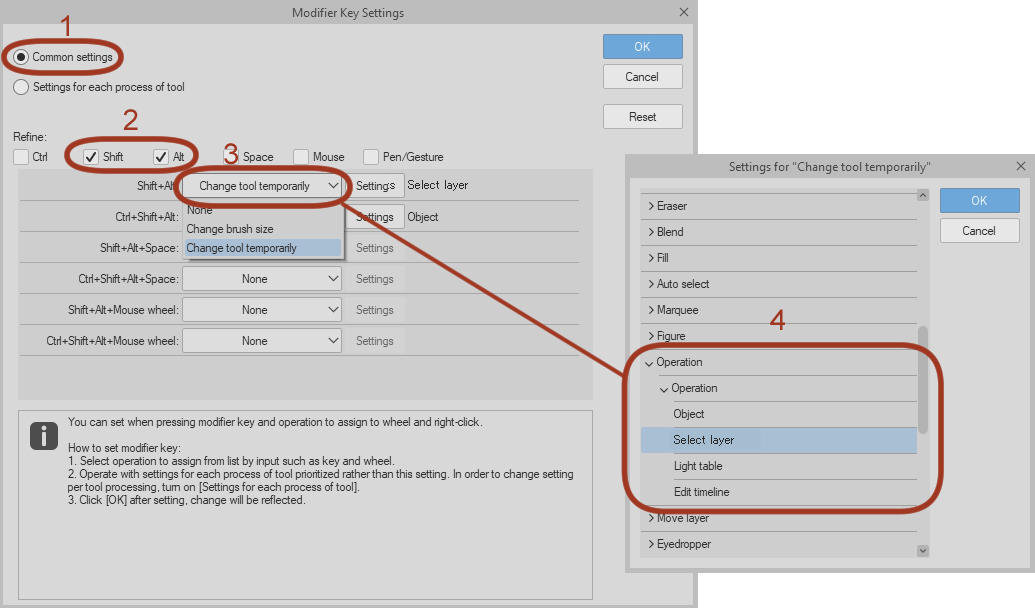
Go to File>Modifier Key Settings…
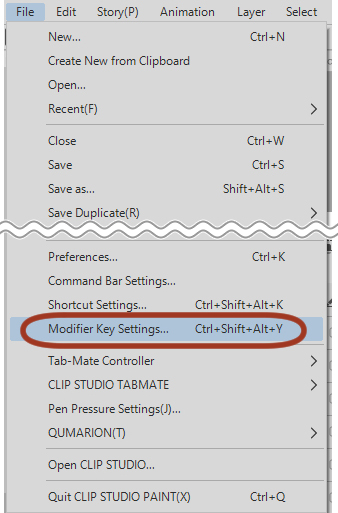
- Select Common settings
- Select the shortcut you want for it. (I use shift+alt)
- Choose Change tool temporarily
- Browse down until you reach Operation and select Select layer
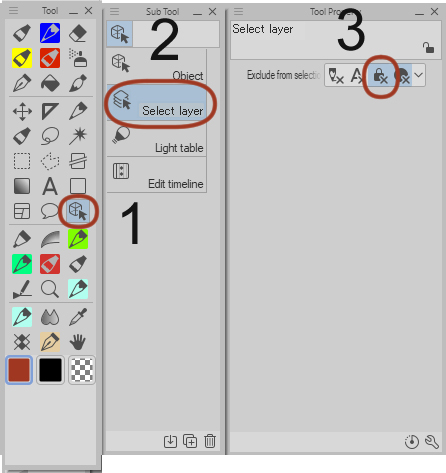
We still need to do a small tweak to the Select layer function:
- In the Tool palette, looks for the Operation icon
- In the Sub Tool palette, select Select layer
- Then in the Tool Property palette, activate the lock icon (exclude locked layers)
– Transparent color
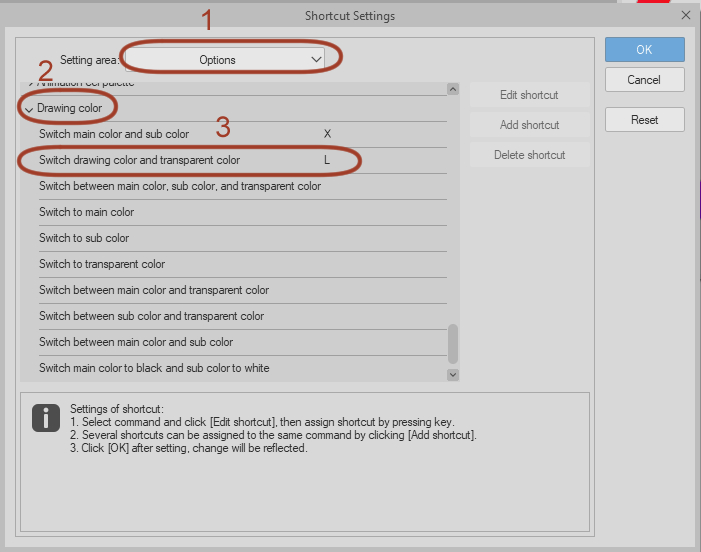
Go to File>Shortcut Settings…

- Select Options.
- Browse until your reach Drawing color.
- Set a shortcut for Switch drawing color and transparent color (I set the shortcut to “L” because I’m left-handed, and I use the right part of the keyboard for shortcuts but feel free to use the one you like the most.)
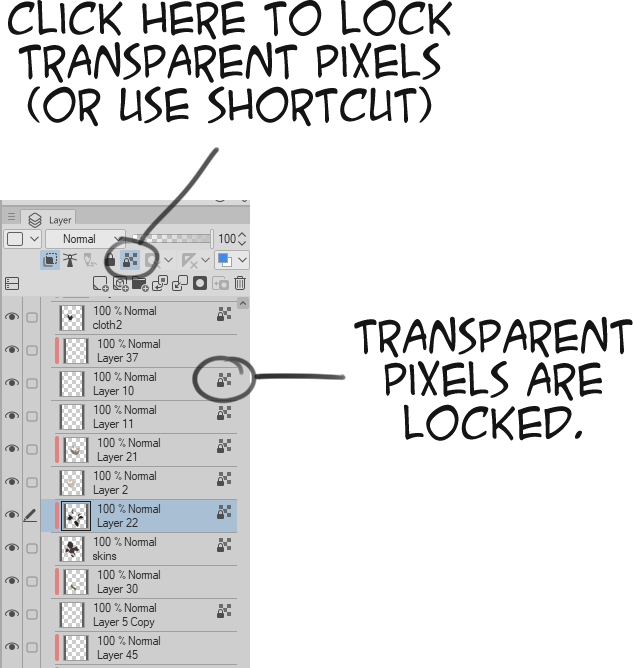
– Lock transparent pixels
Same as Transparent color, go to File>Shortcut settings…
- Select Main menu.
- Browse until you reach Layer settings.
- And set your shortcut for Lock transparent pixels.
-Clip to layer below
This is a function I use all the time, but I do not set any shortcut on it because I do not spam it.
There are a lot more functions and shortcuts that you can personalize. I probably have more than 30 custom ones, but let us keep it simple. Do not hesitate to explore, Clip Studio Paint can be very deep if you pay a bit more attention to the different settings.
My color process
This is an example of how I use those functions in my color process, which is mainly divided into three steps :
- Flat colors
- Shadow
- Rendering
Step 1: Flat Colors
Shapes
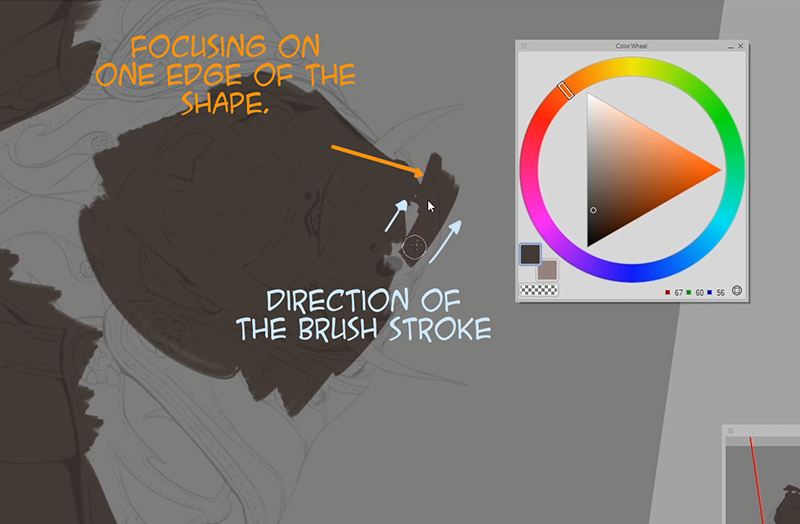
- Block out:
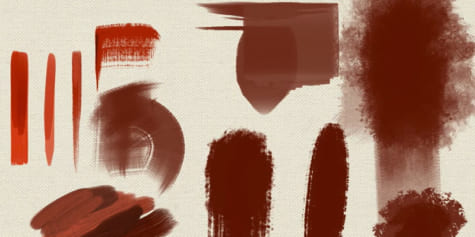
When I block out shapes, I usually want to concentrate on one edge of the shape, so I don’t hesitate to do broad strokes that go outside of the sketch.
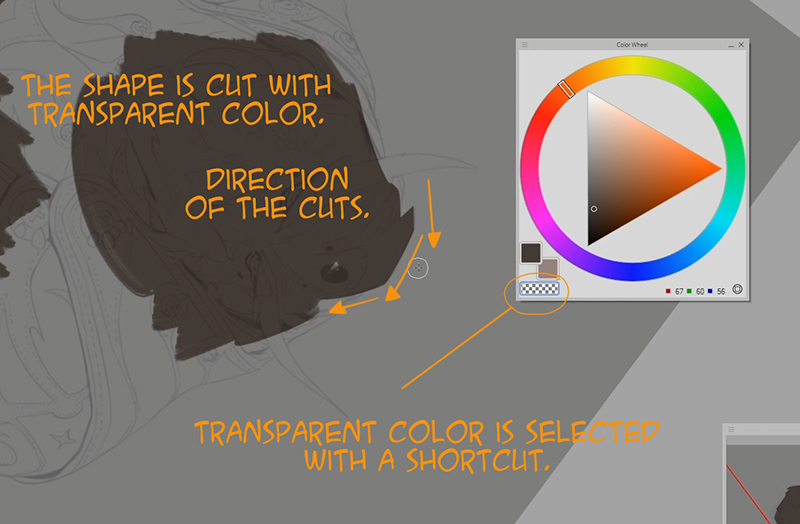
- Cutting the shape:
Now I correct the parts that bleed out of the sketch with the function Switch drawing color and transparent color. I could use the Eraser instead, but I want to keep the same brush and same size for erasing to keep it looking consistent.
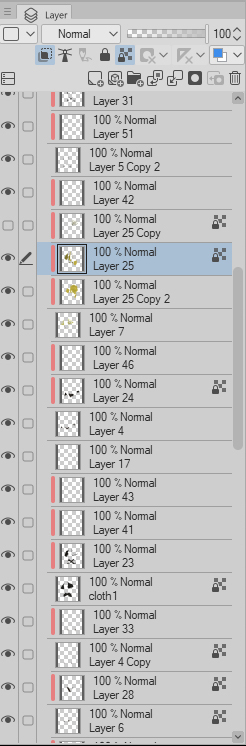
Separate Layers
I make a new layer for every new shape (basically every change of color). You can see how it looks like once all the flat colors are blocked in the image below.
Step 2: Shadows
At this stage, I have a lot of layers. Most people will ask me how do I not get lost? This is where Select layer comes in. I do not even bother naming my layers, all I need to do is use my shortcut set to Select layer and click on the area I want to work on, and it will automatically jump to the right layer!
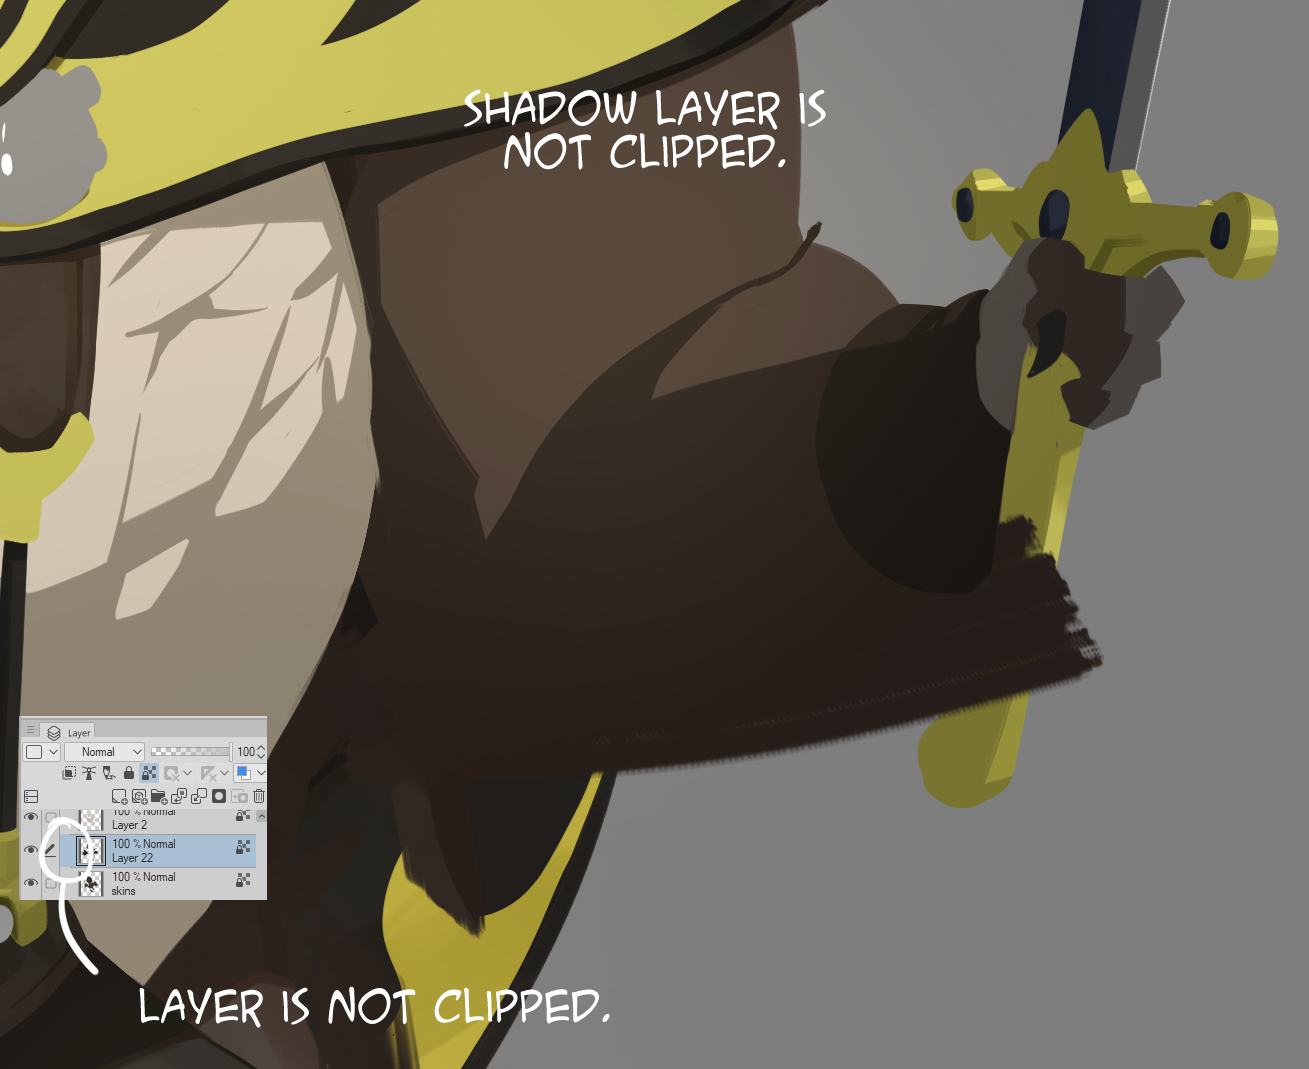
- I create a new layer for the shadows that will be clipped to a shape. Clipping the shadow layer means that any strokes will be retained in the shape of the layer below it.
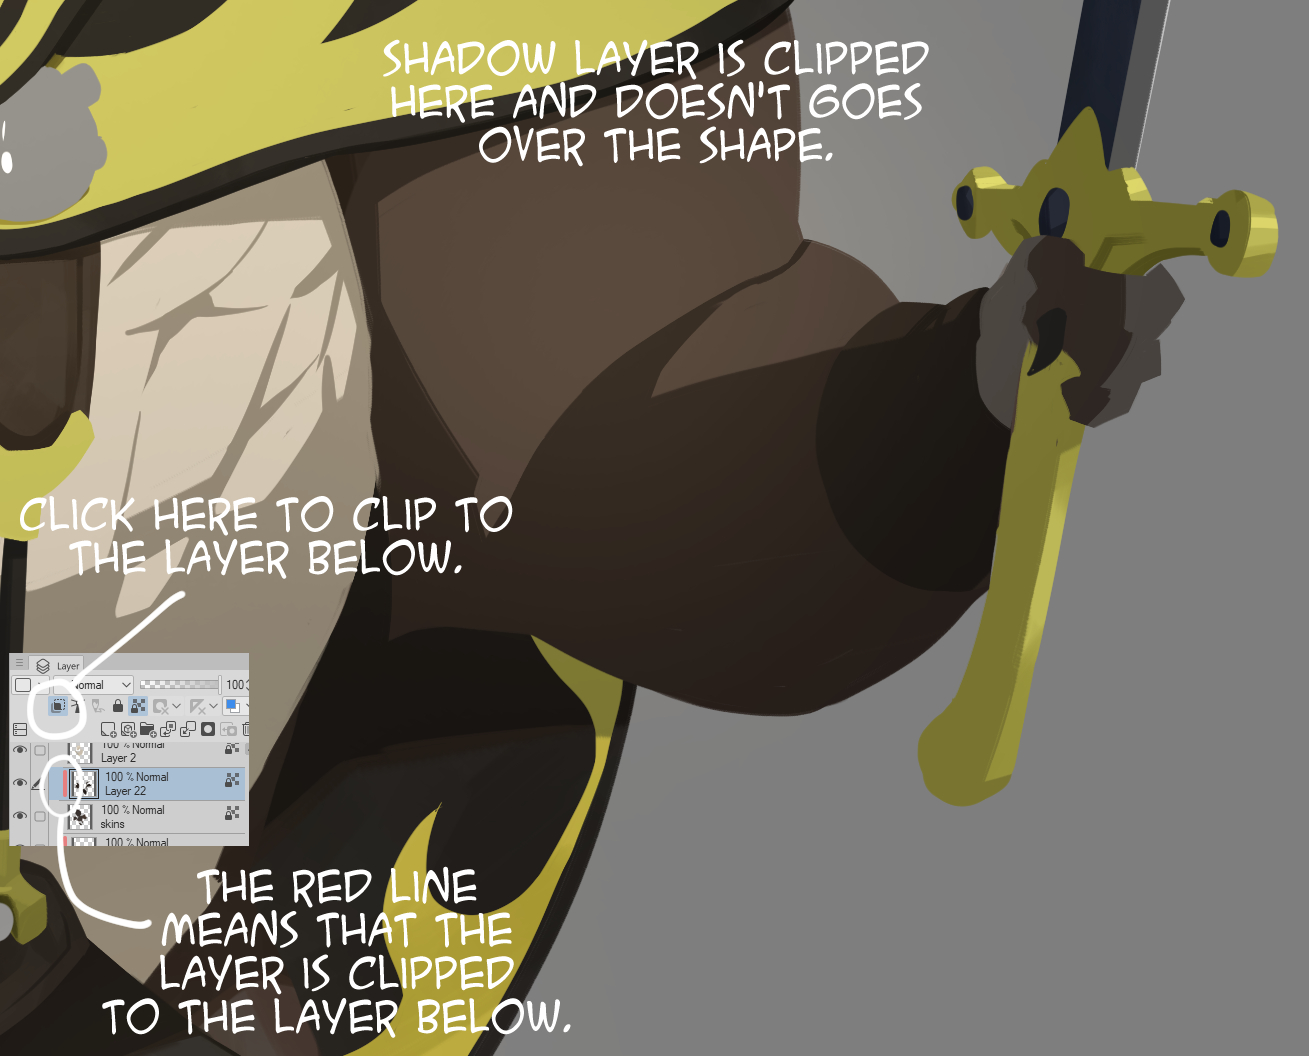
That way, it is very easy to focus on building up the shadow as you will not be affecting the shape of the flat color.
- I do the same as step 1 (Flat colors), cut out shapes of the shadow with the function Switch main color to transparent color. I repeat all the previous steps for every shape—a new clipped layer for each one.
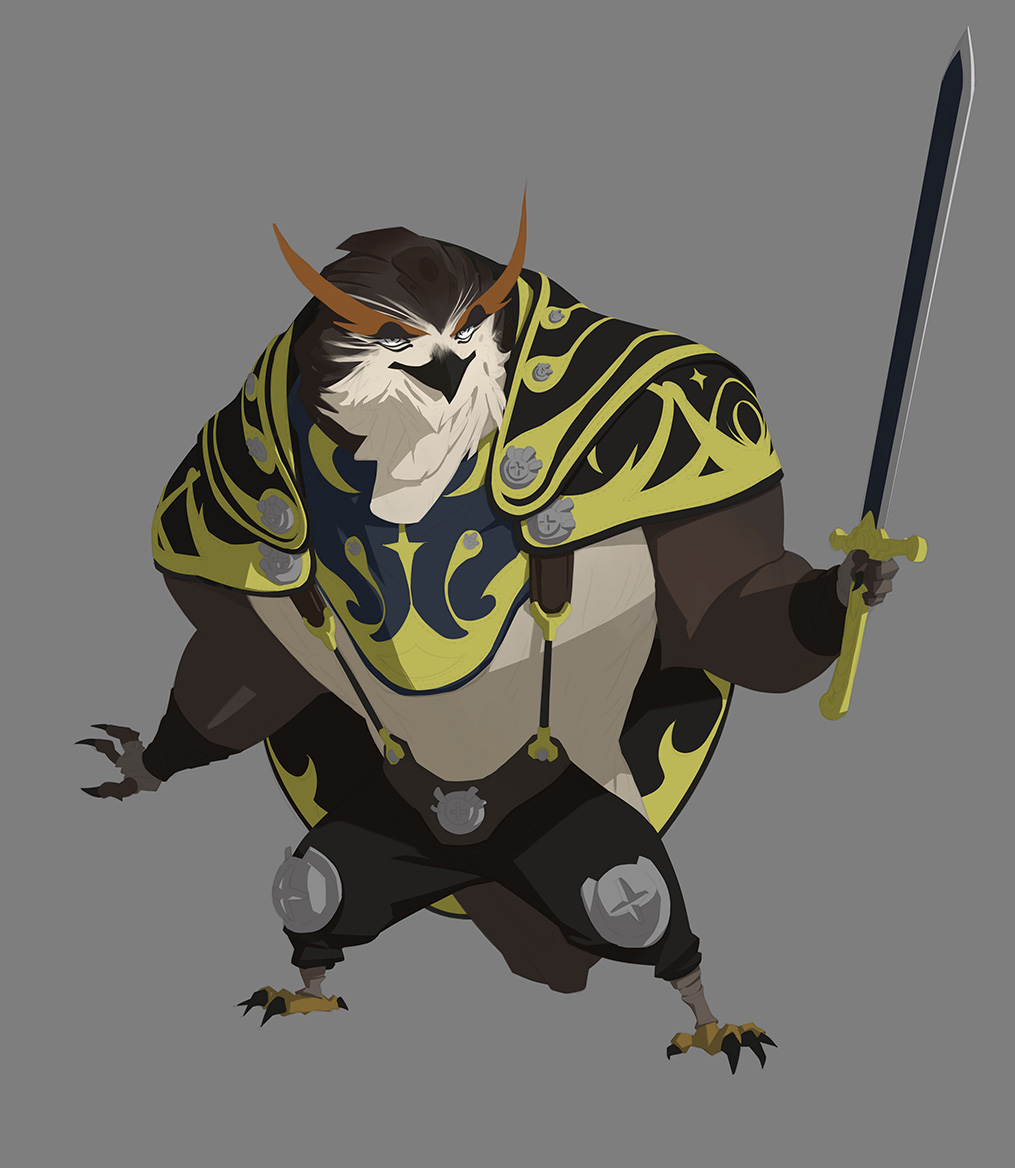
This is what I get at the end of this stage:
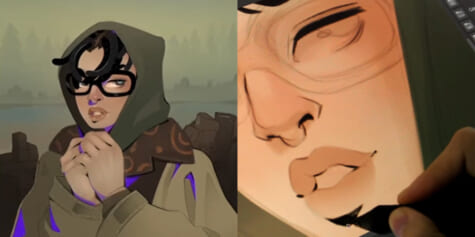
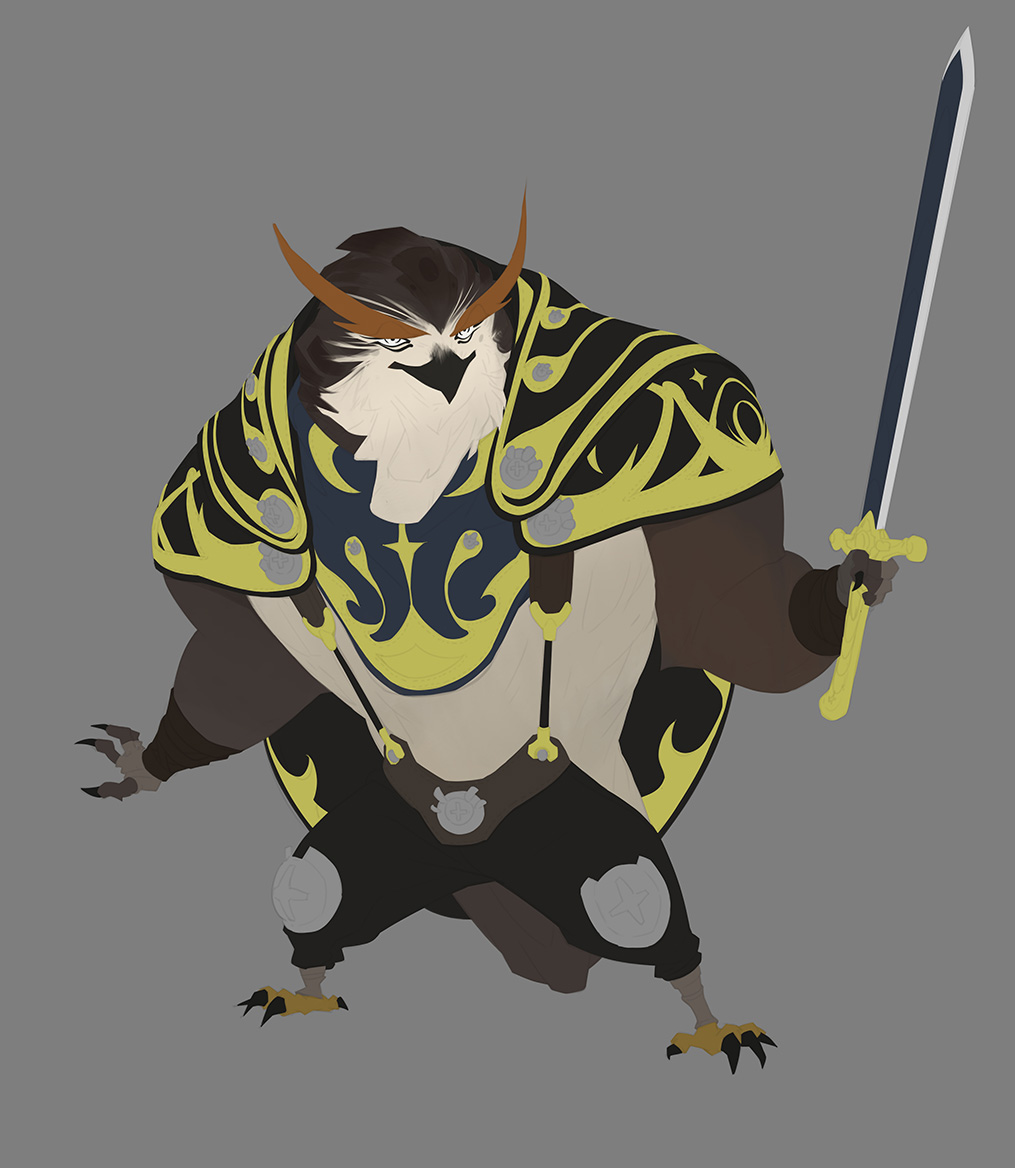
Step 3: Rendering
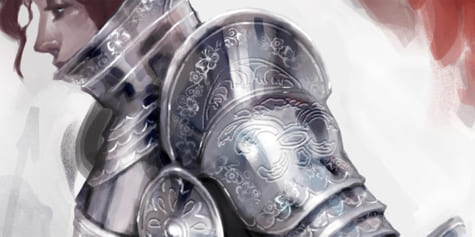
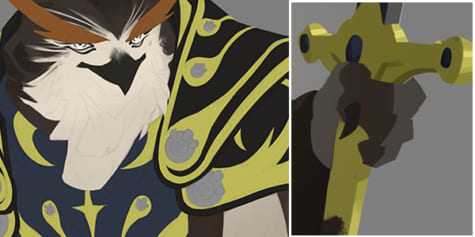
To ease the rendering process, I lock every shape (flat colors and shadows) with the function Lock transparent pixels. I set this function to a shortcut because half of the time, I like to rework the shape of the shadow as I am rendering.
Then I navigate the piece with Select layer again and work on the rendering of every part, to create more volume and build some interesting shapes onto the shape itself.
Since all the shapes are locked, it’s easy to render interesting shapes as you can draw them in broad strokes a give a clear direction without caring about going over another shape.
You can see the result below:
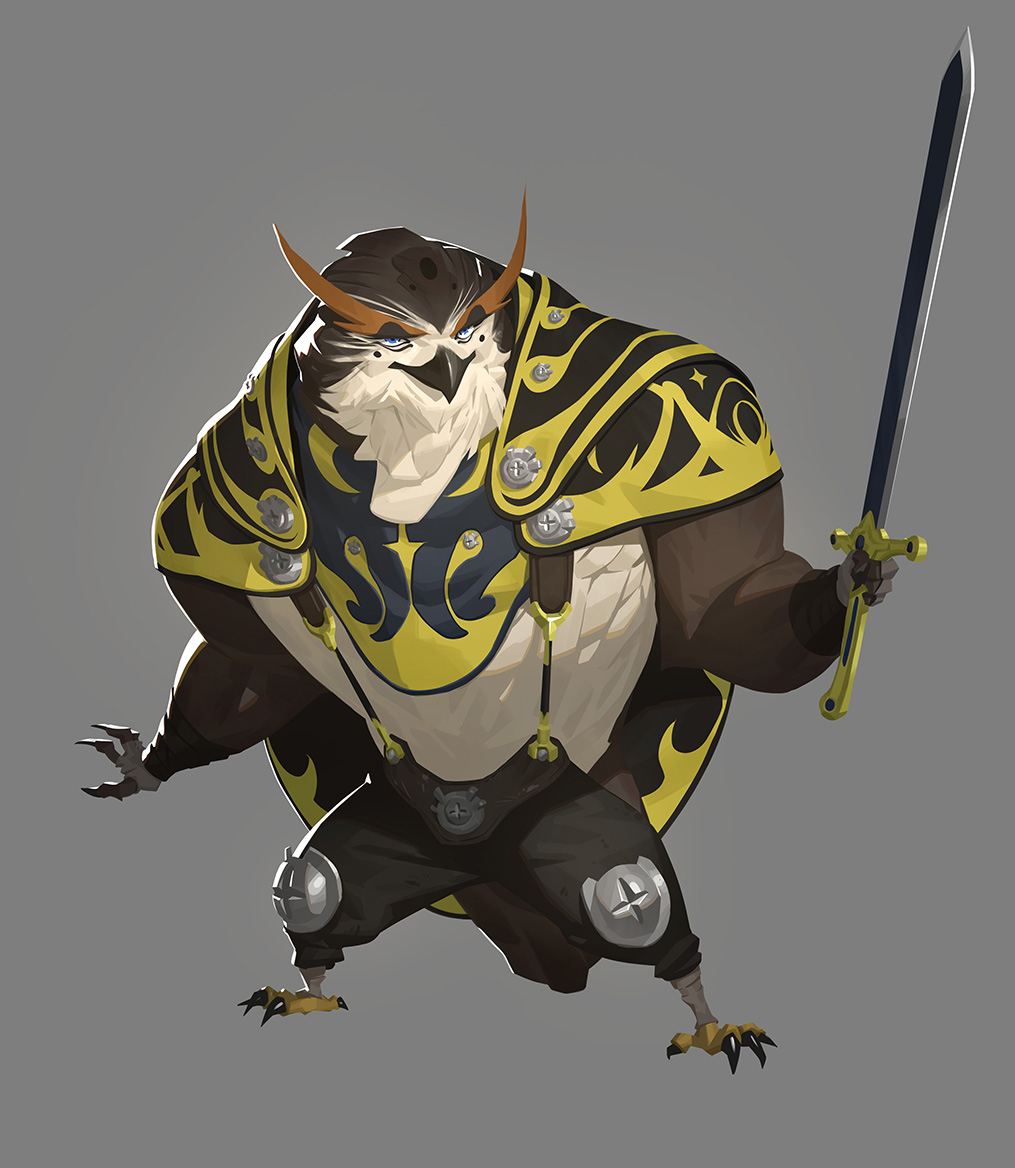
Conclusion
My technic is simple: I repeat the same set of actions into a lot of different layers. That is why using shortcuts is important in my process so I can navigate easily and breakdown everything into three clear separate steps: Flats, Shadows, and Rendering.
-Nesskain
https://twitter.com/nesskain
https://www.artstation.com/nesskain
https://www.instagram.com/nesskain.hks/
https://www.youtube.com/channel/UC69RCPrG5GiIOK9G6k0phtQ