How to draw your own digital Mona Lisa
Cristian Cermeño explains how to draw your own digital Mona Lisa with some fascinating techniques. Come check it out!
Index
Hello and welcome to this tutorial where you will learn how to draw your own digital Mona Lisa. I’m going to use Clip Studio Paint, so feel free to download it if you want to follow the steps in this tutorial using the exact same tools as me.
1. Sketching
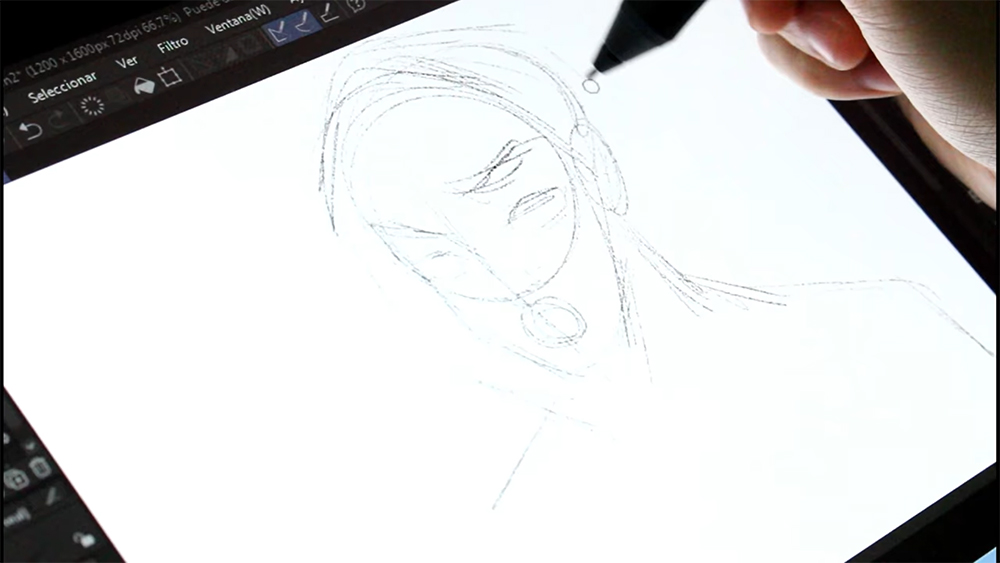
The first step is to sketch your idea. I start by using the Real Pencil, which, along with the Design Pencil, is my favorite pencil to achieve a traditional feel.
Our initial sketch should be very little detailed. We need to do so to give shape to our character.
This will be the basis of your illustration. Next, reduce the opacity by adjusting the bar shown here and create a new layer.

On the new layer, using the sketch as a base, start adding detail to the sketch.

Now the sketch is done, but before we move on to coloring, we have to clean it up by erasing any unnecessary lines.
2. Flat colors
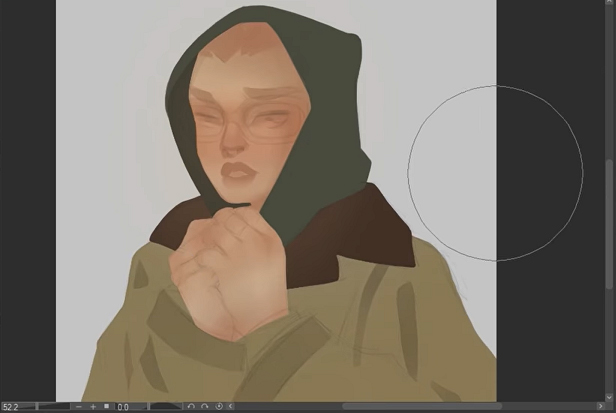
Now it’s time to add color to our character. I used flat brushes, like Paint and apply, for the colors that are mostly flat, while for the areas that need more color, like the blushing parts of the skin, I used brushes like Dense watercolor and Opaque watercolor. I also used the Eraser to tone down the intensity of some of the colors. Try to color each area on a different layer, so you don’t have to paint everything if you have to adjust any part. The process is very similar to drawing with traditional materials: start painting a base layer for the skin and then add details like shadows and blush near the eyes and cheeks.
3. Lineart
For the lineart, I’m also going to use the Dense Watercolor brush, albeit with a much smaller brush size, as we only need to highlight certain parts with some extra strokes and thicken just a few lines. As you can see below, I personaly don’t like to draw all my lines with the same thickness, so I try to add variety to make the illustration feel more natural and vivid.
For now, I recommend you only do about half of the inking on your drawing, as there are still many areas left to add detail to. But for now, you should start being able to see what the final result will look like.
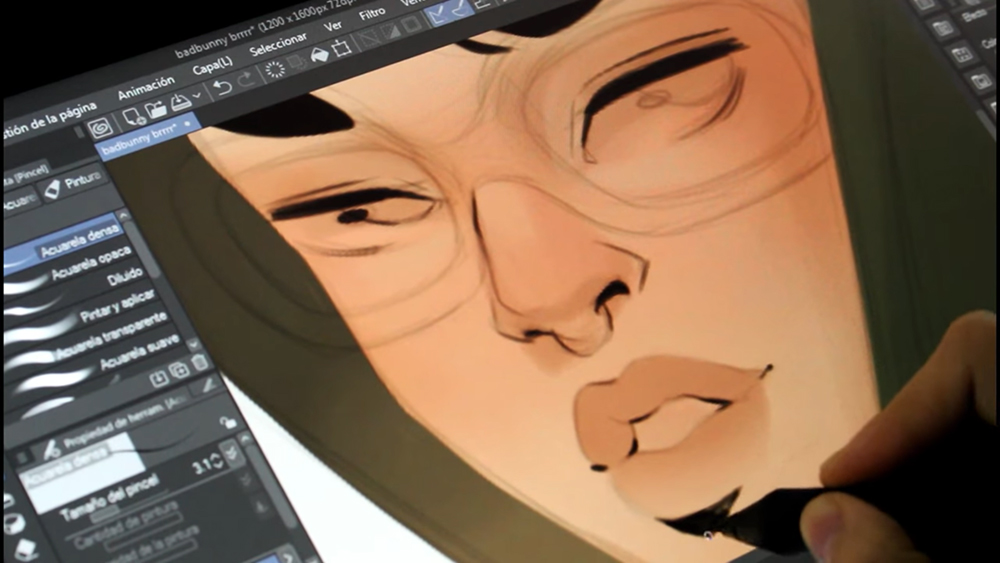
4. Finishing touches (Character)
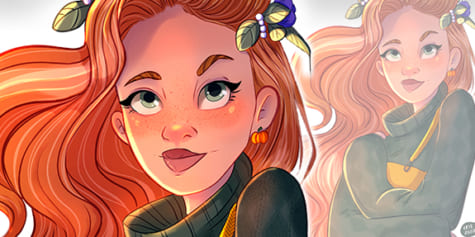
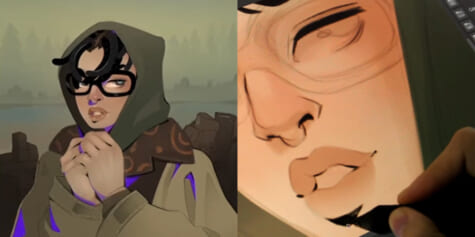
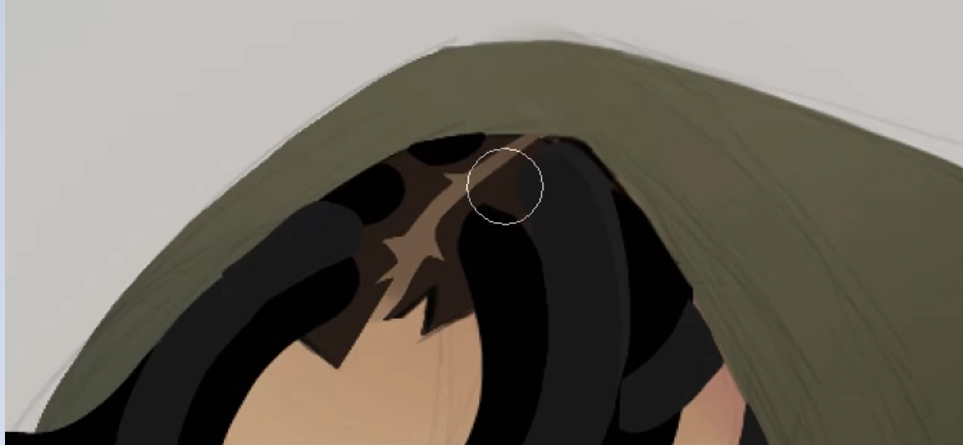
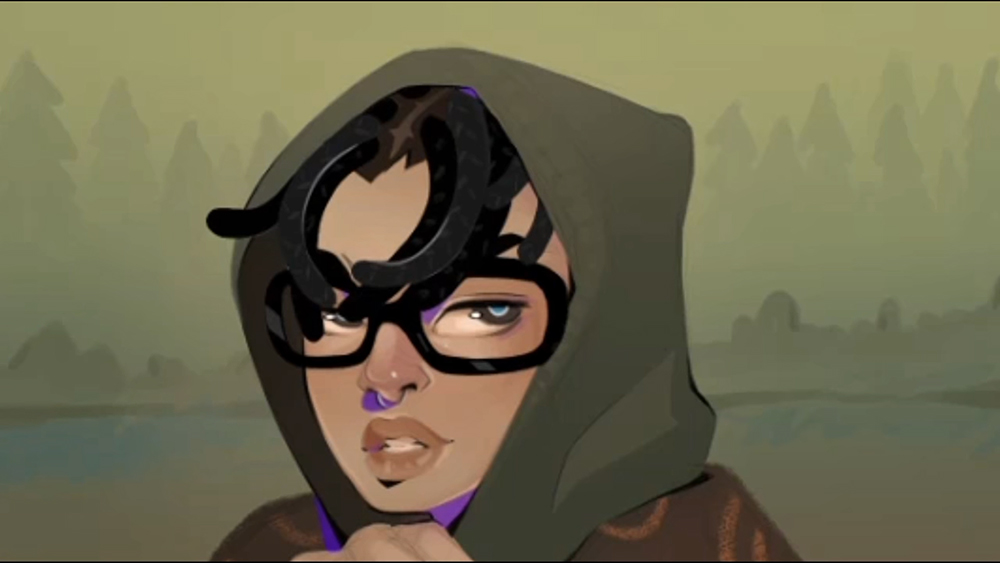
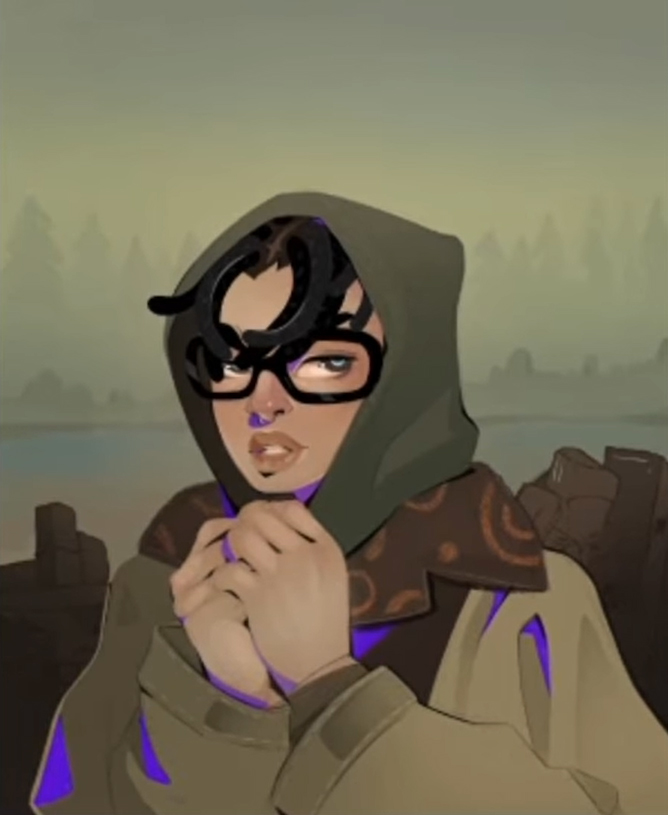
All that’s left now is to add detail to areas like the eyes and hair, and refine the shadows. For the hair, in the center of her dreadlocks, I painted in a stripe for her scalp with a similar color I used for the skin.
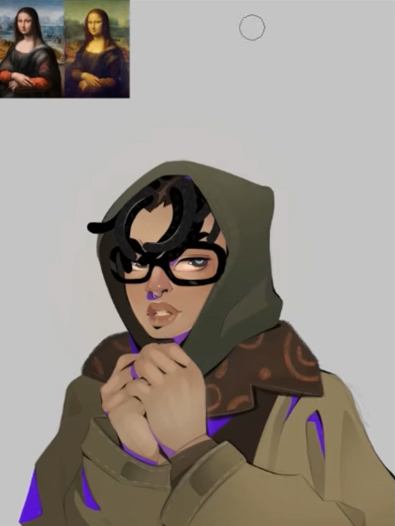
I have also painted the darker shadows with a purple tone to give them a unique touch. Shadows are usually painted with a darker shade than the base color, but I encourage you to try shading with light shades from time to time. I’m sure you’ll be surprised by the result!
5. Background and finishing your piece
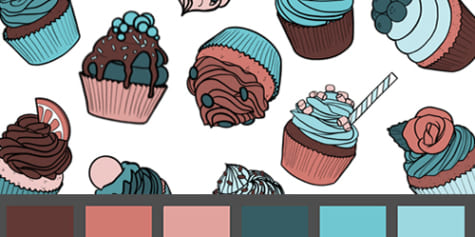
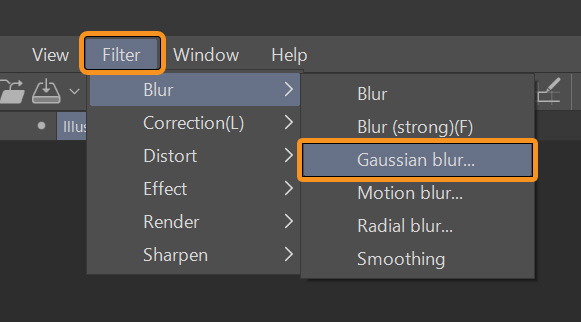
To paint the background, I use a little trick. I prepare my color scheme by picking the tones with the Eyedropper directly from the reference image. You can temporarily select the Eyedropper by holding down the Alt key.
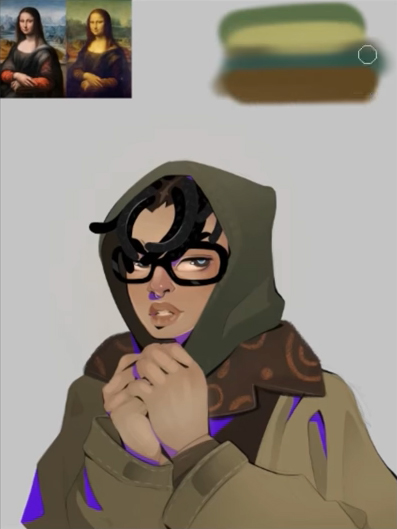
Next, go to Filter > Blur and select Gaussian Blur. Then, as you can see in the gif below, adjust the intensity of the filter and apply it, in order to blur the color palette you prepared earlier. Finally, select the palette, extend it to fill the entire canvas and slightly reduce the layer opacity.
Now we have a nice gradient as a base for our background, and all in a matter of seconds! It is a very simple technique, but it can be useful in some illustrations.
To give detail the background, I pick the shade immediately below the part of the background I’m painting with the Eyedropper and add along it, starting from the top, trees and bushes, as you can see here. If you blend the adjacent colors, the transitions will feel more natural.
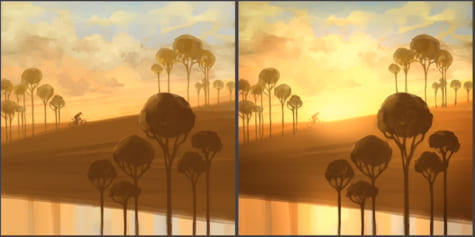
The darker the hue of an object, the closer it appears to be, so to correctly represent depth, the lower parts of the background should be lighter than the upper ones. As you can see below, the lighter-toned trees appear to be further away than the bushes and the lake, which are painted darker.
For our final touch, we will make use of the Decoration tool. Looking for decorative elements that blend in well with this lush scenery, I’ve come across one called Rubble that will look great to add some piles of wood behind our character. You can freely choose whatever color you want for these decorative elements, so for this example I chose a brown and added it to the canvas.
To add a bit of variety, I painted some logs with a different shade.

But we can’t just leave the logs as-is. We need to place them behind the character, so drag the layer containing the logs and place it under the layer that the character is on. After adding some more details to the painting, our Mona Lisa is complete!
About the artist:
Cristian Cermeño
Professional illustrator
YouTube: https://www.youtube.com/c/CristianCermeño
Instagram: https://www.instagram.com/zosiri/