How to Make Video Tutorials
Have you ever wanted to make your own video tutorials and share your knowledge and tips about a certain subject with your audience? In this tutorial, you will learn simple steps to make a video tutorial and upload it to YouTube.
What do we need to start making our video?
- Some software to record our screen. For example, OBS Studio or Flashback Express 5 Recorder.
- An audio recorder. For example, Audacity or even your cellphone’s voice notes.
- Some software to put your video and audio files together and export to YouTube. For example, DaVinci Resolve or Wondershare Filmora X.
The whole process can be done using only free software if you want, so don’t worry if you can’t afford to spend much on this little adventure. Even with free software, you can get professional results if you know how to use them right.
Let’s see all the steps to create your own video tutorial!
- Topic and main points
- Recording the videos
- Writing a script
- Recording the audio
- Editing your video
5.1: Structure
5.2: Effects - Exporting your video
- Uploading to YouTube
STEP 1: Topic and main points
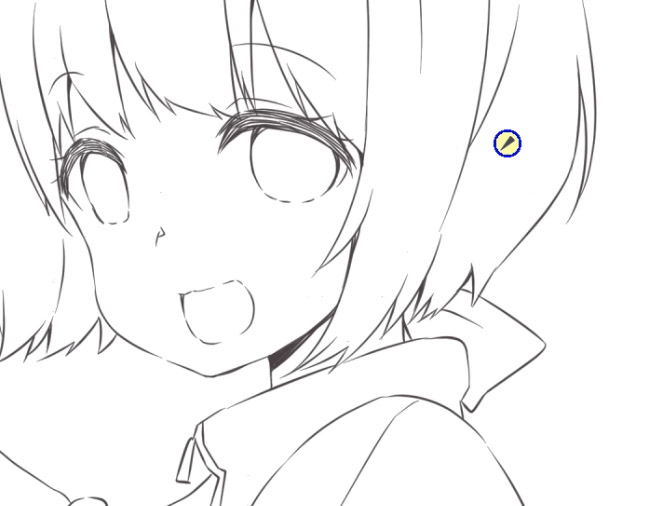
The first thing you need to decide is what you want to show to other people: the topic of your tutorial. For example, “how to paint an anime character”.
Once the topic is decided, we need to write down the steps we want to record. We can do this on a Word document, our phone notes, or even a piece of paper.
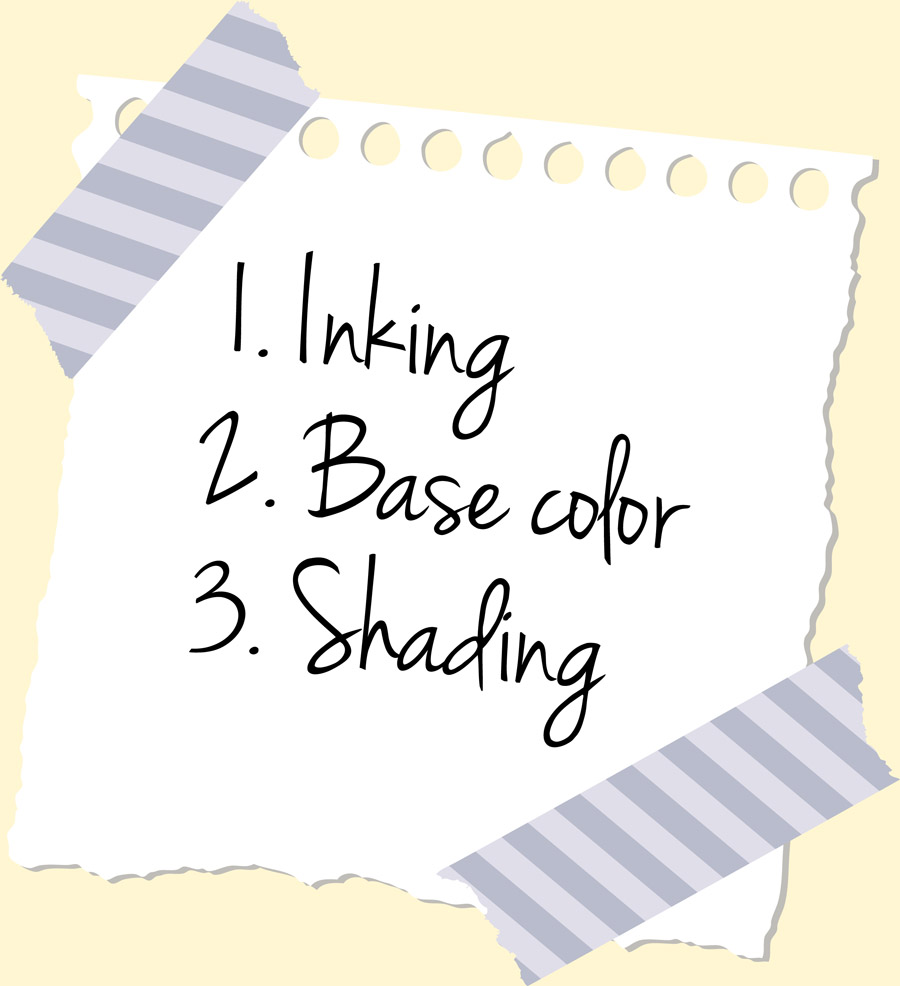
We write down only the generic steps and not an actual script. This is so we know what we need to record and in what order we should do it.
STEP 2: Recording the videos
There are some free software you can use to record your screen, like OBS Studio or FlashBack Express 5 Recorder. If the software has an option to highlight the cursor as you move it around the screen, that’s a plus, because it will help your viewers see where you are and what you are doing more easily.
The standard YouTube size is 1280 x 720 and anything that is proportional to that (aspect ratio: 16:9). That does not mean you cannot make your video any other size that is not proportional. For example, our sample video tutorial was recorded at 2560 x 1400, which is not proportional to 1280 x 720, in order to record only the Clip Studio Paint window and not the task bar of the computer. When you specify the video size you want later on the edition software, it will automatically add a frame to make it fit.
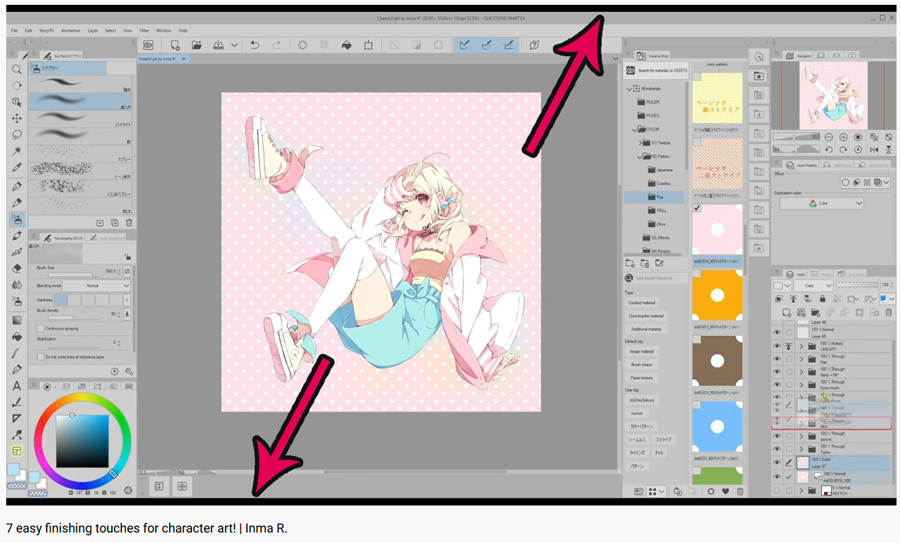
Select the area you want to record, which is the Clip Studio Paint window in our sample tutorial, and click on the record button to start recording.
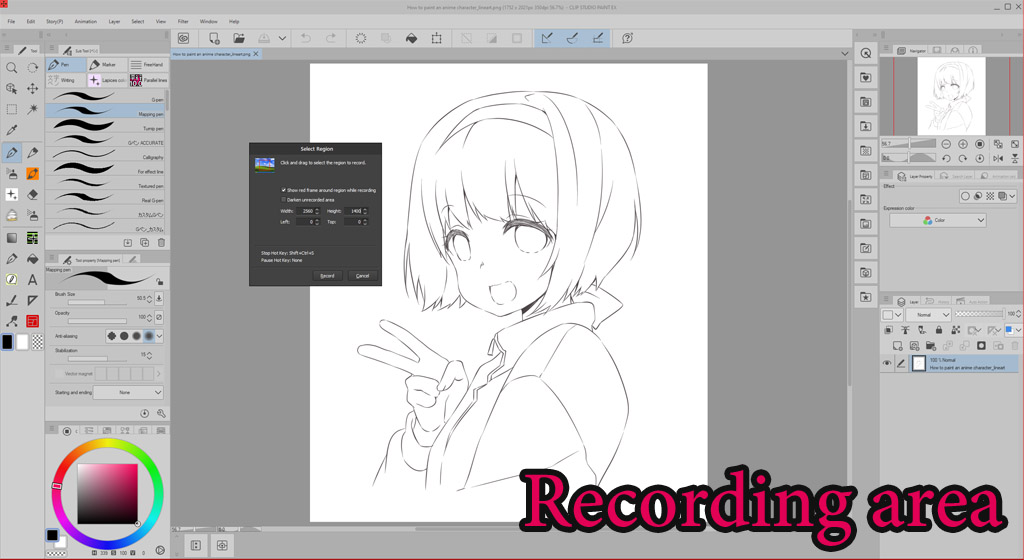
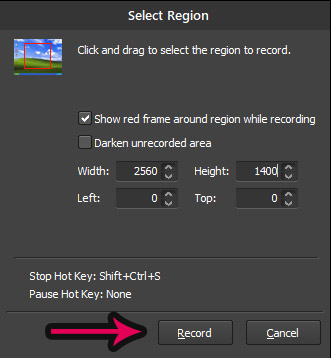
Don’t worry if there are mistakes, if you are doing it too slowly, or if you have to stop midway. You will be able to edit and cut parts of the video later to get the best result possible in terms of speed and footage.
If what you are explaining takes a lot of time, try to divide the steps into different files so that they are smaller and easier to handle later. For example, in our sample tutorial we will make three files: one for inking, one for base color, and one for shading.
Try to save/export each of these videos as MPEG4, which is compatible with most video editors.
STEP 3: Writing a script
After you have all the steps for your tutorial recorded, now you can review them and write a detailed script of the audio you are going to record. It is recommended to write the script for the audio after the videos are recorded and not before because there is always some step you might add while recording which needs explanation, or the order in which you do things in the video might not be what you had originally planned, etc.
You can use a Word document, your phone notes or a notebook to write down your script.
STEP 4: Recording the audio
There are many free ways in which you can record the voiceover for your tutorial, which include your phone’s voice notes or a free software like Audacity, which is available in different languages. Some editing software allow you to record audio too.
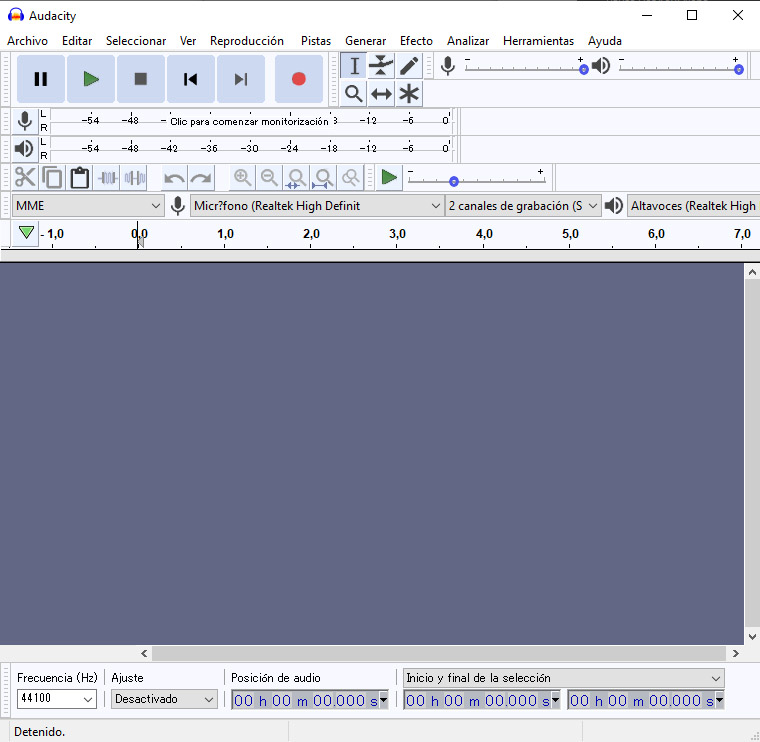
Just click on the red circle to record and the square button to stop each time you need to. You can select parts of your recorded audio with your mouse and delete them by pressing the delete key on your keyboard if there is some part you need to redo.
Having your whole script recorded in one single file will help you organize audio parts in the video more easily later.
If possible, export your audio either as WAV or MP3.
STEP 5: Editing your video
Use any editing software you like to put all your files together. There are some free software like DaVinci Resolve and some like Wondershare Filmora X, which is not free but includes many cool effects that can be used easily even by beginners.
Most video editors work with a timeline where you start adding your images, video and audio files. You can have more than one layer/track of video or audio files on the timeline in order to have overlapped images or sounds (for example, if you have an audio file playing music on one layer on the timeline and you want a sound to play at a specific part, you need to add it on a different sound layer so that the music does not stop to play the sound).
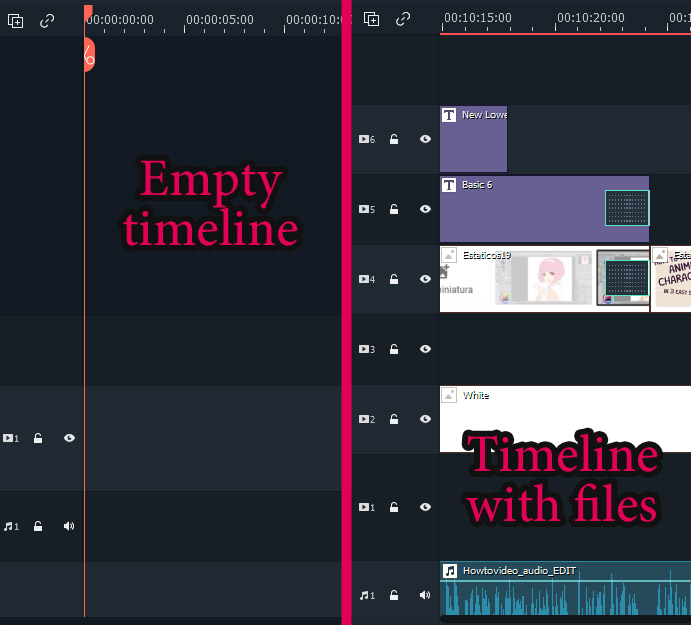
If you import your audio file into the timeline as a single file, most editing software will allow you to cut it into pieces and move the pieces around to the exact second where you want it to play. In Filmora X, for example, you can do that by clicking on the scissors at the point where you want to cut the audio and then dragging the parts to wherever you want them to play.
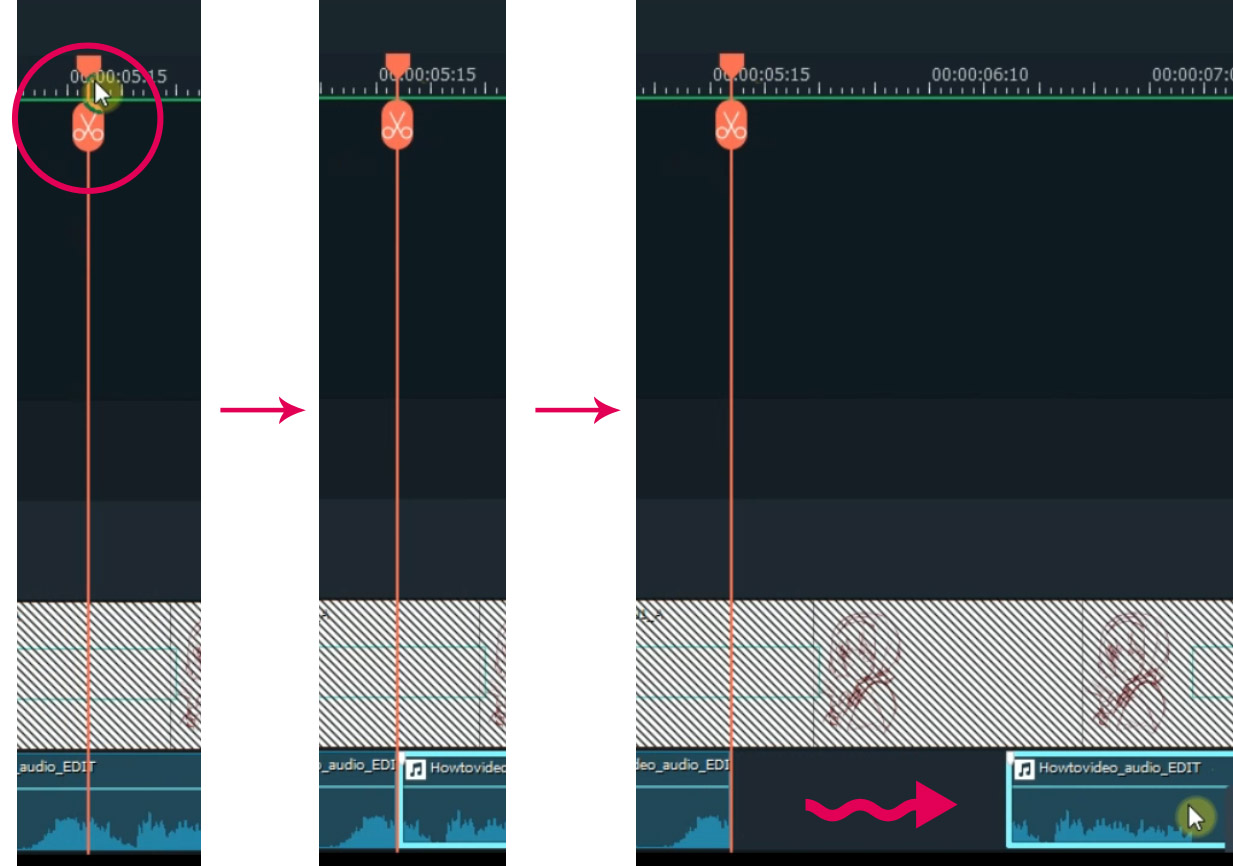
However, we cannot just drop all our files into our edition software without a purpose, each video should have a good structure.
STEP 5.1: Structure
A good video structure would be INTRODUCTION – SUMMARY – TUTORIAL – CLOSURE.
Introduction
This is the first thing your viewers will see of your video. It can be an image showing the video title, or something related to your channel that repeats through all your other videos. Whatever your introduction is, just make sure it’s short. A long introduction can get viewers bored and they might jump to something else without giving your tutorial a chance.
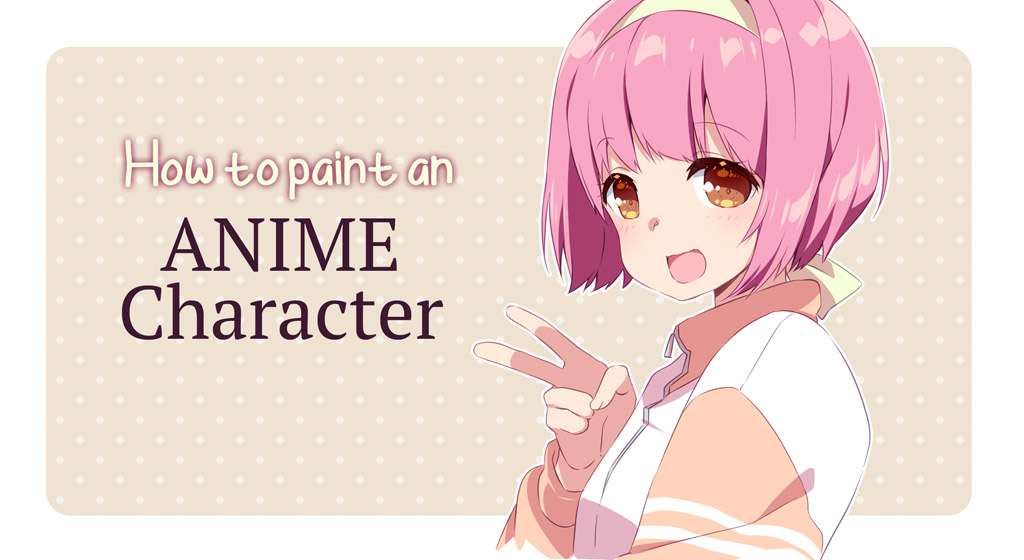
Summary
Start your actual tutorial with a quick summary of what people are going to learn. You can show images of the process speeded up and the result they’ll get. This will help viewers decide if they’re interested in learning your technique or not. Again, don’t make this too long!
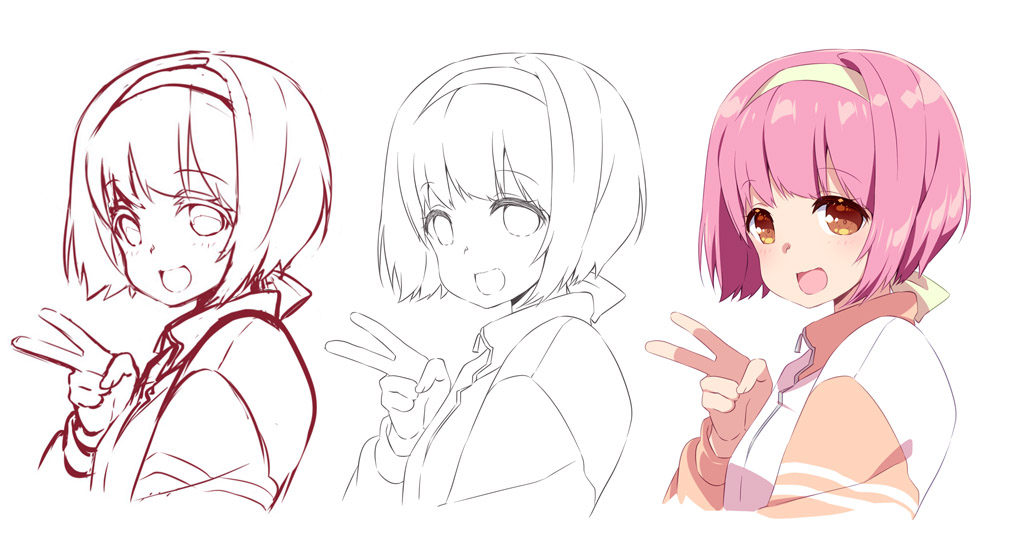
Tutorial
This is where you add the files you recorded and the whole explanation step by step. You can separate each step with a header so it is easier to follow.
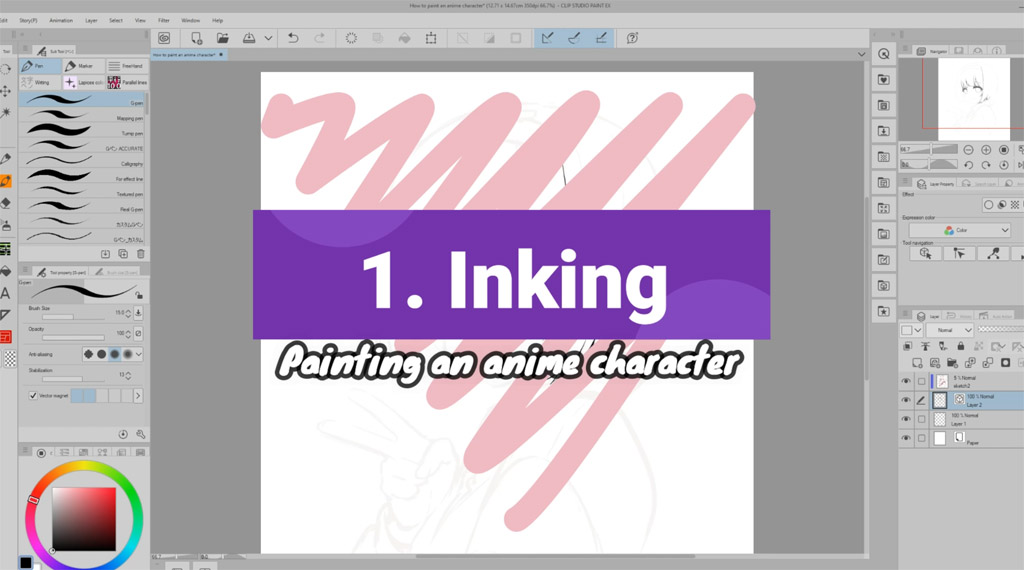
Closure
It looks more professional if you take some seconds at the end to say goodbye, thank your viewers for watching your tutorial, encourage them to follow you, etc. This is also an important moment to add any credits due (the software you’re using, the music, etc.) or your social media so that people know where to find you.
STEP 5.2: Effects
Effects are an important part of making a video tutorial. You can make a tutorial without any effects at all, but it will look more professional and it will be easier to understand if you know how to use effects in an appealing way.
Speeding up your videos
When you’re working on a specific part that requires the viewer’s close attention, it is okay to have your video at real speed, but when a step takes too long for you to finish, sometimes it’s not necessary for the viewer to see how tedious the whole process is: you need to speed up your videos. For example, if you take 20 minutes to ink the character on the “how to paint an anime character” tutorial, it’s best to speed the whole process up until it takes just around 20 seconds to watch.
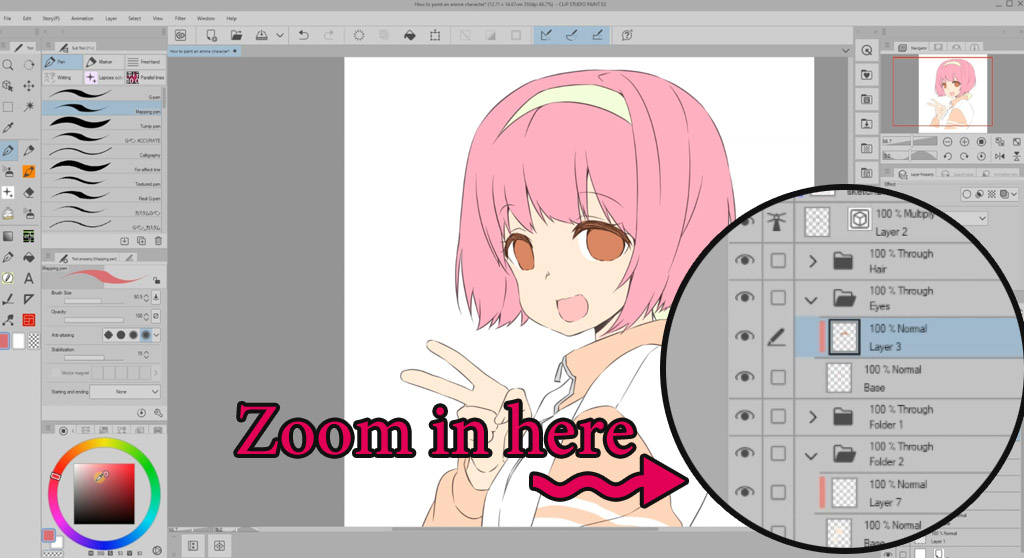
Zooming in and out
Sometimes it’s important for your viewers to focus on a specific part of the screen. Zooming in will help them see what you’re doing better and it will also keep them from getting lost with all the other elements on the screen.
Transitions
A transition is the way one scene/video/image changes into another. Most video editors have the basic transition effects and some more. The basic transitions include:
- Fade into black, which smoothly goes through a black screen between the scenes. This transition gives a “final” feel, so it’s normally used between the end of a step and the beginning of another, or at the end of the video.
- Dissolve, which makes one image fade directly into another. This transition gives a more continuous feel, so it can be used between scenes of the same step.
Adding images
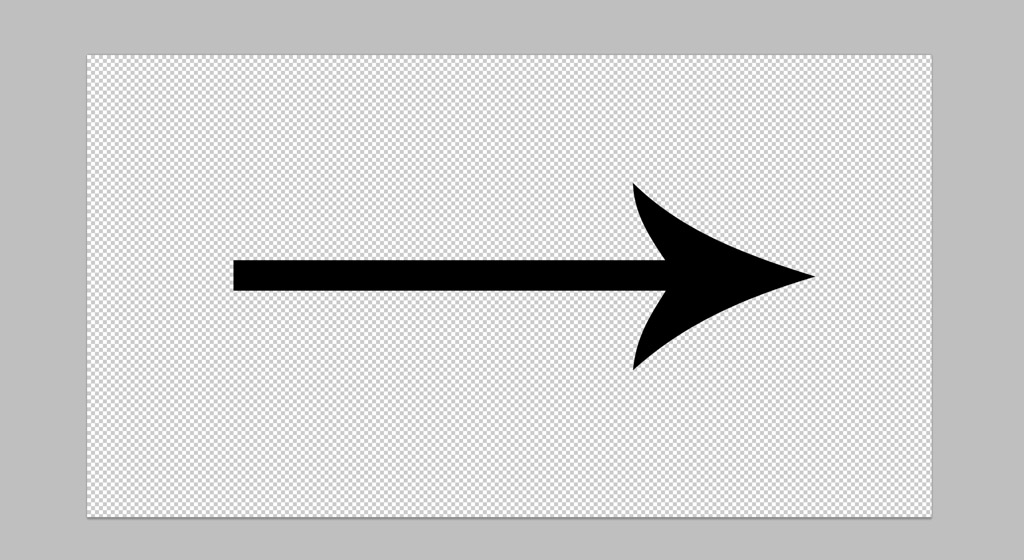
You can add extra layers of images to the timeline, such as arrows, screenshots, etc. Just import your image as PNG with a blank background and place it on some top layer on the timeline.
Sound effects
You can add little sounds to your timeline here and there to create different effects. If your editing software doesn’t come with any, you can download some royalty free sounds from different sites like zapsplat.com/, just remember to credit them at the end of your video.
STEP 6: Exporting your video
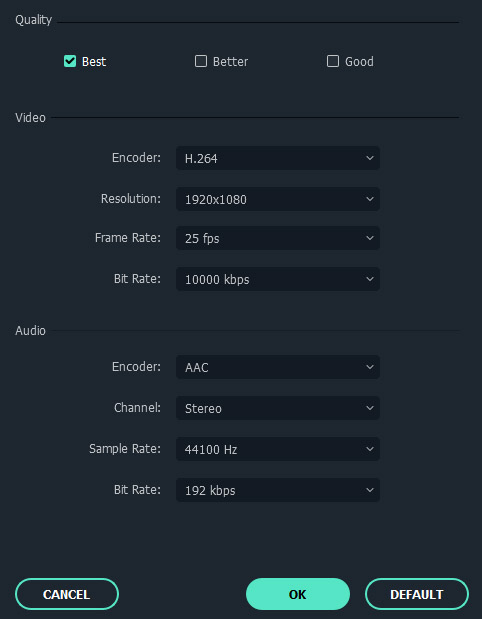
Once you’re done with everything, it’s time to export your video. A resolution of 1920 x 1080 is great for a good quality video on YouTube. Just click on the export video option of your edition software and give your video the best quality possible that your computer can handle. For example, this is a good quality setting on Filmora X.
Make sure to review your video from beginning to end after exporting to check if there are any problems that should be addressed.
STEP 7: Uploading to YouTube
It’s time to share your creation with the world! The steps are easy.
- Create or log into your YouTube account and click on the little camera icon at the top right corner to upload your video.
- Give your video a descriptive title, but also try to make it attractive. For example, our sample tutorial is about painting an anime character, so these are possible titles for it:
-“How to paint an ANIME CHARACTER“: a simple descriptive title with emphasis on some words to catch the interest of a specific audience.
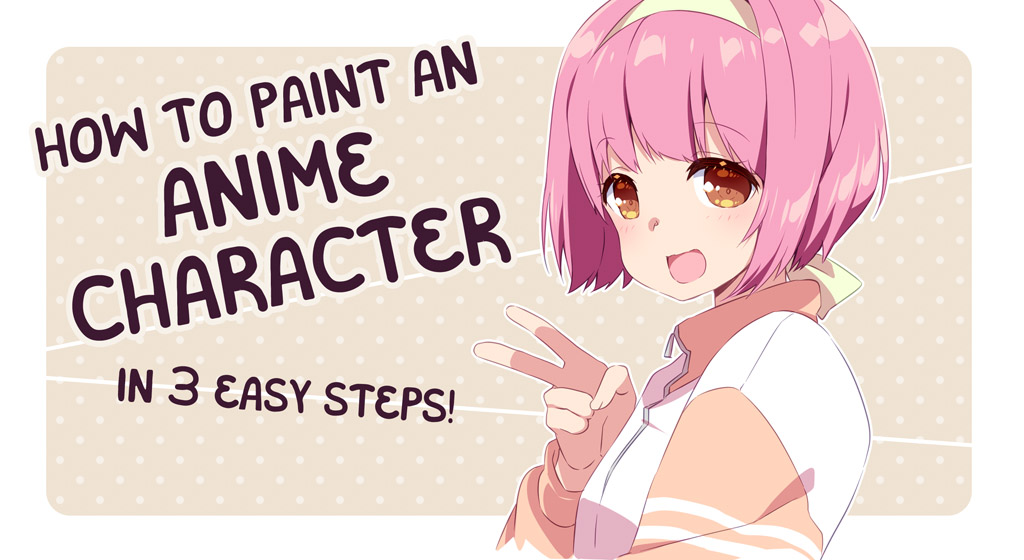
-“How to paint an ANIME CHARACTER in 3 easy steps“: this one shows your viewers that the tutorial is feasible even for beginners, that it’s not an advanced technique.
-“How to paint an anime character in CLIP STUDIO PAINT“: this one puts the emphasis on the software. It’s aimed at people who want to learn how to use that specific software.
As you can see, deciding on a title requires deciding who your audience is: is it for beginners or is it advanced? Is the software/media used 100% required to be able to perform your steps or is it a more generic tutorial? Etc.
- Enter a description for your video. You can write a brief summary of what people are going to learn, give links to resources used in the video, links to your social media, credits, etc.
- Upload a custom thumbnail. By default, YouTube will generate three possible thumbnails from screenshots of your video, but it’s recommended that you create your own. Use big letters on the thumbnail and make the image eye-catching to attract your viewers’ attention on any search results. Remember that the thumbnail shown in the search results is very small, so any small letters or small art used will not look good.
An example of how small thumbnails look in search results:
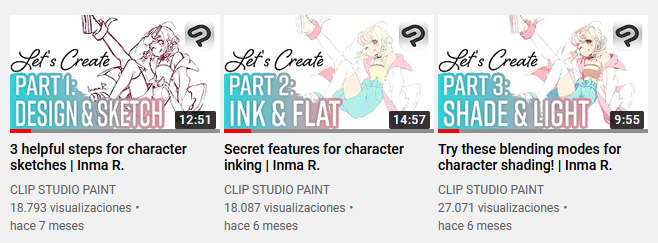
An example of a possible thumbnail for our sample tutorial:
- Keywords/hashtags. These will help your video be found by users who type these words on the search bar. Add all the words you can think of that are related to your video. Separate each keyword/keyphrase with a comma. For example: tutorial, art, anime, digital art tutorial, etc.
- Visibility. Choose when your video is published. There are different possibilities:
-Make it public. Your video will be published immediately.
–Unlisted. Your video will be published but nobody will be able to access it unless you give them the link. This is used to share videos with only a specific audience, like in Patreon.
–Private. Your video will be published but nobody will be able to access it unless you invite their specific YouTube accounts to view it. It’s like “unlisted”, but more restrictive because having the link is not enough to view your video.
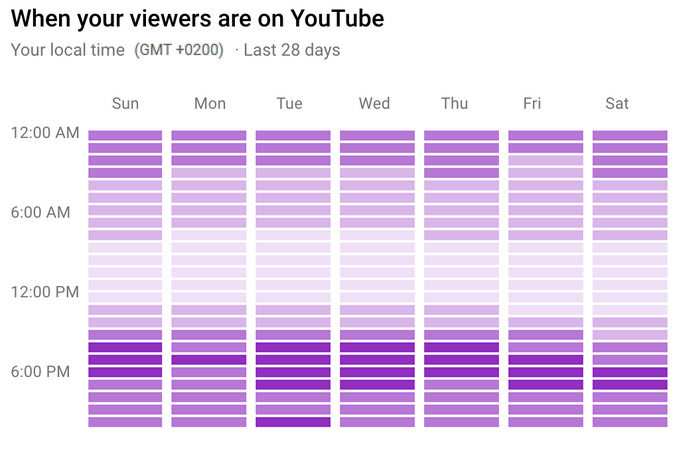
–Schedule. You can decide on a specific date and hour for your video to go live. If this is not the first video you upload, you will see some statistics on YouTube studio giving you a clue of the hours and days of the week when your audience is more active on YouTube. This can help you decide what is the best time to make your video go live so that it’s viewed by as many people as possible. The darker the color, the more audience is active at that moment.
And that’s it. Have fun creating your own videos and sharing your knowledge with the world!
About the artist
Inma R. is a freelance digital illustrator from Spain. She works on videogames, webcomics, art tutorials, book covers, etc. Her original webcomic “The Violinist and the Nerd” can be read for free on platforms like Webtoon or Tapas, while her illustrations and tutorials can be found on her social media:
https://www.youtube.com/user/InmaPollito
https://twitter.com/inmapollito
https://instagram.com/inma_pollito
https://www.patreon.com/inma
Interested in character art & design or what it takes to become a character designer?
Check out the link below!


