Easy Guide to Drawing Anime Hair
Master how to draw anime hair with this text and video tutorial by artist Hyanna Natsu! Learn techniques to sketch, shade, and color anime-inspired hairstyles.
Index
When it comes to anime characters, hair is one of my top 5 favorite things to draw and color. I often get asked to make a tutorial on how to draw hair, so I tried to add as much information as possible while keeping the video fun to watch and full of tips!
Note that nothing here is a hard rule, and it’s just how I do things. I suggest experimenting until you find a drawing style that suits you 🙂
How to use references for drawing anime hair
It’s tough to draw things when you don’t know what they look like in real life. In that case, using references is key! Whether you want to draw straight, wavy, curly, or crazy hair, references help you capture accurate details. Look up anime art or even photos of real people on platforms like Pinterest, Instagram, and Deviantart.
And don’t worry–using references isn’t cheating, copying, or stealing. Even professional artists rely on references, so you can too!
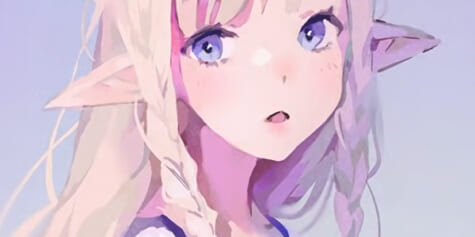
Shape and volume tips for anime hair
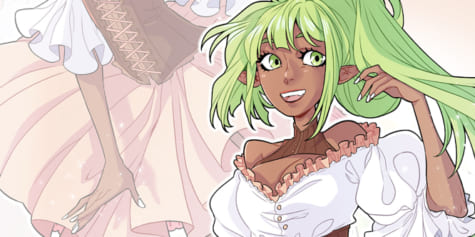
In anime, hair and eyes are essential for expressing emotions and character personality. While real-life hairstyles might be simpler, anime designs often emphasize creative shapes and details. But this is art, so there aren’t any complex rules for this! Let your hand flow, and practice your creativity. Take a look at your favorite anime drawings and consider what it says about a character.
For example, straight black hair on a female character can imply a more serious personality.
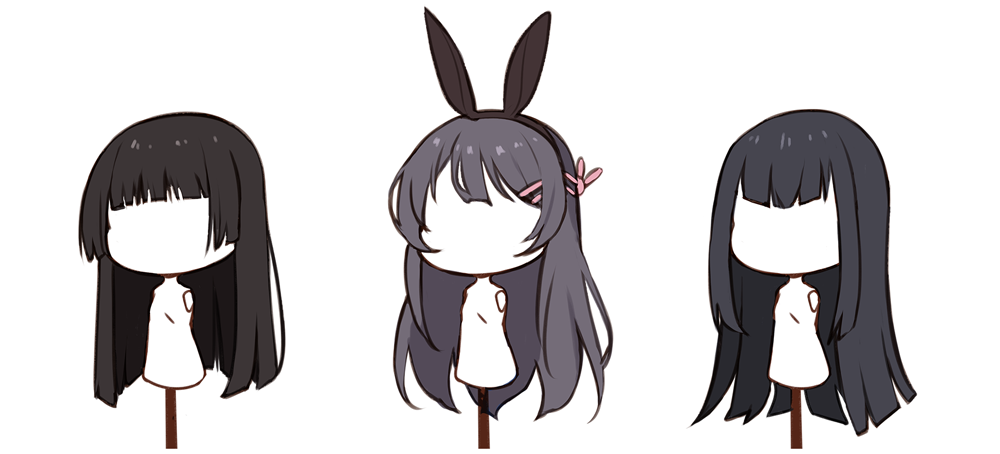
Meanwhile, short hairstyles or fluffy curls can make the character seem warm and welcoming! Pink or purple-haired anime characters tend to give a more colorful, energetic impression, too.
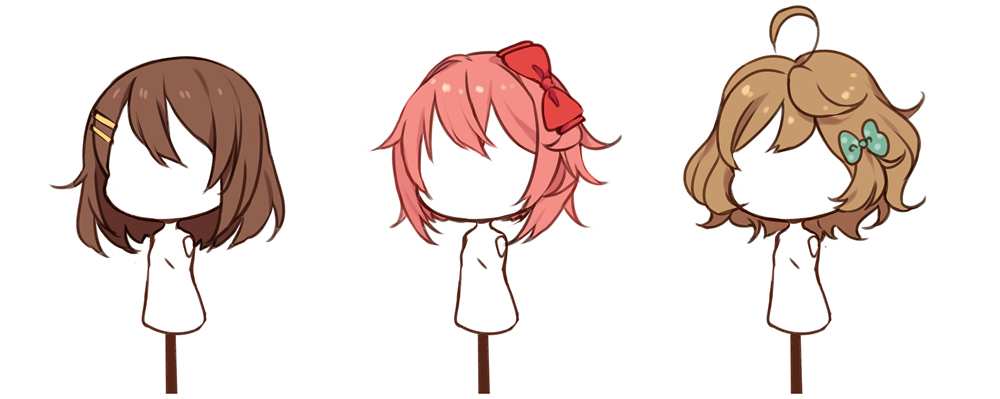
Drawing hair for boys follows the same general rules as drawing hair for girls. Create a hairstyle according to the character’s personality!
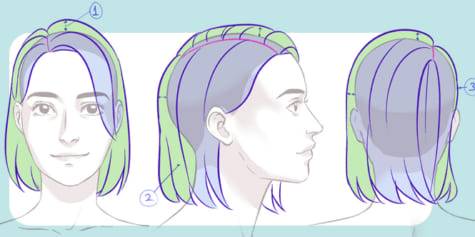
How to sketch anime hair
When sketching anime-style hair, consider the general outline first without giving too much attention to details.
If you don’t know where the hair starts on the head, first draw a circle for the skull. Then, draw a simple line at the top part to represent the roots of the hair. You can make the top part more complex as you learn how hair works.
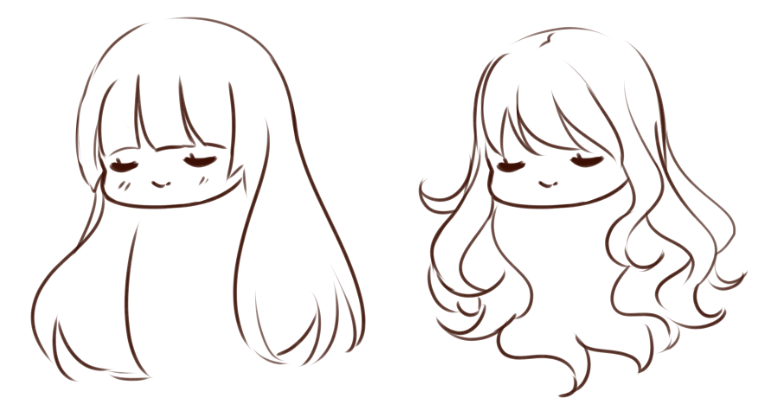
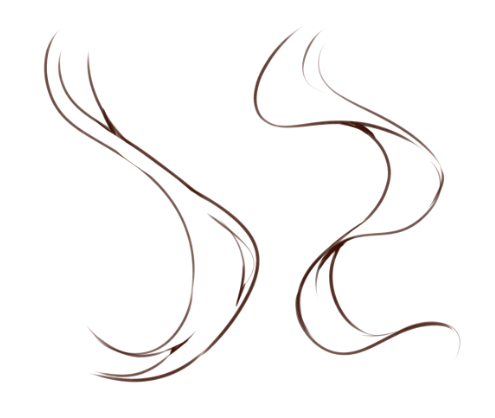
Also, it’s good to work with S curves. Even if the hair is straight, drawing it with slightly curved lines (like a long, open S) will make the hair look light and flowy. On the other hand, if you want to draw wavy hair, use tighter and more visible S curves to draw the hair outline!
When drawing curly hairstyles, first draw a coil or spring, and define the front part. Then, duplicate that line shape.
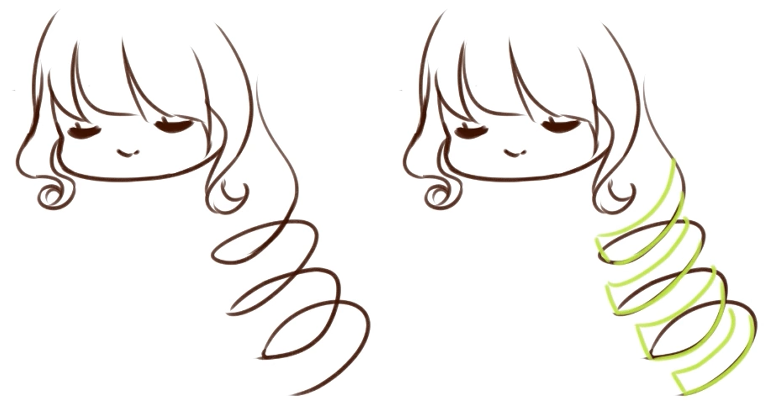
After that, erase the lines that are at the back, and connect them to form a full spring!
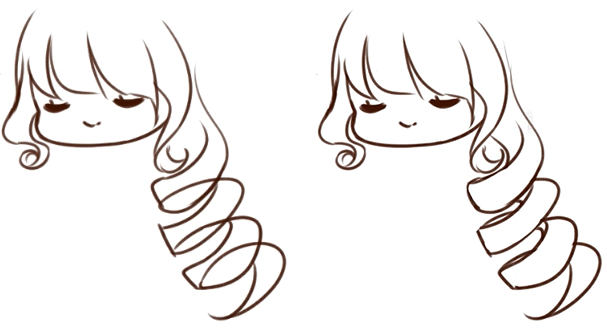
You don’t need to draw every strand of hair like that (feel free to do so if you like though!). A few curled locks will be enough to give the feeling you are looking for, and the back can just have a simpler shape.
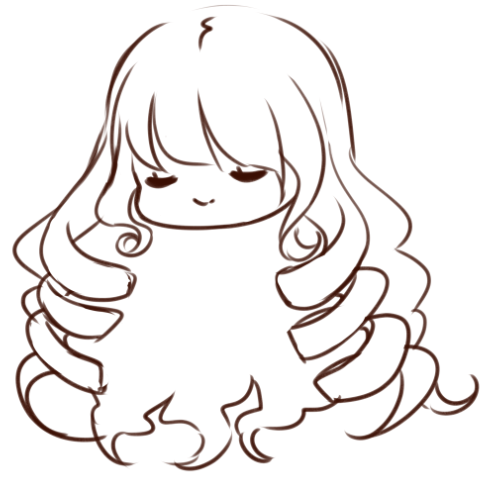
Don’t hesitate to erase what looks wrong and try again. Spending extra time perfecting the flow of drawing various hairstyles, whether straight, layered, spiky, or braided, will pay off in the end.
Another essential tip for drawing anime hairstyles is to work with long, fluid lines, instead of short scratchy strokes. This technique not only improves the look of your sketch, but also reduces wrist strain during long drawing sessions!
Feeling stuck? Take breaks and look up new references to refresh your eyes. Keep these references open while you draw, as they’re a valuable guide for improving accuracy.
Tips for cleaning up sketches and creating line art
For some drawings, simply cleaning up the sketch can be preferable to creating detailed line art.
Cleaning up a sketch involves erasing messy lines and refining them just enough to give your art a relaxed, organic feel, without worrying too much about details.
You don’t need to over-zoom and glue your face on the screen to be sure the lines are perfect! Chances are, only you will be able to spot those small imperfections, so don’t stress.
You can use the same brush for both sketching and line art, but this will depend on how you want the final artwork to look. Check out the standard brushes or explore Clip Studio Assets. There are tons of free brushes you can download and use to experiment with different styles.
In this phase, you can also try making the lines thicker where they intersect or where shadows fall. This simple technique gives your lines more depth and dimension.
Here’s an example:
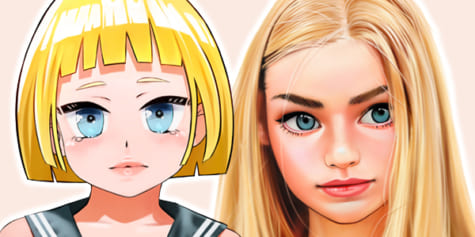
How to shade anime hair
After adding the base color, start shading hair by defining your light source. Remember those basic lessons about shading a sphere? Apply those same principles here.
Choose a color that is slightly darker than your base color, and use it to block out a general shape for the shadows. This is your “shading color.”
Once you have the general shape of your shadows in place, you can polish it to your liking. But for beginners, there’s no need to over-complicate things. Keep your shading technique simple and manageable, and add complexity as you grow!
As you can see from the image above, the backlight on the black hair matches the grey tones used on the white hair. I usually add some extra color to the hair I draw depending on the light source, and also because it looks pretty!
Now, how do you pick the right color for shading anime hair?
Short answer: It depends!
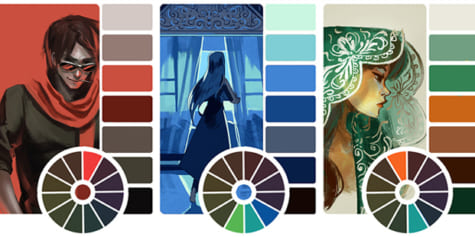
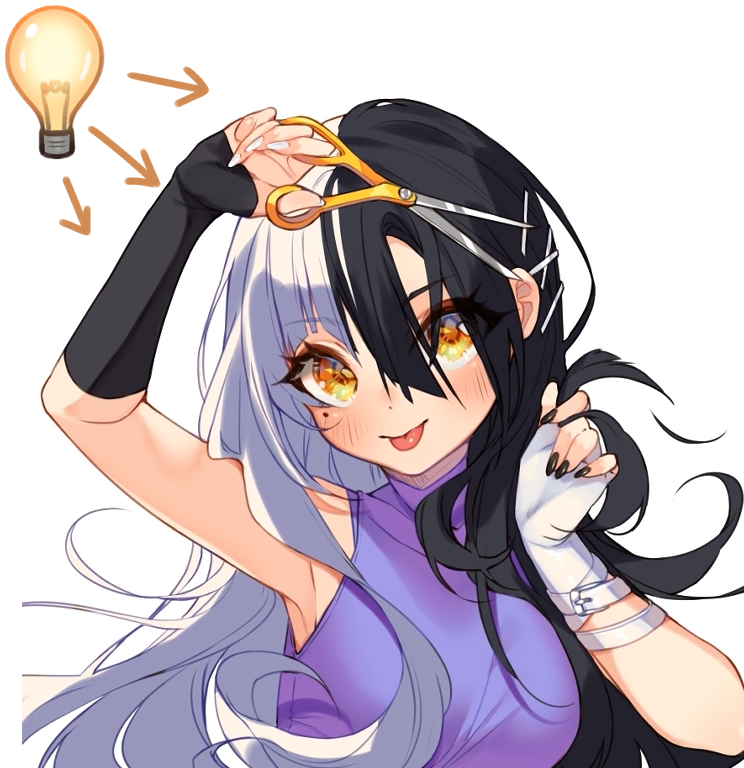
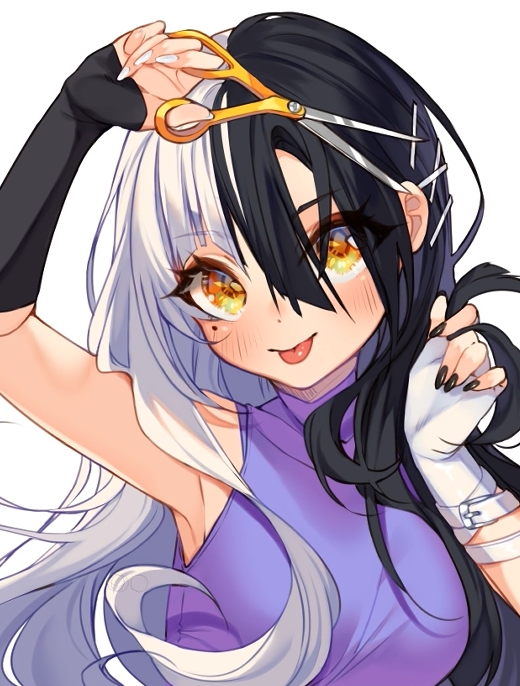
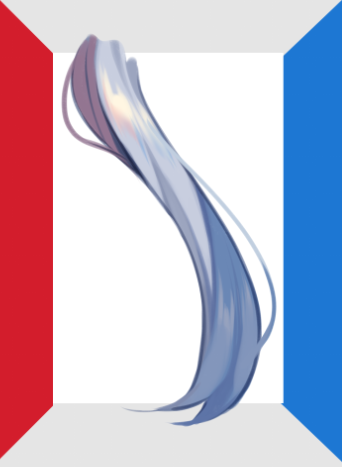
Does your illustration have warm or cool lighting? Depending on the color of your light source or the area surrounding your character, this can affect your shadows.
Like the following hair strand in a blue and red room: there’s a bit of each color on the shading. Similarly, if your character’s shirt were red or blue, you would blend more red or blue tones into the hair.
I tend to use colors already in the drawing and play around with them. Using colors that complement your drawing’s surroundings will better help tie the character into their environment.
Of course, you could get even more creative by mixing in unexpected shades. For example, pink with blue, purple with green, or orange with yellow–have fun and find what works for your style.
For black haired or white haired anime characters, different shading techniques may apply to avoid the hair looking too gray or purple. But if you are working with complicated hairstyles like rainbow-dyed or gradient hair, try making a new drawing layer and setting the blending mode to “Multiply,” so that you can test out which colors work without messing up the base layer.
How to paint highlights for anime hair
This part is very fun, and there are many ways to add shine to the hair. Yes, even white hair!
First, airbrush the skin color onto the bangs before adding highlights. This creates a layered, transparent effect to the hair, and helps the highlights stand out.
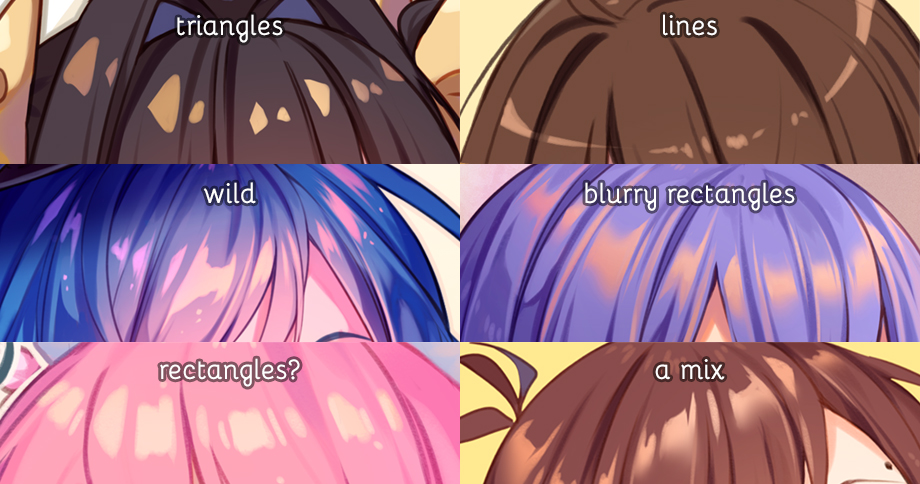
If you don’t know which color to use for highlights, take the base hair color, create a new layer, then set the blending mode to “Add (Glow).” After that, add blobs, triangles, lines, or any shape you like to create the highlight. Adjust the hue and saturation of these colors (Ctrl+U) to find a tone that matches your artwork.
When drawing highlights, consider also adding some messy strands. This brings a natural, dynamic look to your character–after all, everyone struggles with messy hair, right?
Bonus tip: Drawing anime eyelashes and eyebrows
Another little thing I enjoy is making the eyelashes and eyebrows slightly visible behind the hair. To do this, lock your lineart layer and color over it with a shade that’s darker or lighter than the base hair color to make it stand out. Try it! The final effect can depend on the hair color you are using, and whether your lineart is set to “Multiply.”
Conclusion: Mastering anime hair takes time and practice!
Still unsure how to draw anime hair even after this tutorial? That’s completely normal! Art takes time, and no one expects you to be a pro right away.
If there’s one thing to take from this tutorial, it’s this: use references! Hair references help you understand shapes, styles, and color, so make sure to use them mindfully.
I believe you don’t actually need a step-by-step to learn something. Instead, try to understand and apply techniques in your own way. As long as you enjoy what you do and are up for the challenges life will bring, you will grow as an artist! Practicing is key, but patience and passion make up the door.
Thank you very much for checking out this tutorial!
Happy drawing ☆ ~(‘▽^人)
– Hyanna Natsu
Interested in character art & design or what it takes to become a character designer?
Check out the link below!