Sculpting Forms, Using Value, and Brush Introductions
Follow along with Reuben Lara as he explains his approach to painting and reviews the brushes he paints with.
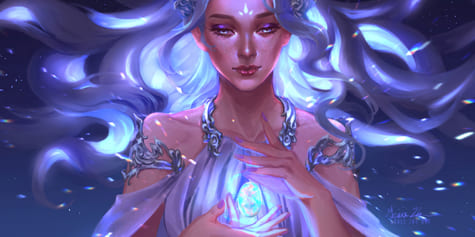
Hey guys, Reuben Lara here and today I want to introduce a mindset that I sometimes have when I approach a painting. I think about it like I’m sculpting forms out of a block of clay, starting with the mid-tones. You’ll be surprised at how quickly an image emerges when you think of painting with this kind of perspective. I’ll introduce the brushes I use.
My Painting Process: Color Blocking and Sculpting
First, let’s take a look at this Clip Studio file I painted. I saved it into four layers so you can get a sense of my process, which consists of four stages.
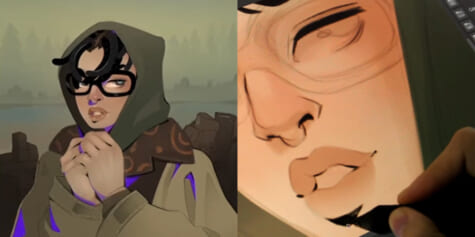
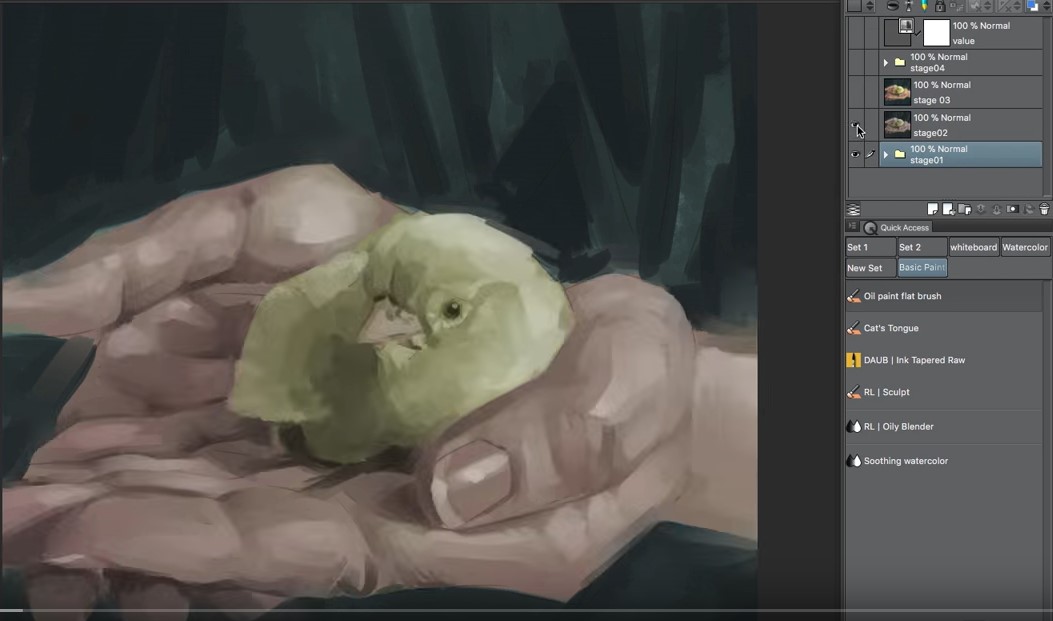
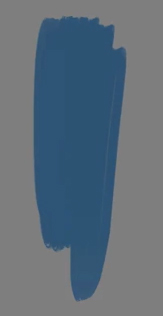
Stage one is where I always do my initial color blocking. I do this under my lines, so I don’t have to focus on staying within the lines, and I can take a very loose and messy approach. Along with my initial colors, I also add a general idea of highlights and some shadows. I don’t block in the darkest shadows yet, but even so, you can get a sense of how this sculpting concept is coming out from within the painting.
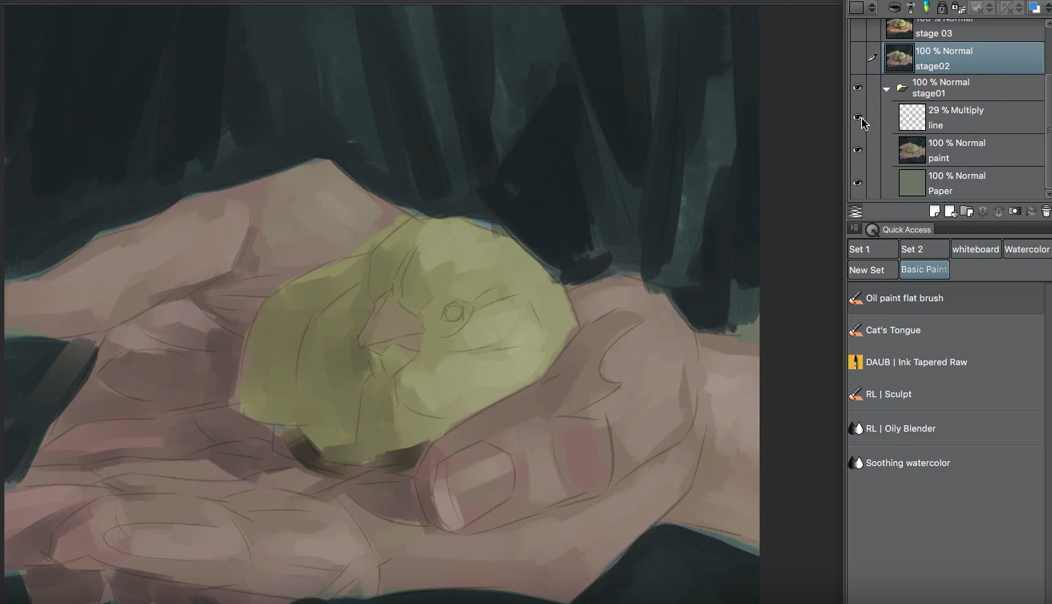
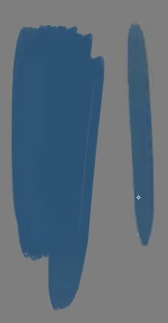
For stage two, I flatten all the work I did in stage one into a base layer and then continuously paint onto that layer. Stage two brings more definition to the painting, but you can see that it is all rooted in the base colors I laid in each of these broad areas for stage 01.
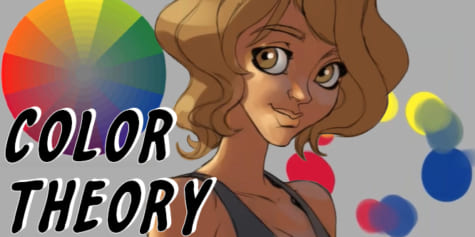
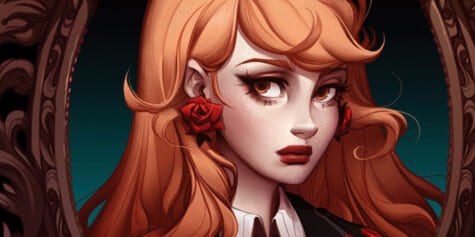
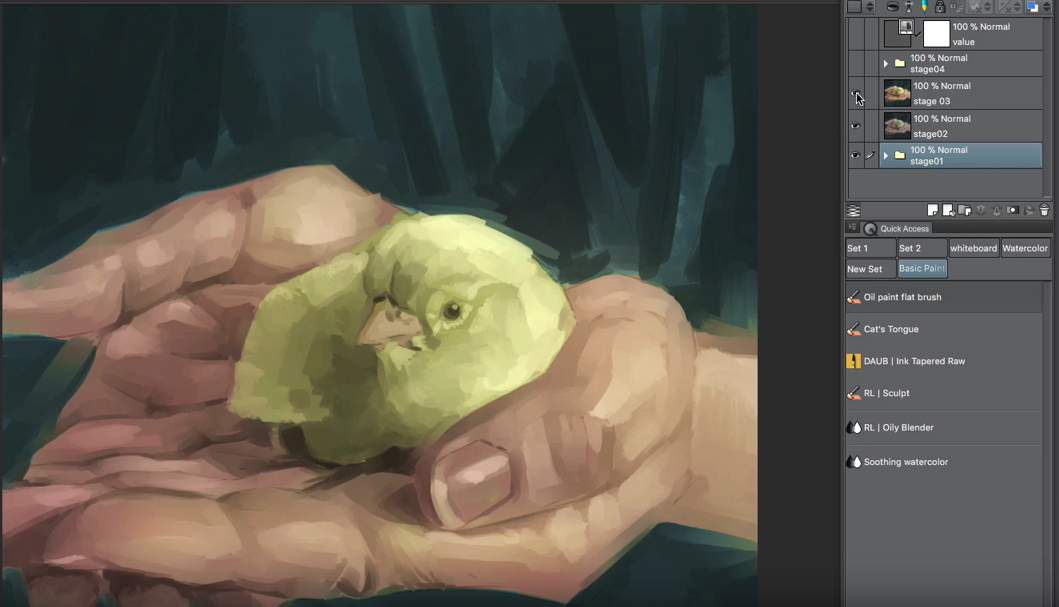
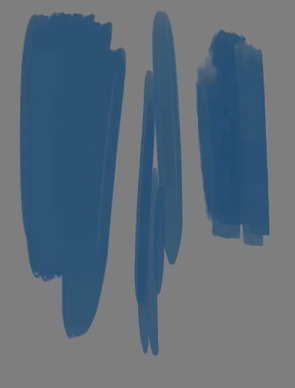
Stage 03 has a little more color. I use a Gamut mask, a technique that limits the range of colors when painting, which is a subject I would like to do another tutorial on at a later date. Limiting my color palette for stage three is so that I can make sure that I’m not going overboard with my saturations. For stage three, I also increase the hue and saturation and bump the colors up to a point where I like it. Even at this very unsaturated state, you can see that the color harmonies and balances are there. By limiting my colors early on, I find that I have more success with their outcome later.
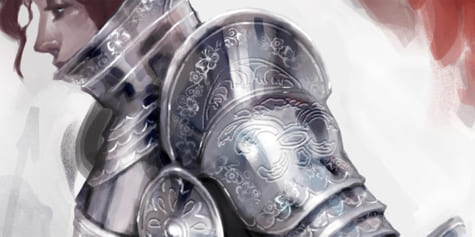
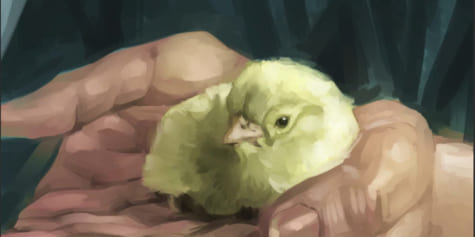
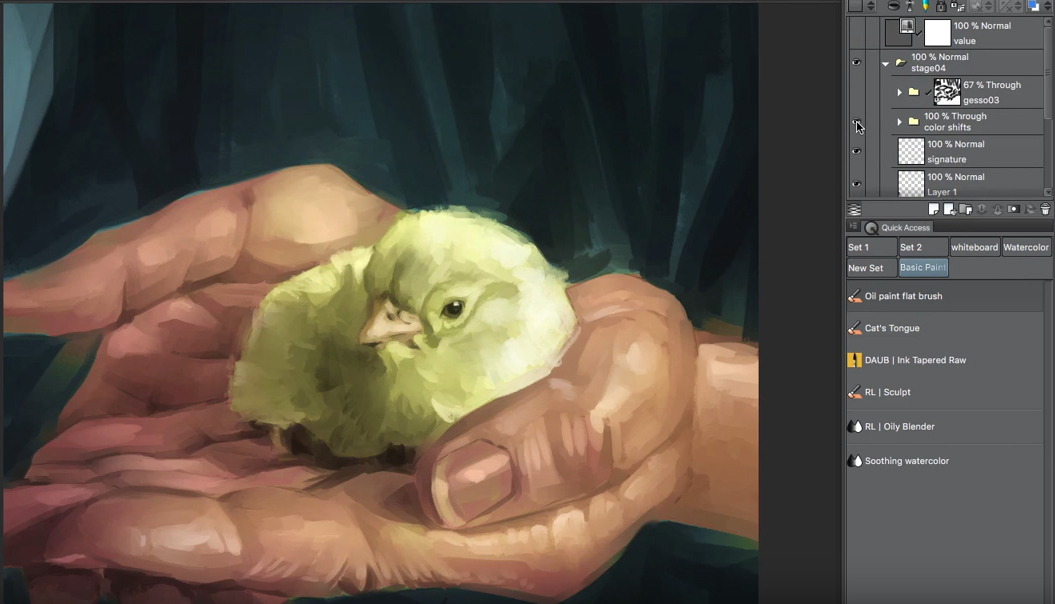
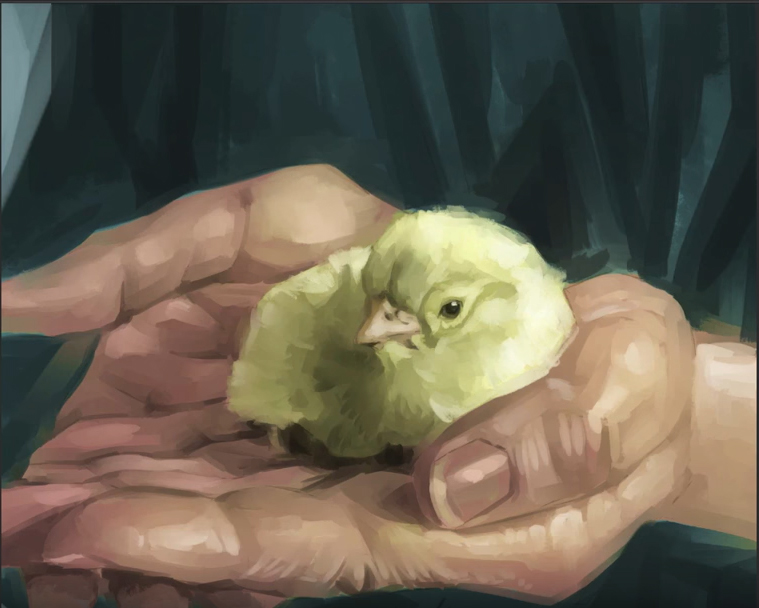
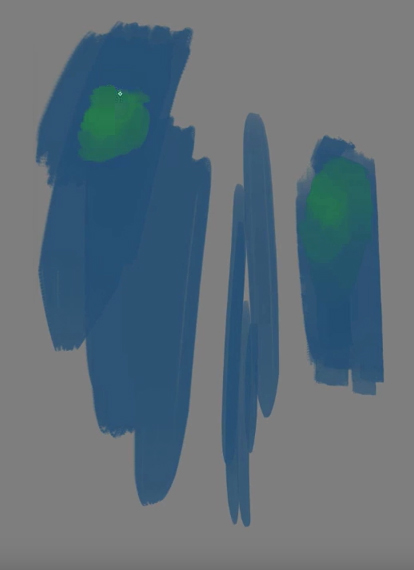
At stage four, I apply some color shifts, but the majority is adding small details to the painting. This is what I want to focus on. If you think about your painting as large planes with big brushwork, the addition of the small details then gives the impression of a detailed painting. Little areas, such as down by the fingers, come in very quickly because I already had a pretty solid sculpted foundation to work from.
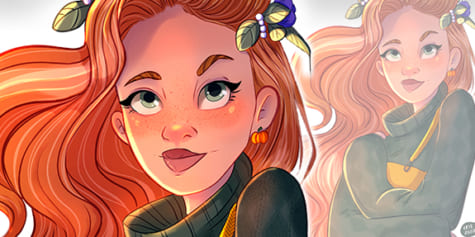
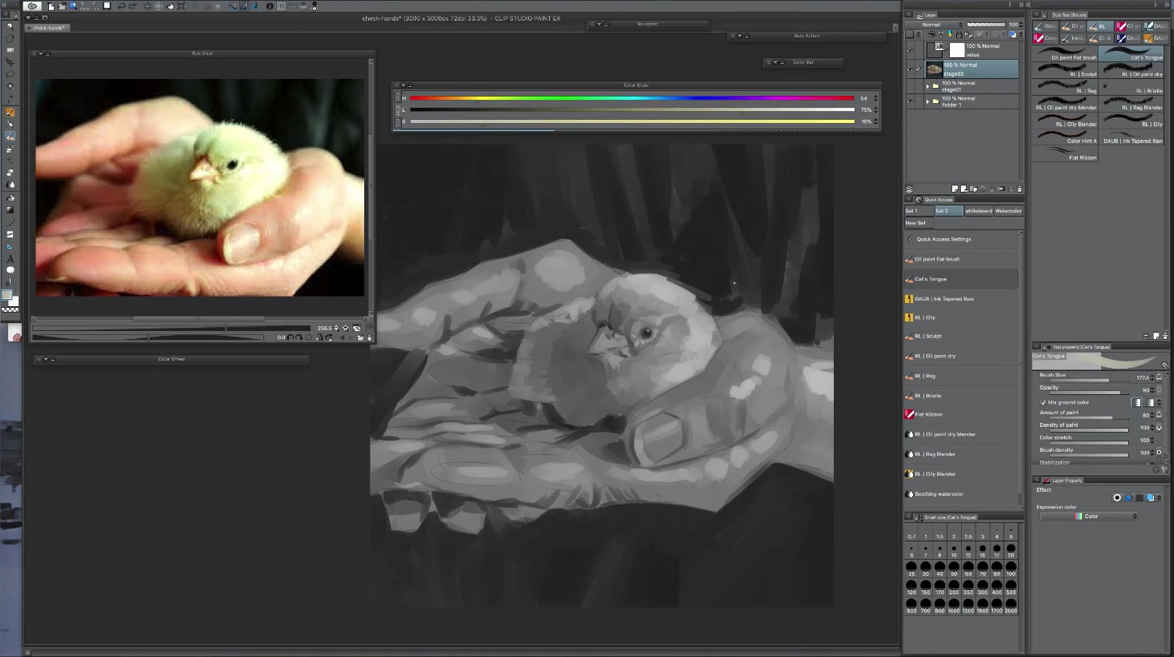
Now, I want to talk about Hue/Saturation layers. For this painting, I make a Hue/Saturation layer at the top that I will paint underneath called “value.”
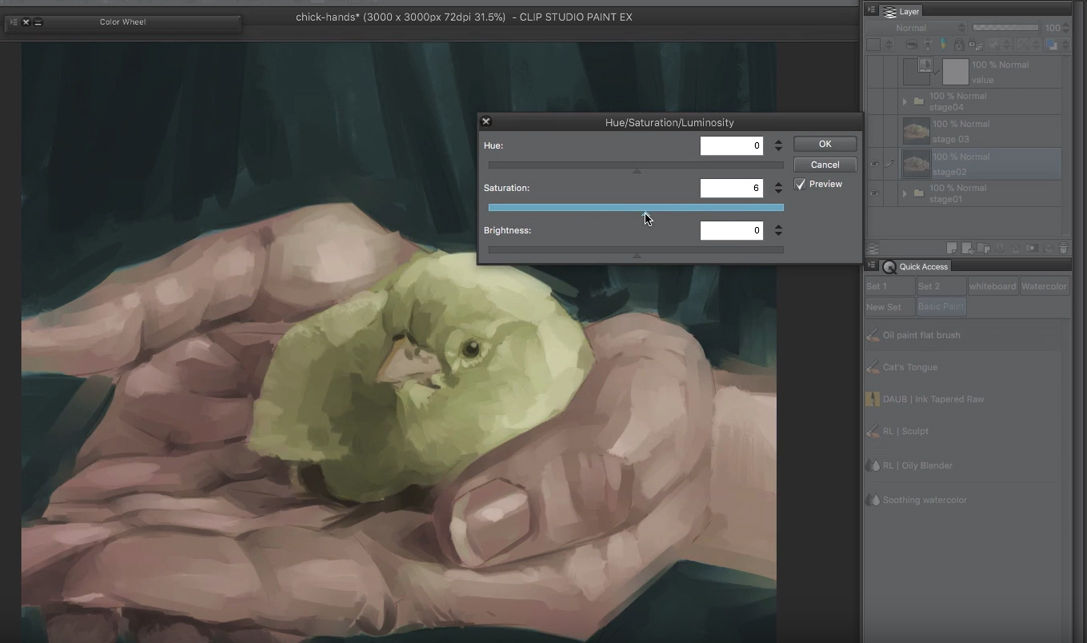
There’s a certain point during painting when I need to make sure that my values are working so that it’s easier to assess colors later. At this point, I only focus on value. I make sure that my color picker is picking only from that layer underneath it and I pick up colors from there. Then, I go up to the color slider and adjust the lightness up and down. Essentially what I’m doing is resetting my local palette on the canvas. I want to stress that I’m not thinking about how I will be blending my highs and lows in the next stage. I’m just thinking about laying patches of color down as if I’m sculpting, raising and lowering sections. Approaching a painting by only thinking about one thing at a time helps break decision making into different blocks such as value, color, and sculpting. This helps me focus on only the value, laying blocks of color in and how things are blending rather than color picking because I am confident that my initial blockings are good.
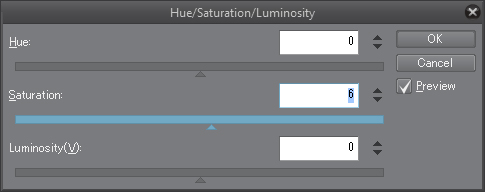
HLS or Hue Lightness Saturation Slider
When lightning and darkening, I use the HLS slider, as opposed to the HSV slider. One of the reasons I really love Clip Studio Paint is the HLS slider. Photoshop doesn’t have one, and I find that the lightness algorithm from HLS works nicely when I’m adjusting color values. When I’m finished, and I remove the value (hue/saturation) layer, I’m always surprised at how nice my painting looks!
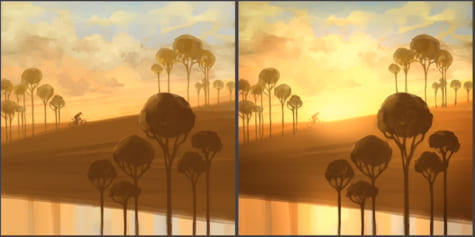
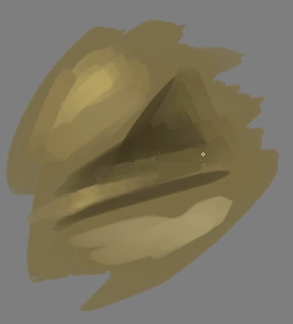
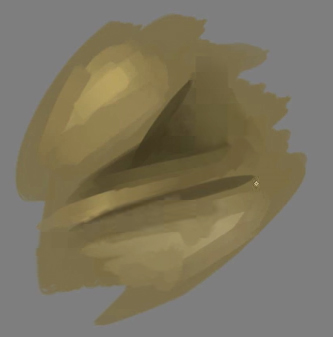
Here’s another quick look at the sculpting differences between stage three and stage four:

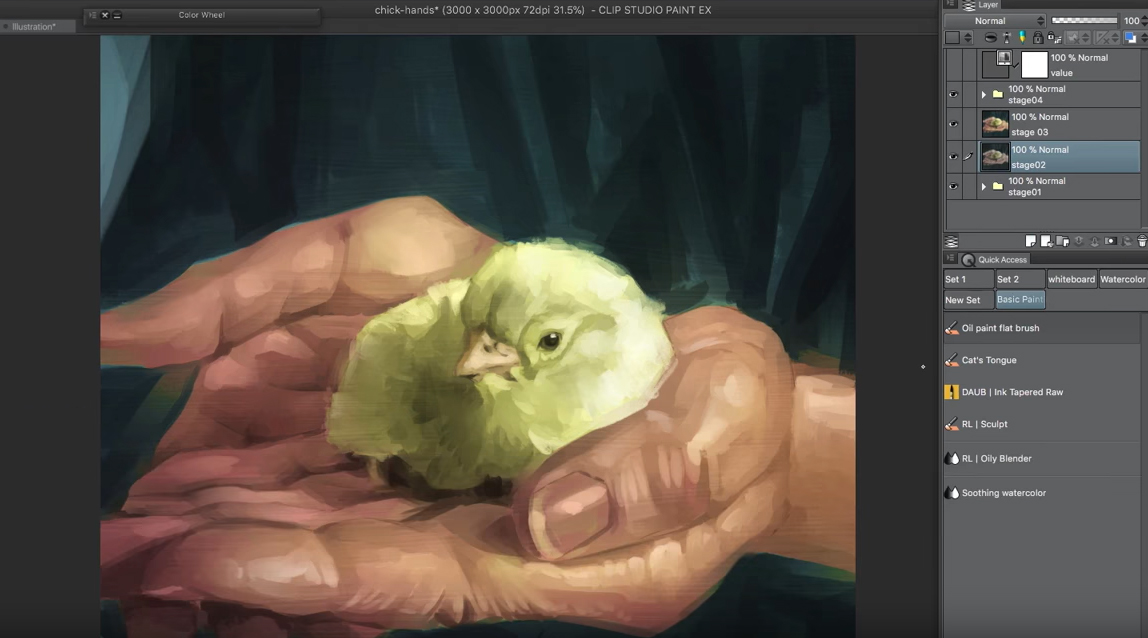
My Clip Studio Paint Brushes: Oil Paint Flat Brush, Cat’s Tongue, Sculpt Brush, and Oily Blender
Finally, I’d like to review the brushes I’ve used for this painting. I like to limit the number of brushes I use on any given piece. I find it simpler, and I get to know exactly what each brush does.
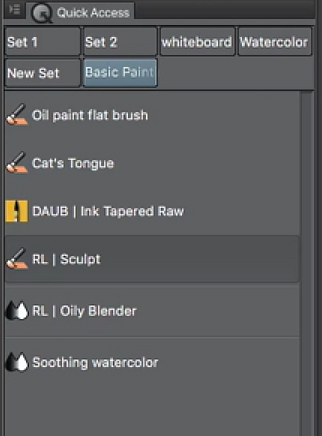
For this particular piece, I laid the colors in with Clip Studio Paint’s standard oil paint flat brush. I love this brush, it’s immediate, controllable and I know exactly what it’s gonna do.
I also have a modified version of the Oil paint flat brush called “Cat’s Tongue” which has a little bit more of a tapered end but otherwise, it’s the same brush. I used this one later as I layered in those details.
The sculpt brush is meant for detail and not for huge broad areas. It has an oily, soft quality that allows me to take a base color and just start softly shifting it lighter or darker or even into another hue. I like it because it allows you to sculpt with a specific color but, it’s not so aggressive that it makes aggressively broad changes to the form. It has a nice build-up to it.
The Oil paint flat brush also blends, but it’s a bit more of an immediate, aggressive blend than with the sculpt brush. The sculpt brush allows me to slowly bring in color while keeping a painterliness about my work, my biggest desire.
My Oily Blender is something that I use a lot after I have patched in a bunch of color. It doesn’t rely on color, but it blends colors. This leads to that painterliness, which is what we are after. I used this to sculpt in the forms based on what I see in the photograph. Since I don’t have to think about using color when I use this brush, I can just move the paint around and enjoy the process of sculpting and re-sculpting with it.
To see these brushes in action and more, check out the video tutorial Sculpting Forms – Clip Studio Paint
About the Artist
Reuben Lara is a traditionally trained artist who primarily uses Clip Studio Paint and Adobe Photoshop and provides free training for beginner and intermediate artists through video tutorials. He reviews basic tools that are affordable and accessible and teaches production-proven techniques and methods that he’s been using for over 20 years in the design and illustration industry. He seeks to help artists learn how to enjoy painting in the digital workspace overcome technical hurdles so they can start having fun when creating art.