Simply Well Drawn Part 4: Drawing Backgrounds

Learn about background drawing for your illustration! We teach you how to think up a good background for your illustration to make your characters pop!
Read part 1 here!
Read part 2 here!
Read part 3 here!
In this fourth part of my tutorial series, we will focus on the background and I will tell you a few tips and tricks as well. Here we go!
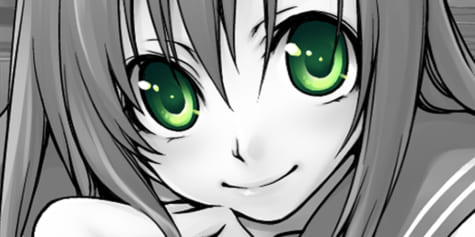
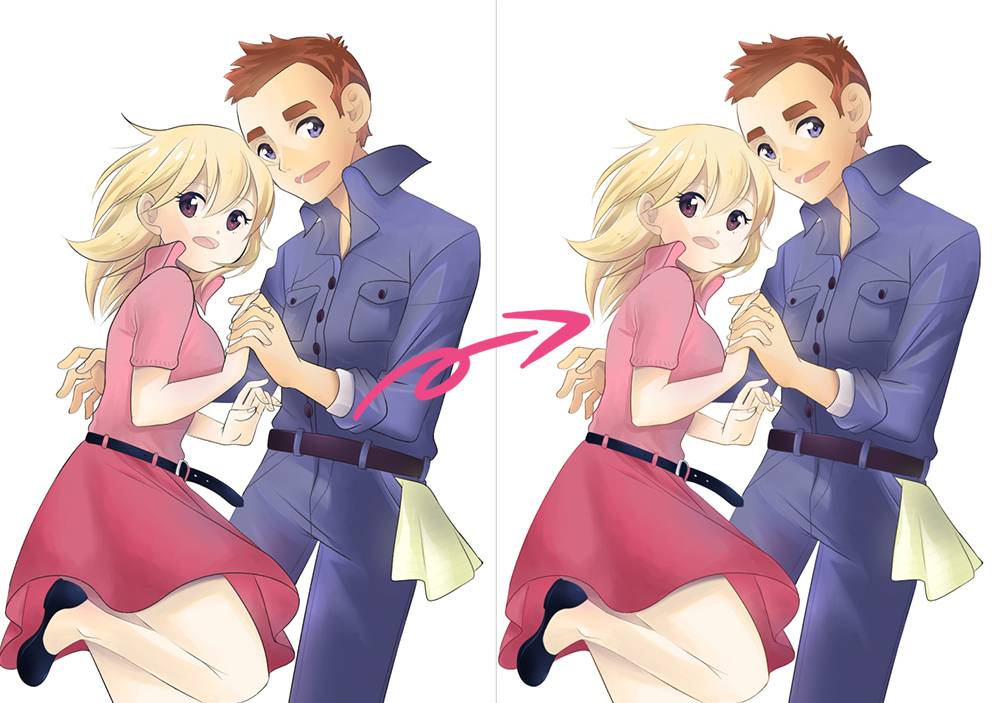
I would like to give my picture an even softer touch to emphasize the theme of “love” even more. In addition to harmonious colors and the body language of the two characters, coloring the line-art is another thing you can do.
Since the line-art is on an extra layer (see part 2), it is quite easy to change its color. Whether you replace the black with a single color (for example brown) or color all the components individually is up to you. I chose option 2 and chose a slightly darker color for the face, hair, and clothes. Especially the hair and the bright pink sweater benefitted from this method:
With this, the two lovers are finished for the time being. Let’s move on to the second most important part of the illustration: the background.
In order not to distract the viewer too much from the main aspect of the illustration, I decided to add a breezy summer sky. It can be a bit intimidating to draw skies, but actually, it’s a lot of fun. The process is usually the same.
Let me introduce you to my assistant: Flying Red Cat (FRC):
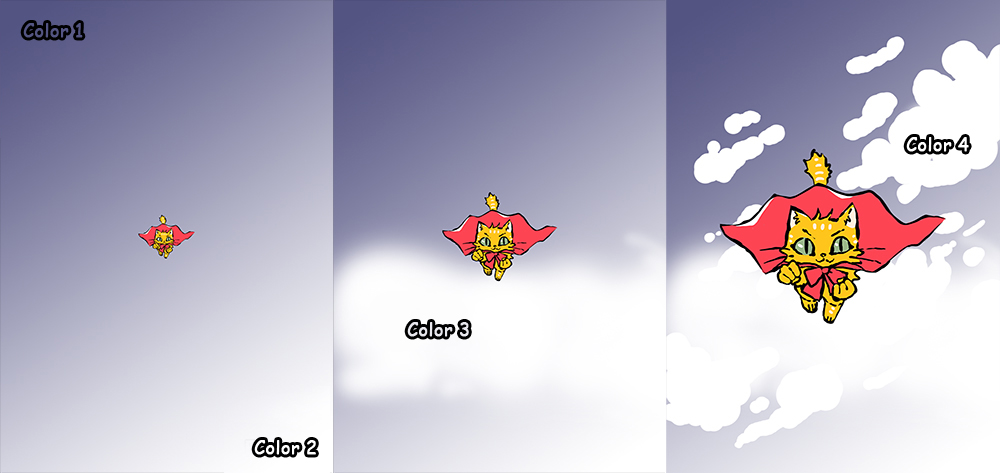
When I draw a sky, I always start at the very back, far on the horizon. Do you see FRC in the first picture? It is still far, far away.
Image 1: The horizon usually consists of a gradient; during daytime, it is most often from dark (stratosphere) to bright (near the ground). So I decided on two colors and used a gradient on the whole canvas.
Image 2: FRC has come a little closer now and passes the first clouds. With a big, soft brush, I hint at those fluffy clouds.
Image 3: FRC has arrived at the foremost clouds. I draw these with a slightly harder brush.
In this GIF you can see very well how I am working from the back of the clouds (soft) to the front (white and defined):

The next step requires a brush in your graphics software that is able to incorporate the background colors with the color you are using. They are often called “watercolor”, “water” or “blending” brushes. With one of these types of brushes, I draw my clouds with a circular motion, until they look voluminous and disheveled.
Make sure to consider where the sun’s rays hit the clouds first and make these areas brighter accordingly. Clouds are a bit like piles of soft ice, so make sure to have a look at this topic again in part 3 of this series.
This is my progress so far as a GIF, showing the progress from simple to detailed:
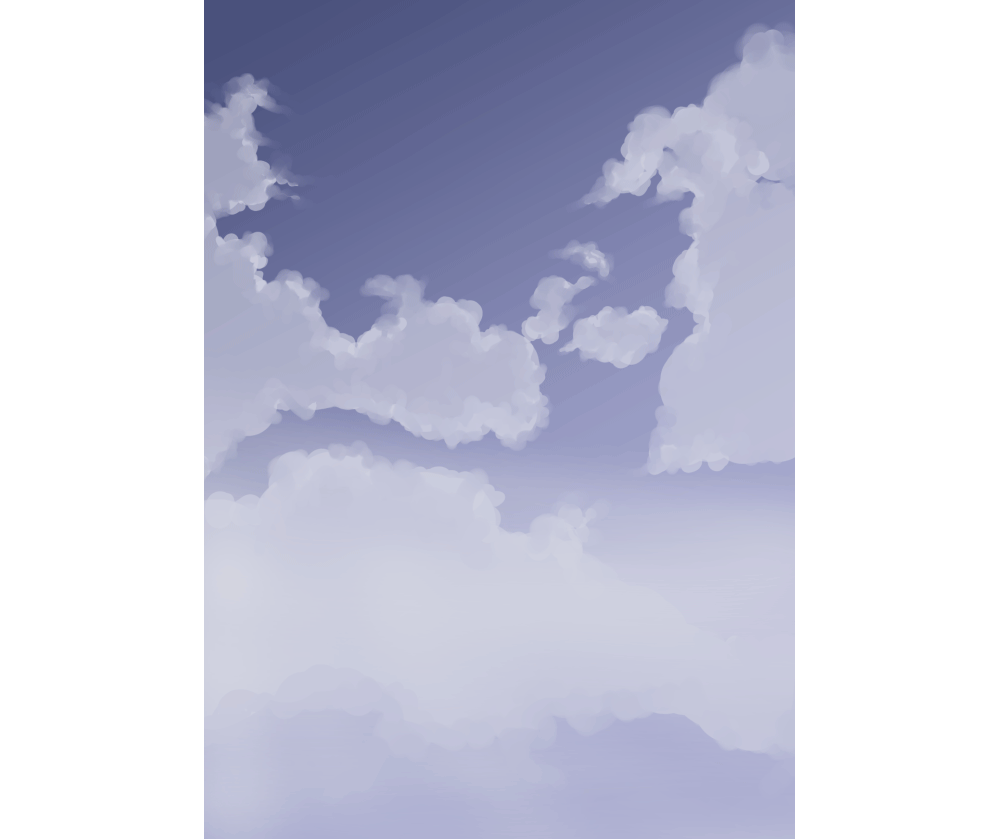
Refining these clouds requires a little bit of patience. Gradually work from the rough shapes to the refined clouds and don’t give up!

The picture is almost done now! As a final step, I add small decorations around our lovers. Also, it’s always a good idea to put your name on the picture, which makes it easier for others to identify you as the creator and rights owner of the image once you let it loose on the internet.
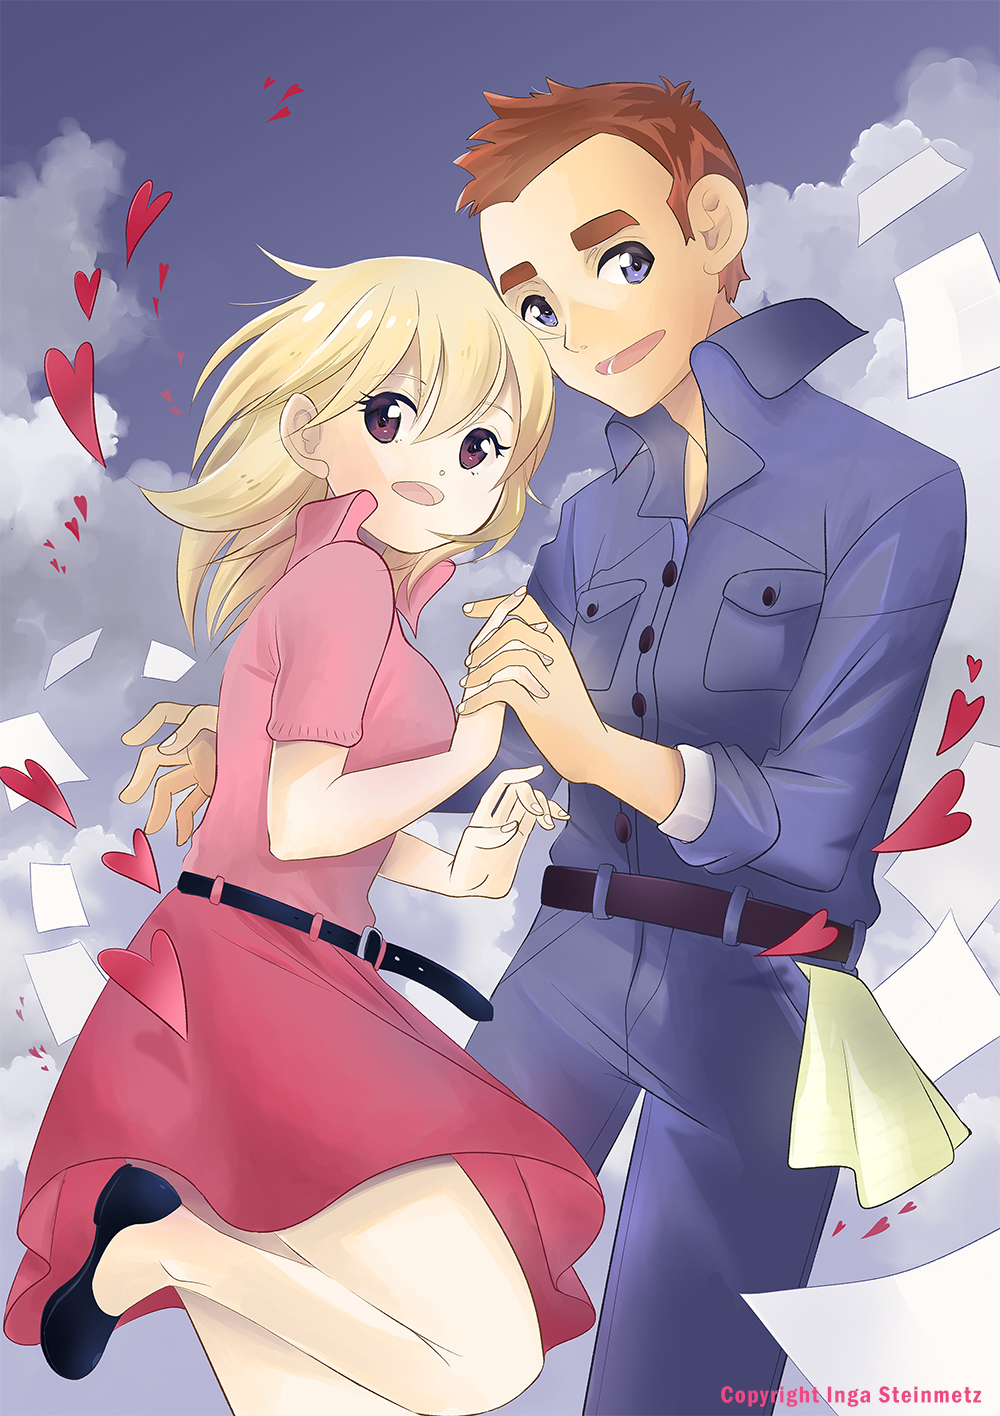
With this, the cover is finished! I hope these four detailed tutorials have brought you a little closer to my way of working. I spent about a week on this picture.
Until next time on “Simply Drawn Well”!
Inga Steinmetz lives and works in Berlin. She was born in the former GDR and currently lives near the East Side Gallery. At the age of fifteen, she began writing stories and drawing comics.