Testing the Sci-fi Character Design Process
Concept artist Hicham Habchi (Riot Games, Blizzard Entertainment) shows us how to create a sci-fi character concept from scratch, complete with live painting video.
This tutorial is about Clip Studio Paint and the process of designing a character using it.
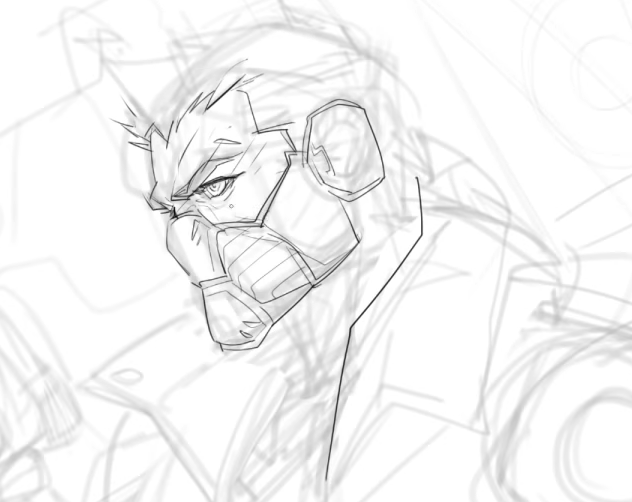
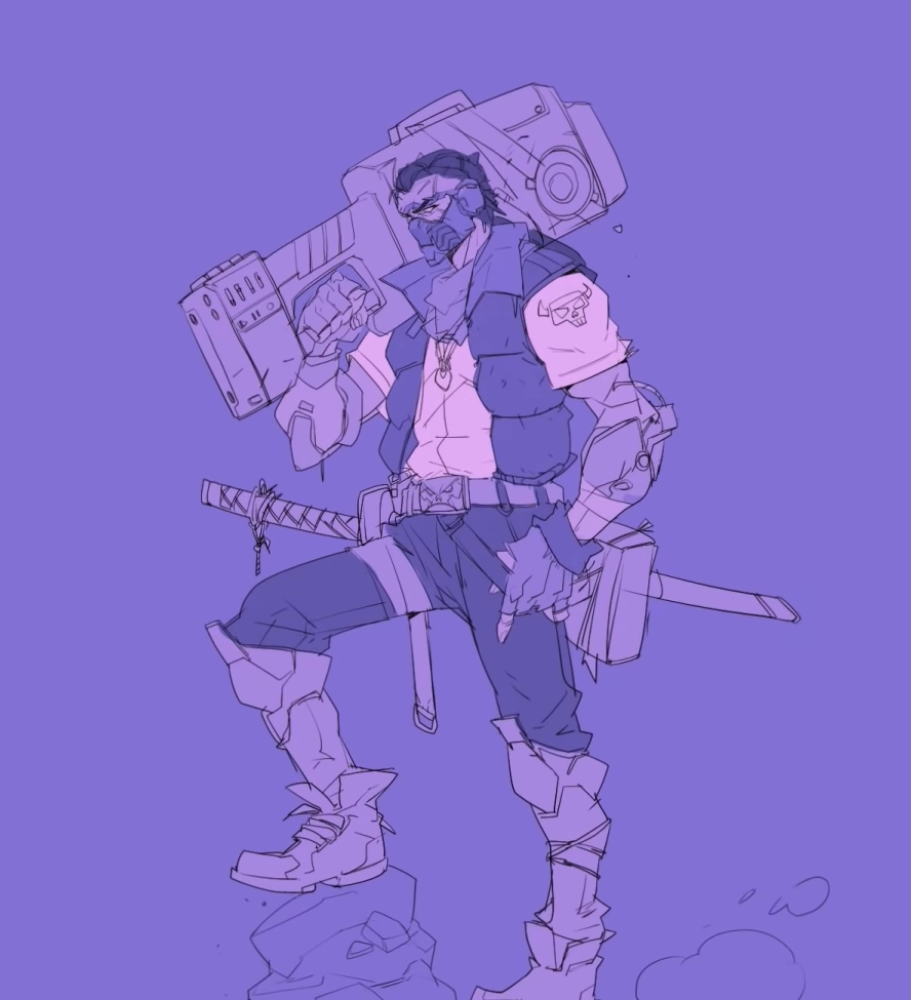
1. The rough sketch
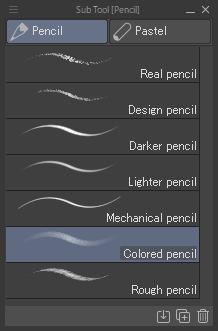
The first step is the sketch. I start by creating a new layer on a blank canvas. I use a pencil brush called Colored Pencil for the rough sketch, because I like using the same process as when working traditionally. A soft pencil helps me create smooth and loose lines.
I’m blocking out the shapes at this stage.
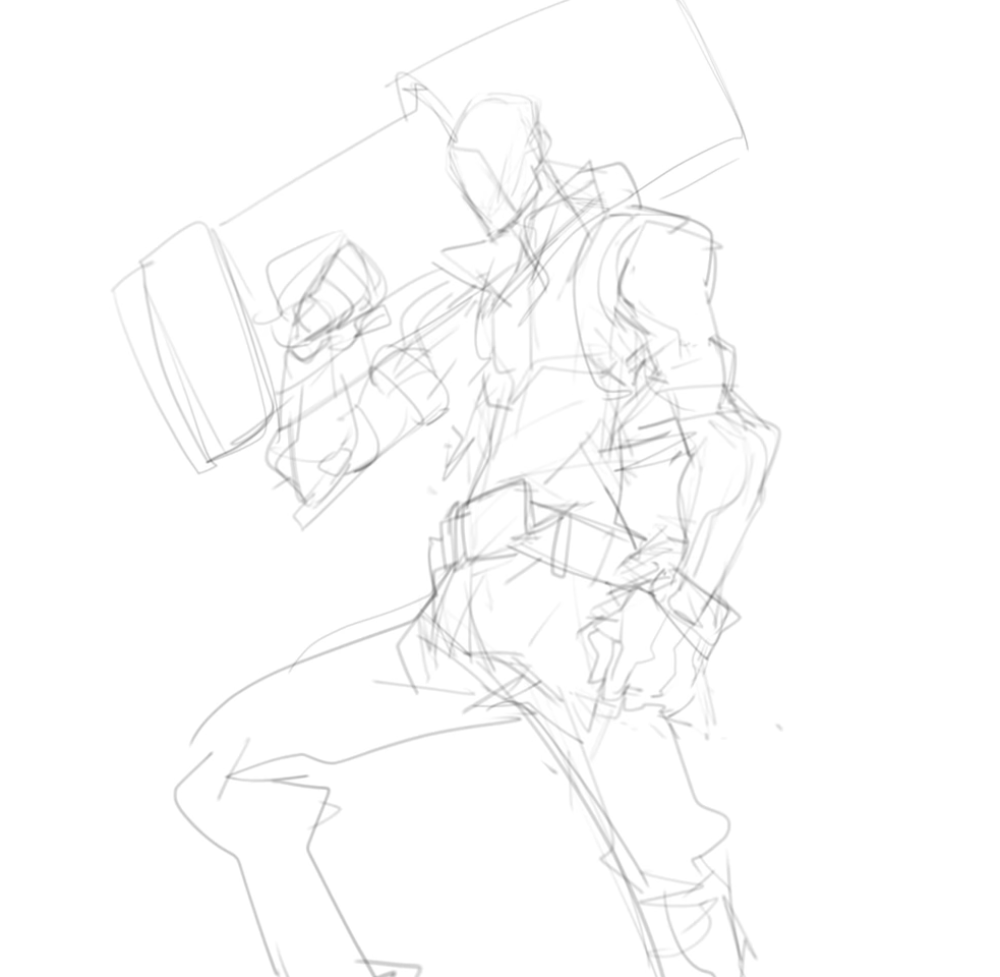
I usually do some warm-ups before starting a concept from scratch. Warm-ups are a good way to explore different ideas and concepts. However, for this drawing I decided to go in blindly to solve the problems I come across, especially in the face and clothes.
The rough sketch is an exploration stage, and it’s a good way to try out different aspects before finding the one that you want for your design.
It’s all about working on the same layer. The concept stage is about having a wide spectrum of ideas, especially with this kind of sci-fi character. You can keep pushing the idea of the character and finding ideas that fit in with the universe.
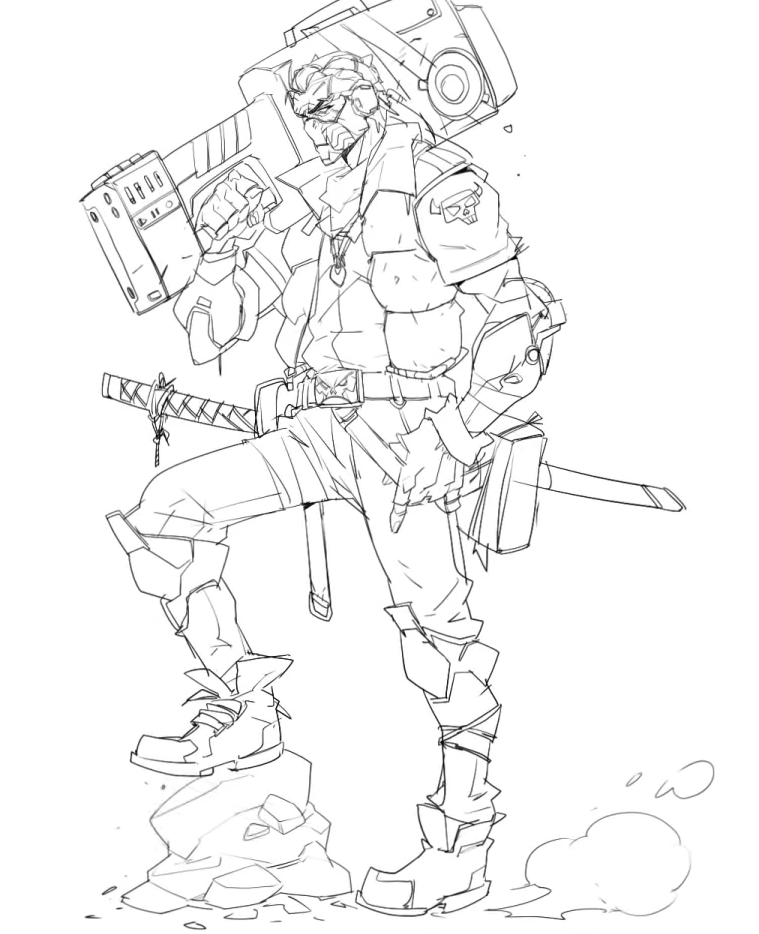
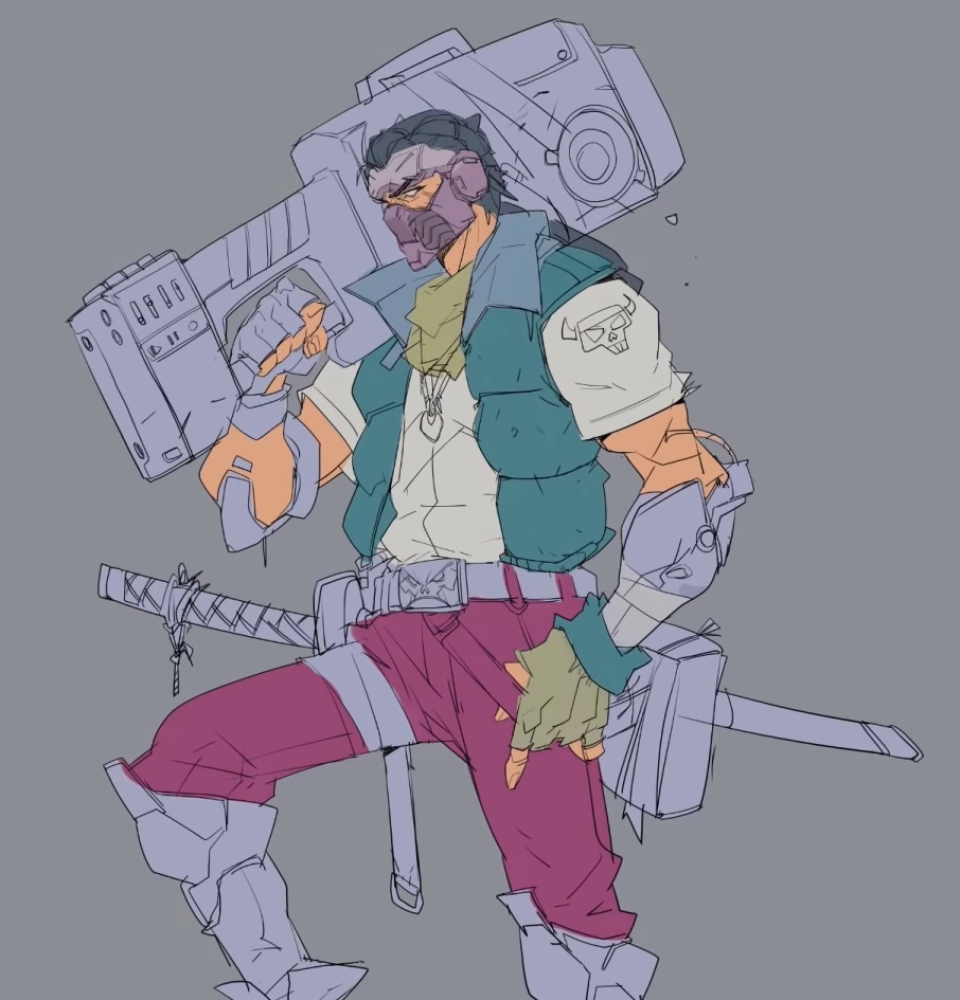
2. The line art
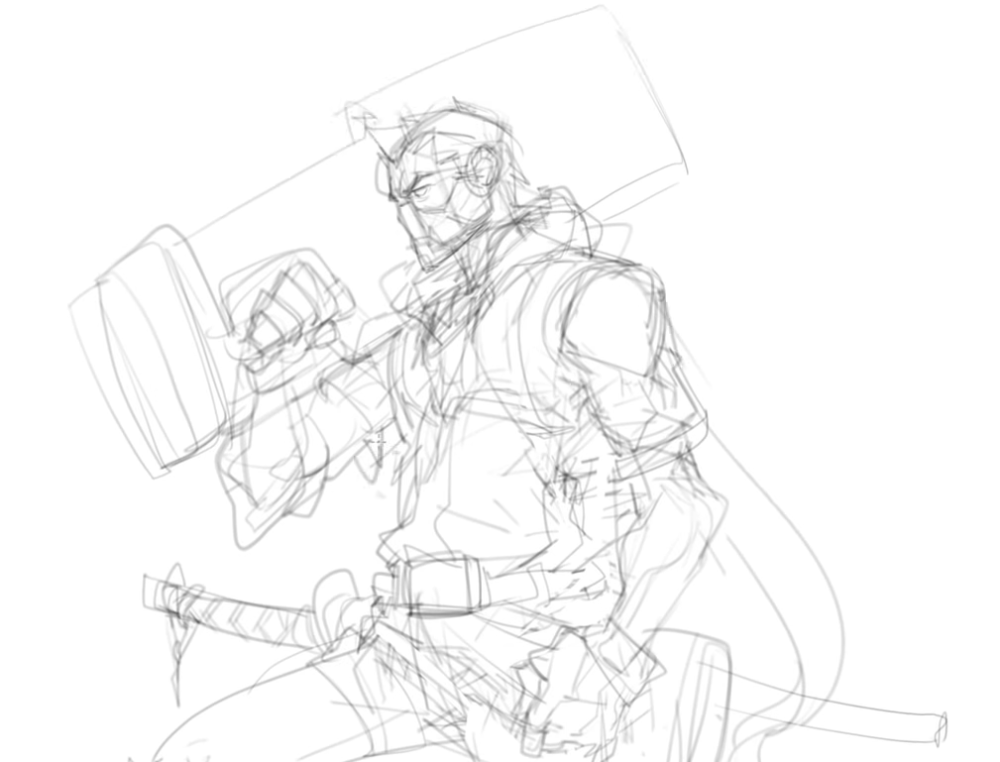
The next step is refining the sketch, so I start on the line art.
The line art stage is taking the rough sketch to another vision, with clearer and sharper lines that define the key elements of your design, especially the face, outfit, hands, and pose.
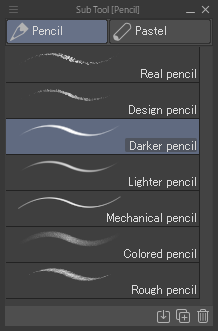
To do so, I use a hard, sharp pencil, which is the Darker Pencil in Clip Studio Paint.
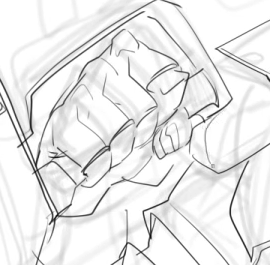
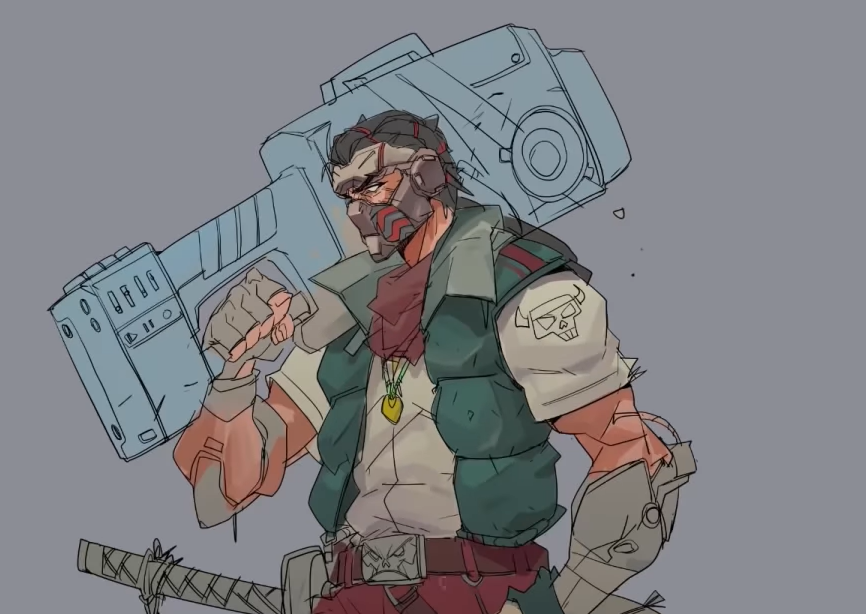
I create a new layer and start tracing my rough sketch. At the same time, you can see that some of the elements are new. While in the rough draft stage, you can have all the details at once, but at the line art stage, you try to figure out all the details you want to have.
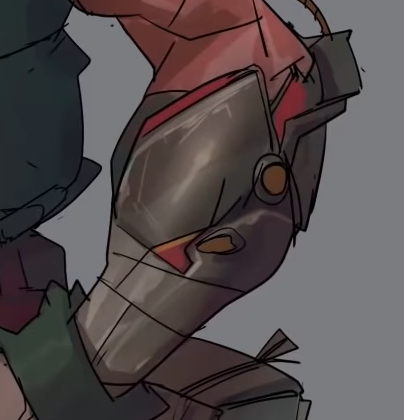
It’s a crucial step. The most important part for me is working on the upper half, focusing on the facial features, because this serves to create more life and deliver a better quality in attitude for my character.
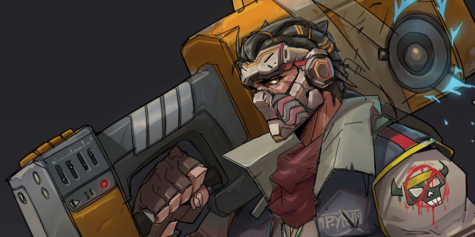
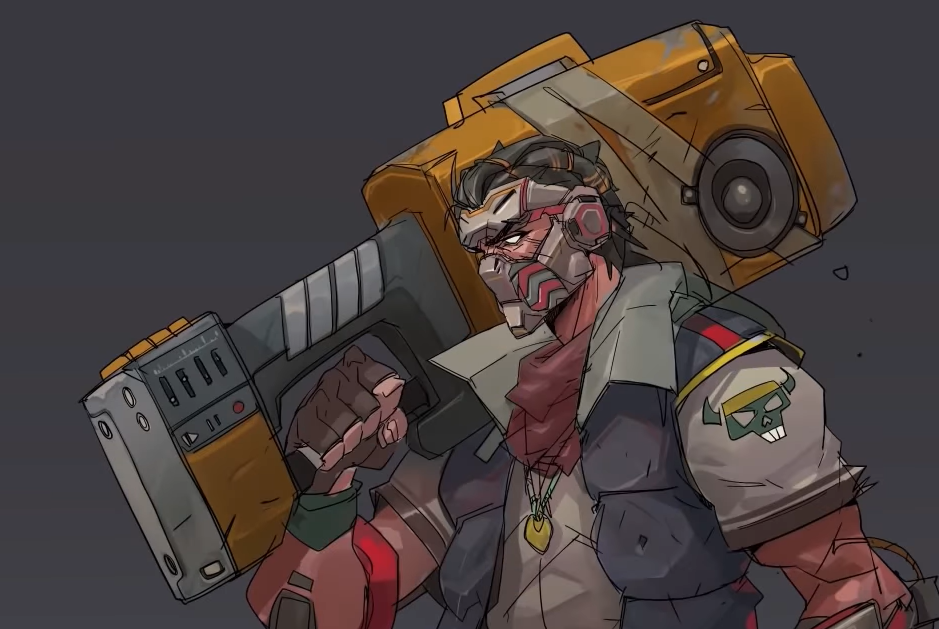
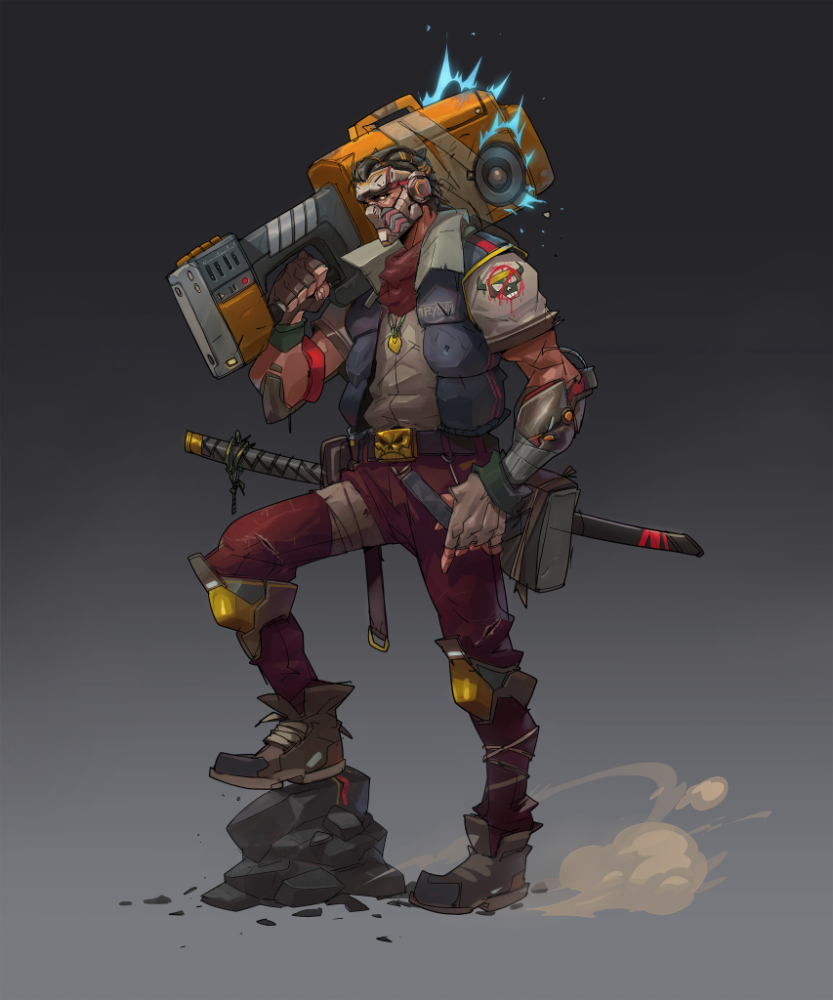
I wanted to create a badass mood for this dude. I always try to play in the universe, and this time I wanted an underground, urban style for the outfit.
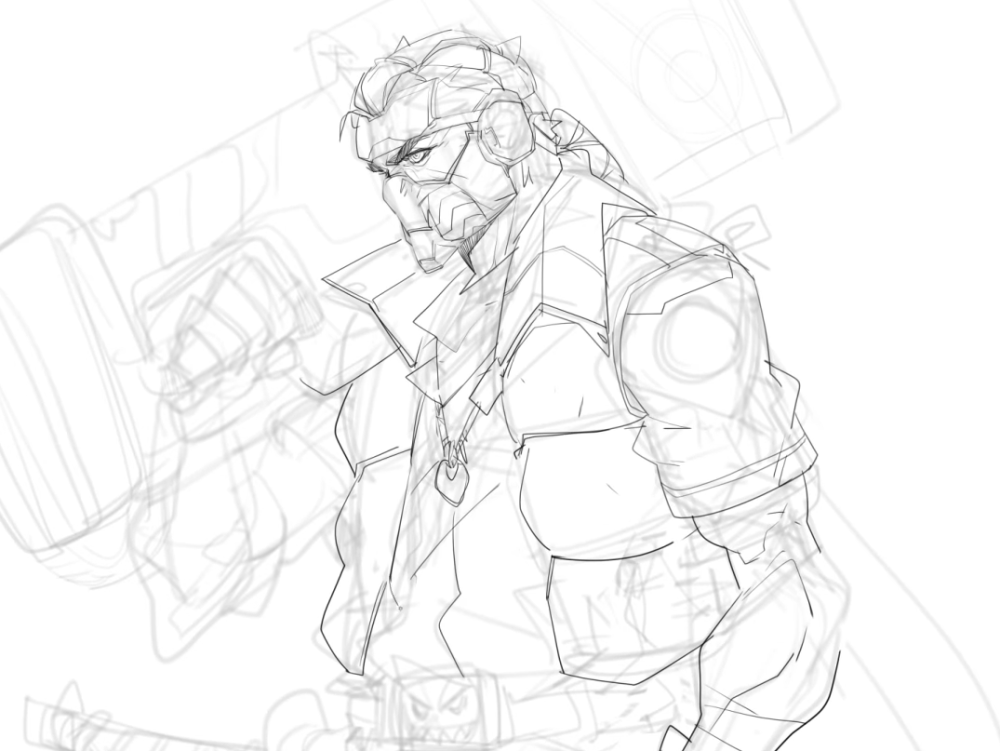
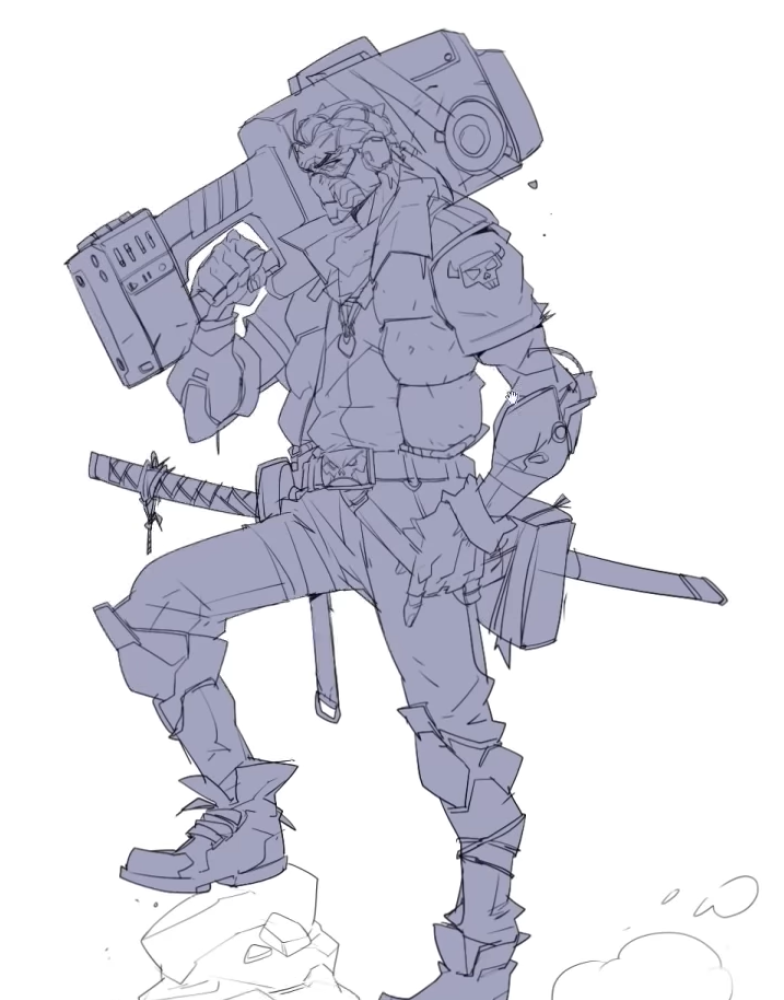
In the outline stage, I like to create on multiple layers so I can go back and fix anything that needs to be fixed.
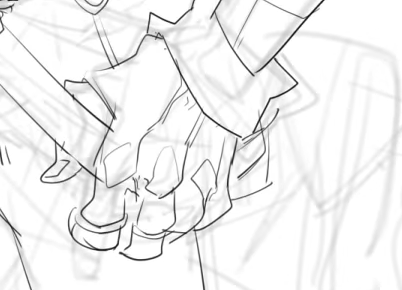
As you can see, I keep using the same brush, with multiple layers on top of each other. I switch between layers to fix any issues, especially the hands as they can be the worst part to draw and it takes a while to find the right option.
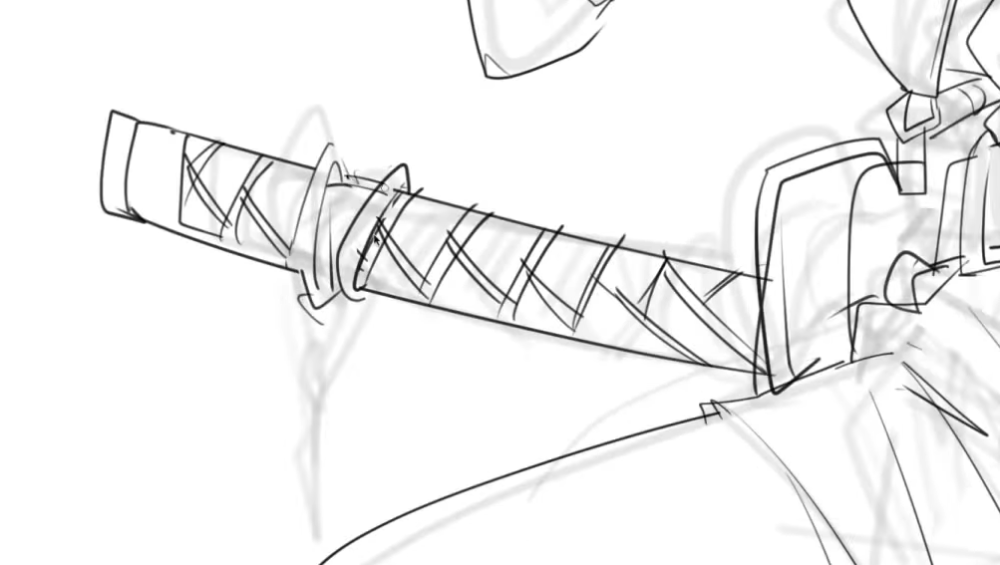
I was also playing with a few different elements to incorporate an underground vibe, mixing different concepts and cultures like the katana, the skull on his shoulder, and the huge weapon that looks more like a radio with speakers, influenced by a gangsta rapper theme. I like to create this kind of funny character with a lot of cultures merged together.
Going back to the technique side, once I’ve done the outline, I merge the line art layers together so I can tweak some of the shapes and details or add more objects to the scene to add more interaction with the character. I also try to add some visual effects for a dynamic purpose.
The next step is to make the line art bulkier and more present.
3. Coloring
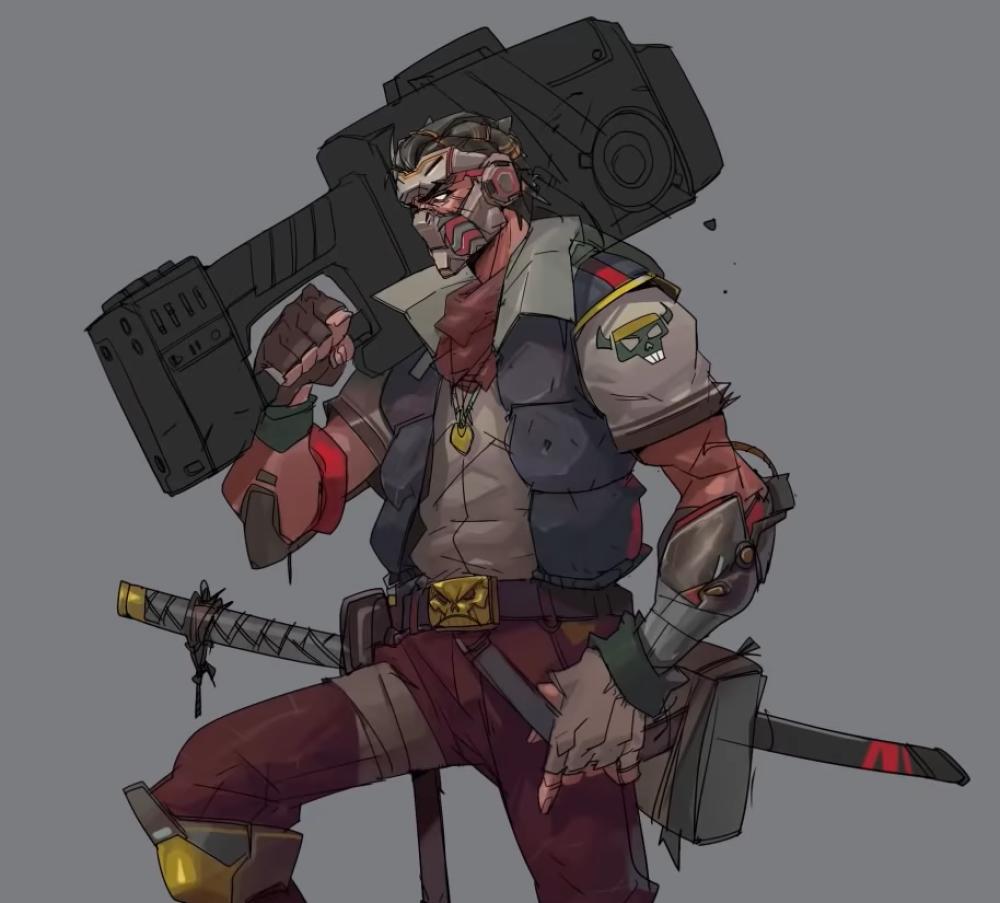
Once I’m done, I fill the gaps in the line art and fill the character with a solid color to have a clear silhouette of the character.
Once I have filled with a solid color, I start blocking.
I work on different layers clipped to the solid layer with the silhouette. Each layer contributes to a certain element of the design: the jacket, the t-shirt, the helmet, the skin. To define each one, I keep them on a different layer to make the later work easier in terms of coloring, blocking, and lighting.
I add layer correction from time to time, for example to make the scene look cooler.
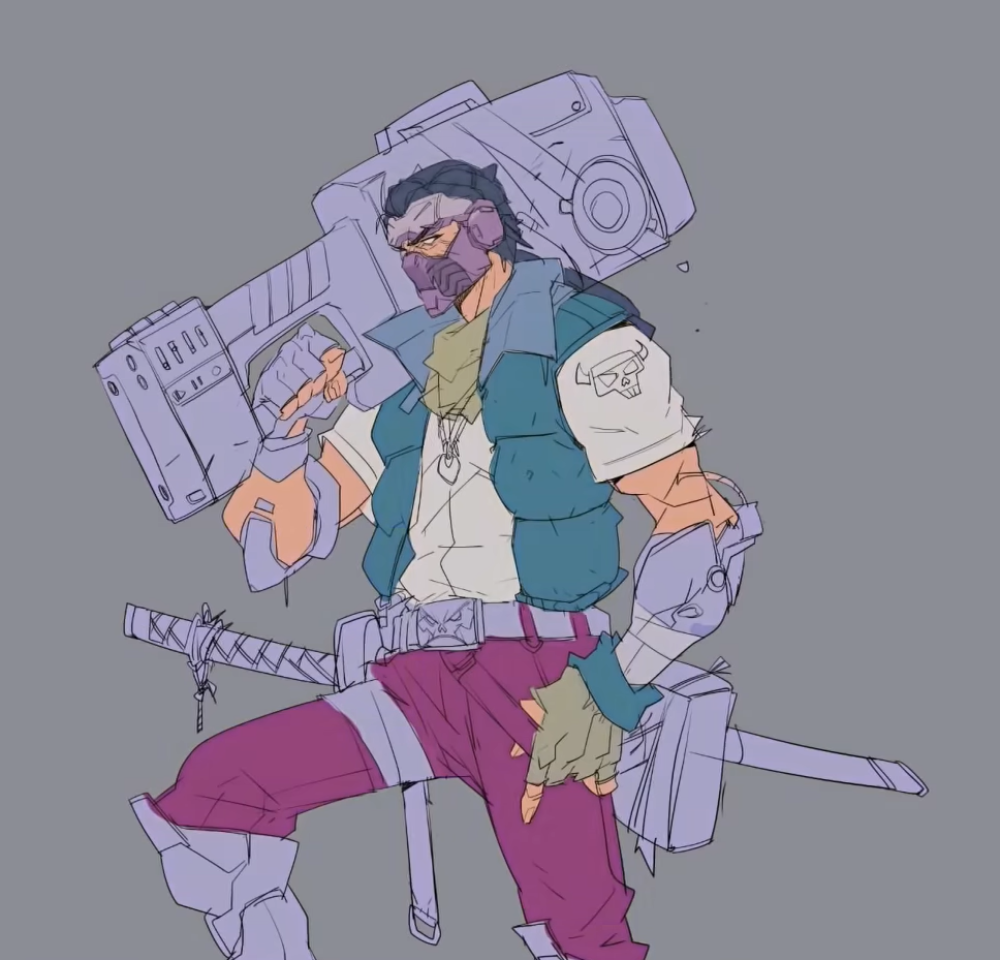
I keep trying different colors, finally switching from a cooler atmosphere to a warmer one.
For coloring, I use a watercolor brush called Dense Watercolor. I like this one because it helps me to blend colors easily and I like the softness and texture of it.
For the color palette, I play with different color options, normally using complementary colors for the initial aspect and then narrowing the values toward something more cohesive and vibrant.
There’re many techniques of coloring. My style is more comic-style, so I keep my color treatment more stylized with a hint of a painterly look.
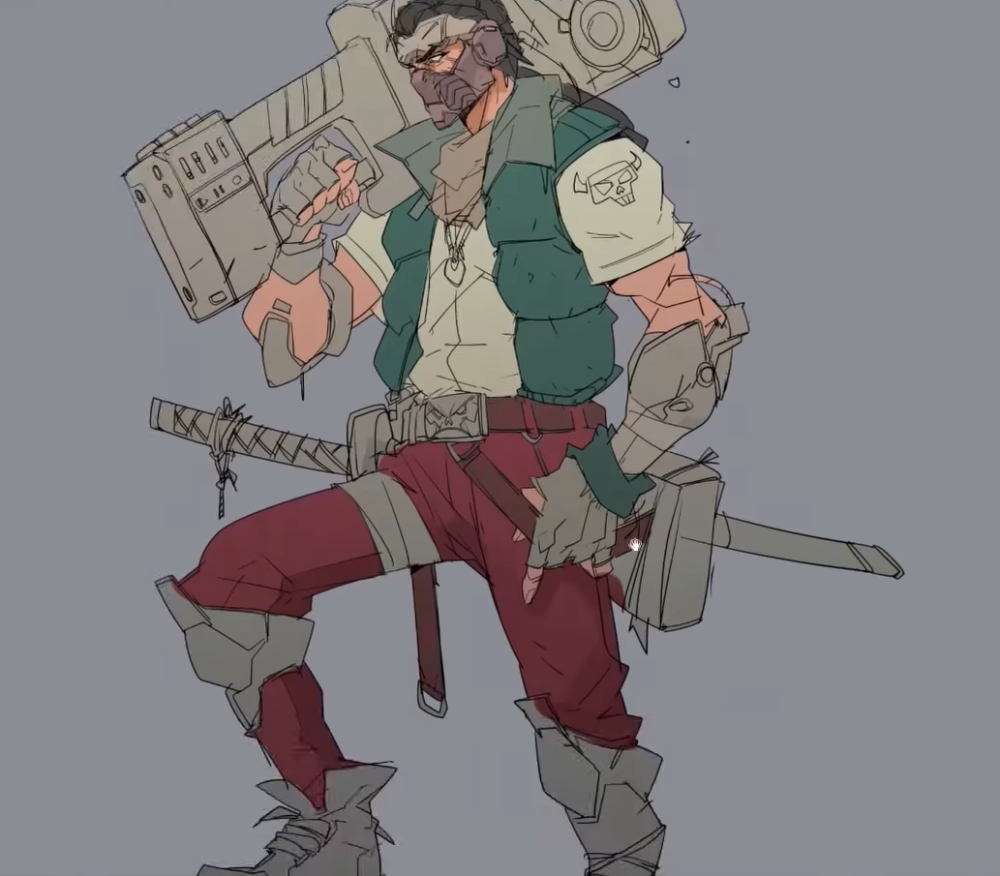
I keep adding more details using the same Dense Watercolor brush.
Sometimes also I use a soft brush but not for painting, rather to play with values and color modes. To do that I will use a different layer set to Soft Light and create a kind of gradient that goes over the colors.
You can keep coloring until you feel that you are nearing the end that’s the best choice for your drawing or your art style.
For me, I was trying to test more and more and keep coloring until I get the satisfaction and final result that I want to have. At this stage I’m still exploring and texturing. You can see here for the robotic arm; I was trying to add reflection and specular light that reflects light from the scene.
I also played with light and value to make the coloring look more interesting. In this way I keep working and pushing the details as far as I can.
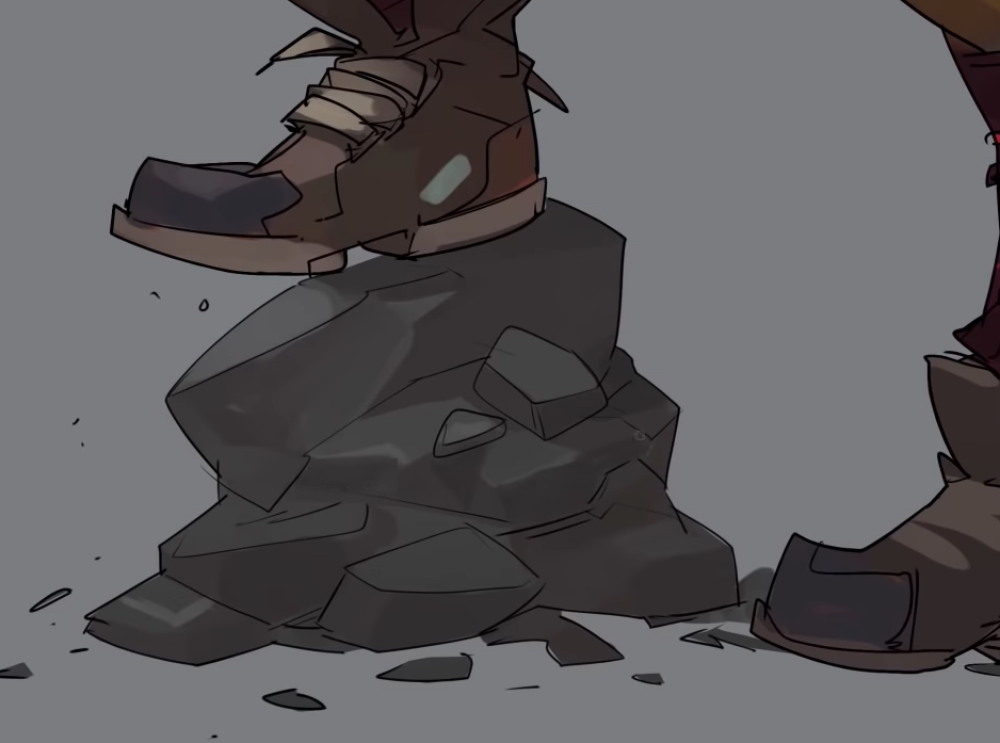
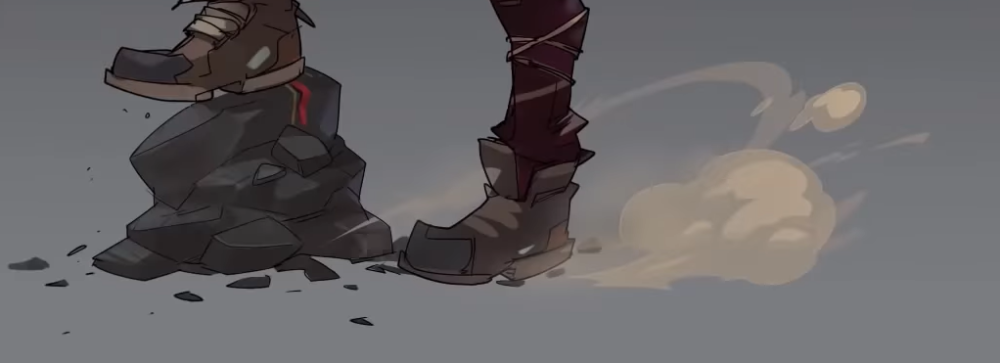
When I feel that I am in a good spot with colors and mood, I start adding more objects to the scene, like the rock under his foot. I work on implementing this within the scene, so it works as part of the silhouette.
I wanted the huge weapon to stand out as it’s one of the key aspects of this concept. Having a weapon that reflects the same kind of idea as the character helps give more context to the drawing and makes the creative concept cohesive.
4. Finishing
Once I feel like I’m reaching the final point and I feel confident with the design, colors and everything, I do some final retouches.
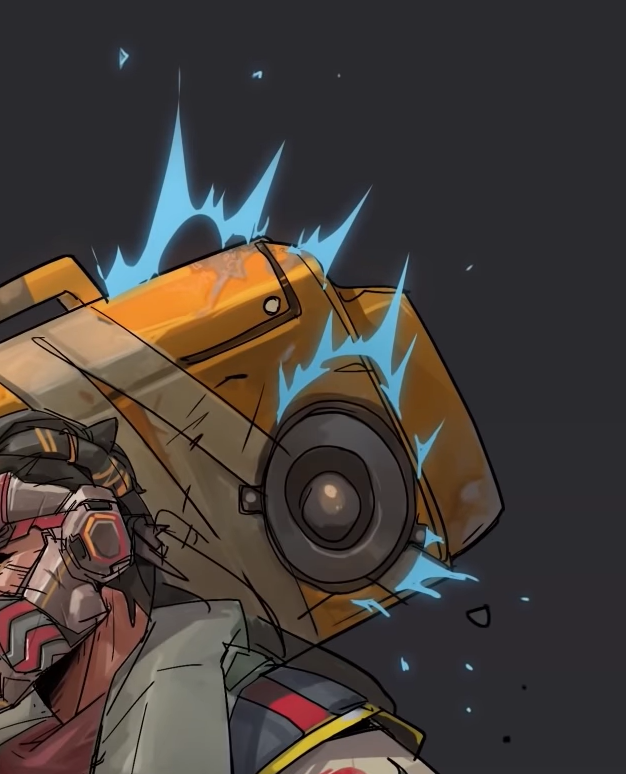
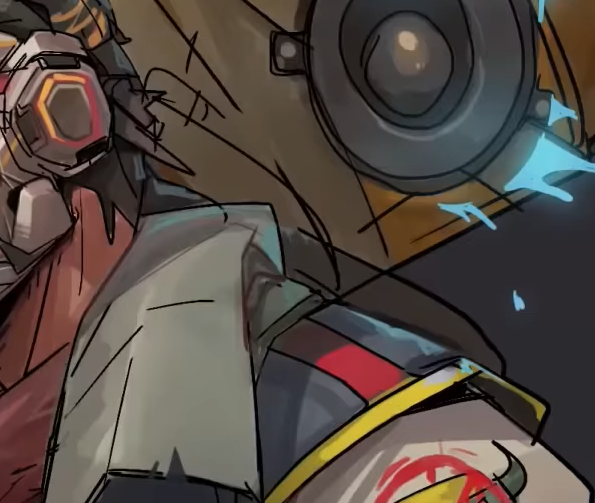
For example, I add some cool soundwaves to the speaker to add more context within the design of the whole drawing.
I also add some secondary elements like the dust that you see at his feet. Lastly, I add some rim light, glow effects, and it’s finished.
I really enjoyed using this software and creating this drawing, I highly recommend it.
I hope you enjoyed this tutorial and thank you for reading.
Artist Profile
Hicham Habchi is a concept artist and comic artist, currently based in Dubai. He immerses himself in anything related to comics and video games, especially the concept development side.
His artworks touch any kind of works related to arts and creativity and reflect references to comics, advertising, videos games, and urban life.
https://hichamhabchi1.artstation.com/
Interested in character art & design or what it takes to become a character designer?
Check out the link below!