Five Ways to Improve Your Drawing Skills

Getting better at drawing isn't easy. However, there are noteworthy basics and exercises that may help. Here are 5 useful activities to improve your skills.
Let’s start with how to prepare and practice composition. These crucial steps will help you create brilliant illustrations and avoid “blank page syndrome.” After that, I will describe a general method to compose a drawing and demonstrate a simple perspective exercise to help you get comfortable with the principles. Finally, I will conclude with rendering tips and essential points to remember in order to become a better artist.
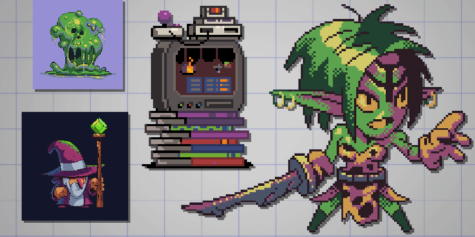
Final Illustration
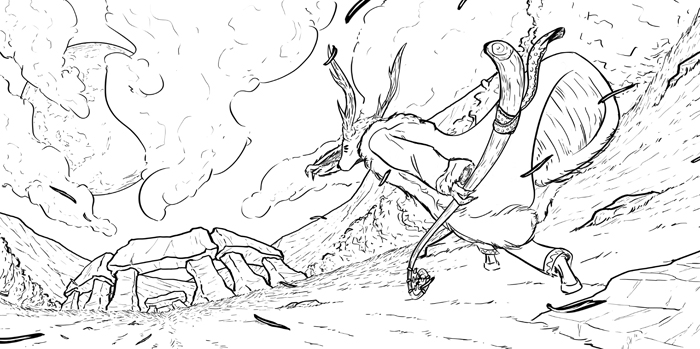
Lineart
1) Brainstorming
First, your clients will come with a request, which is also called a “brief.” Their ideas can be vague (ex.: a knight) or very precise (ex.: a dark knight with green eyes wearing golden armor and holding an evil sword). Both situations have their advantages and downsides. Professionally, “blank page syndrome” is not an option. It’s your job to transform words and ideas into an illustration. There is a great tool to help you complete this task: brainstorming.
Write down the main briefing keyword in the middle of a sheet and mark it as an essential element. Then, pitch the most relevant ideas you have about this theme. Writing them down on paper makes sure that you won’t forget anything and helps to build a map of what you are about to draw. For this lesson, I chose a ”stag sorcerer” theme and deconstructed all the information that was mentioned during the briefing. Each of those words is an inspiration. Connecting them builds a story and develops the subject. Once I have enough elements on the map, I start sketching.
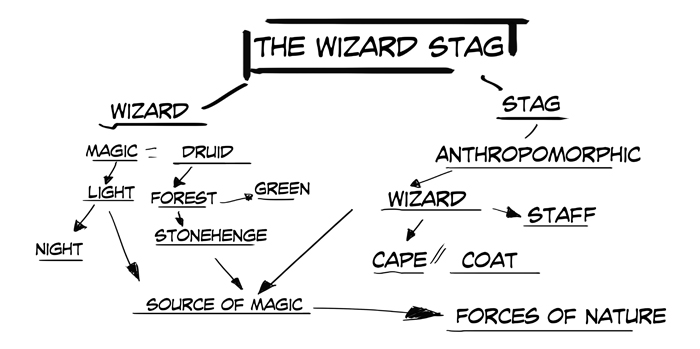
Brainstorming Map
I recommend the use of a sketchbook as your art laboratory. Pleasant, chaotic, and lively, this is the first advice I give to all my students. Draw anything you want when you feel like it. It can be a familiar street, a couple sitting two tables in front of you in a restaurant, everyday objects, and naturally, sketches of your ongoing projects. In the present case, it would be various sketches supporting the composition of this stag sorcerer.
Preparation also means gathering reference documents. Search online for pictures that match your ideas to enhance the quality of your work. The goal of this research is not to copy, but to be inspired. For example, the stag is not copied from a photo or an image, but I used many real stag and druid pictures to help my composition of the character. I usually avoid the use of drawings as a reference so that I don’t get influenced by them: I use photos instead.
2) Beginning
What we call “composition” is a number of threads that you pull to direct the gaze of the viewer and trigger their emotions and ideas. It is common to teach the rule of thirds to students, and you will no doubt find plenty of online tutorials covering this matter. However, I usually warn my students about this rough “rule” that tends to create redundancies in compositions. Instead, I teach the three fundamental bases of composition: contrast, detail, and action lines.
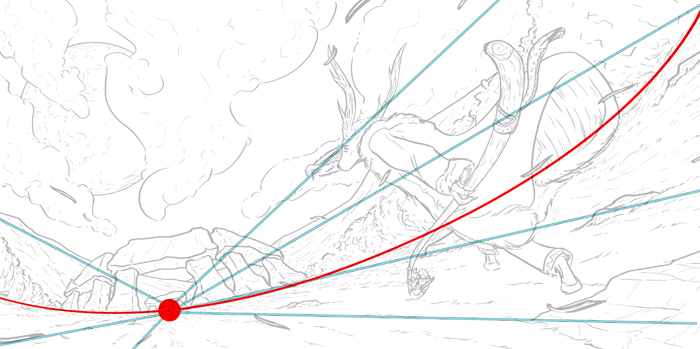
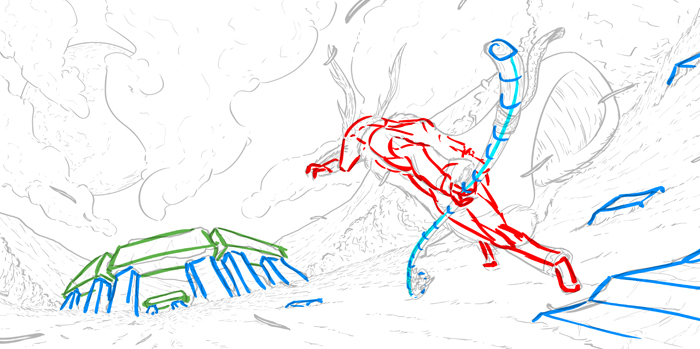
Action Lines
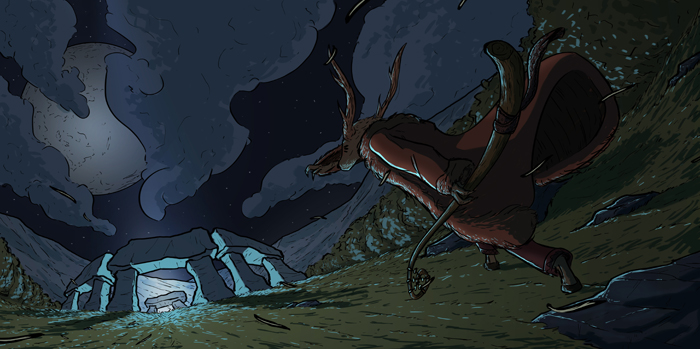
Contrast marks the difference between elements. The more significant this difference is, the more captivated the viewer will be. For example, a white dot on a black page attracts the eye immediately in the same way that light would in a dark environment. If the light is stronger, we instinctively look at the dark corners. This point is also valid about people; we would look at the unique child in a scene full of adults as much as we would notice an adult in a kindergarten. In this example, the illustration is dark, so the eye is drawn to bright points.
Details are another useful eye-catching technique. But even detail is a matter of contrast. The eyes of the characters must be handled with care if you want to make their faces stand out. If your scene is crowded with details, try to let the areas you want to catch the eye breathe.
Finally, action lines are an imaginary element. If multiple action lines converge toward the same zone, the gaze will inevitably be attracted by it. For instance, notice in my illustration how the clouds and the perspective lead towards the source of magic.
A pleasant way to learn these concepts is by looking at artwork that you like (illustrations, comics, movie storyboards, etc.) and answering the following questions:
Where are the areas of contrast, and how do they contrast?
Where are the details concentrated?
Where are the action lines?
Analyzing the inner workings of your favorite artists, you can further develop your own expressions. In your projects, make it a habit to ask yourself those questions. Look at your art as an outsider. Is the scene close, far, or is it hidden?
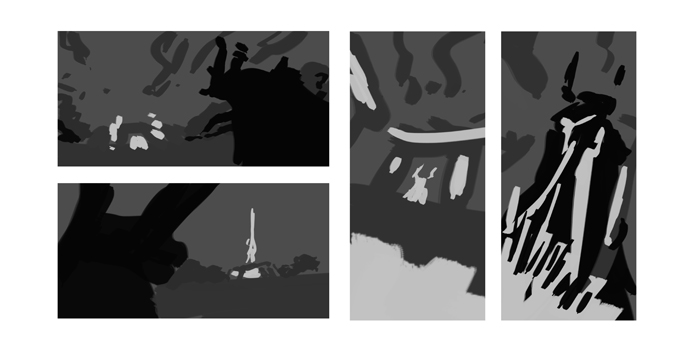
Composition
Making small composition vignettes of 5 cm in size also helps to concentrate on the essentials. If a tiny version of your composition works, it will also work on a larger scale.
I decided to use the composition that is nearer the sorcerer to feel the intensity of the source of the magic alongside him. There is no “better” or “worse” when it comes to ideas. Simply ask yourself if the composition fulfills the needs expressed during the briefing and apply your personal taste when necessary.
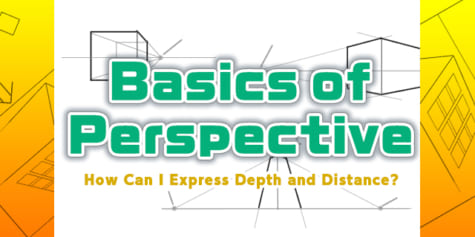
3) Shaping
The layout of a drawing is an essential part of the creation process. Following your composition, you need to build the scene through action lines and volumes. Practicing perspective is essential in this step. Because it is impossible to summarize the whole topic within one paragraph, for now, I highly recommend you to practice in your sketchbook. Pick up an everyday item, preferably one near you, such as a chair, a mug, or a piece of furniture. Once you get accustomed to simple objects, you can try again with something complex, such as a street lamp or a video game controller. The objective of this exercise is to deconstruct the item into basic geometrical shapes. Try to represent it from various angles. Simplifying an object might require special attention in some cases. Keep it easy by using cubes, rectangular prisms, pyramids, cylinders, and spheres.
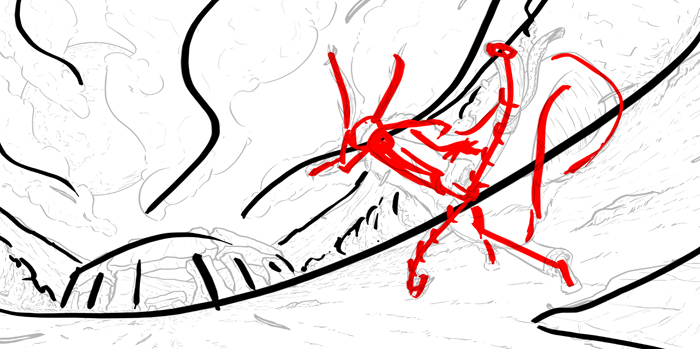
Building Step 1
Building Step 2
If you challenge yourself daily, perspective and composition will soon have no secrets for you!
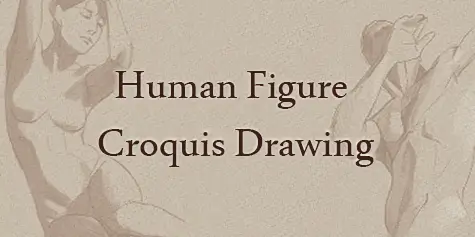
4) Understanding anatomy
Once your shaping is right, you can start to draw. Good knowledge of anatomy and design supports this part of the process.
By design, I mean the understanding of how things are built and interact with each other. For example, being aware of the way a door is attached to something helps to prevent opening mistakes or scale/proportion errors with the characters.
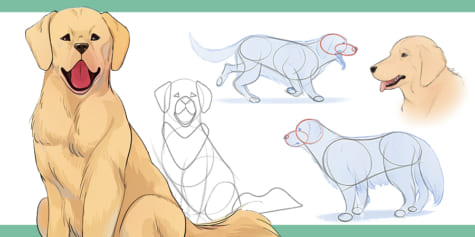
Anatomy might be one of the most important and fun part of drawing studies. Mastering human anatomy eventually leads toward zoomorphism, anthropomorphism, and creature design.
Anatomy Figures
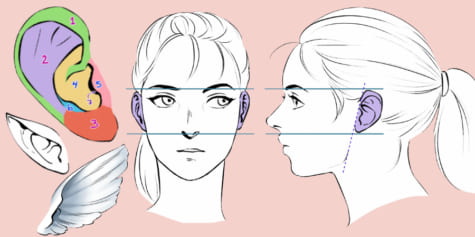
I suggest you begin by analyzing the proportions and the mechanics of the human skeleton. Take a good look at every single bone and the way they move, starting with the skull and the mandible. If you manage to draw a human head with the right proportions from various perspectives, drawing the rest of the bones should be a piece of cake. However, you should not underestimate the peculiar shape of the pelvis because it’s one of the primary markers of sexual dimorphism. Besides the genitals, the main difference between men and women is the proportion of their bones. In all cases, I suggest you learn how to draw bones accurately.
Once you have this down, studying muscles becomes both easier and pleasant. Picture them as strings being pulled to activate the mechanics of the bones. Consequently, understanding this mechanic explains why each specific muscles are where they are. Try to focus on getting the right proportions when you draw anatomy or character design; if they are correct, your character will be believable.
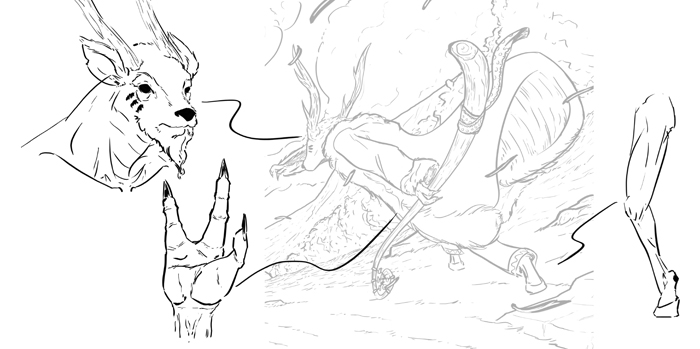
Lineart
5) Coloring
One question should prevail before beginning the coloring: where will the light source be? This inquiry is universal and even became a meme on the internet.
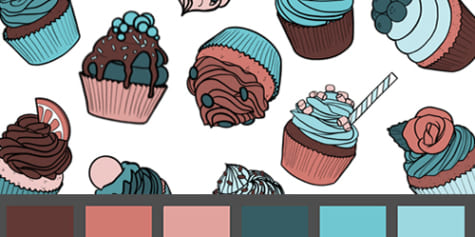
Base Colors
Therefore, I suggest you complete the perspective exercise explained earlier with your smartphone or a flashlight as a light source. Place it close to the subject and observe the light, keeping in mind that the luminosity of a subject varies depending on the way it faces it. For instance, light tends to spread evenly on a plane surface, but as a gradient on round elements.
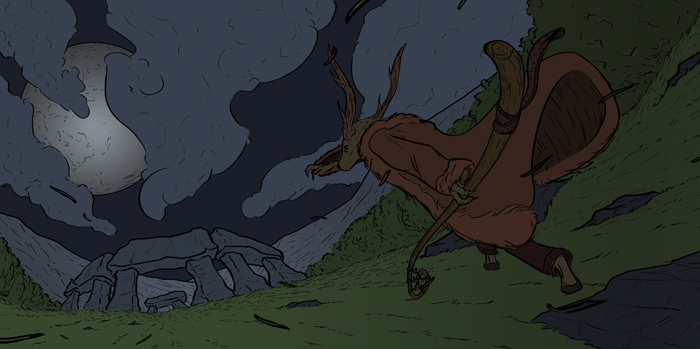
A good comprehension of the color theory is also a must. If you compare two drawings, the colored piece is the one that usually stands out. Color theory itself can fill bookshelves, so I won’t try to summarize it in this lesson. However, my illustration drawing process might help you understand. I begin by logically filling all the shapes with dark tones to represent the night. Then I painted an intense light (layer: normal mode) and shadows (layer: multiply mode.) You must fulfill two goals when you add light and shadows. First, set the atmosphere and the mood, which is mystical in the case of this illustration. Secondly, express the volume of the elements of the scene. For a beginner, this step can feel like a total jigsaw puzzle. I advise you to train yourself with small independent objects instead of complete scenes to progress faster. After training on small objects, this step may become your favorite, as it is for any seasoned artist.
Final piece
Summation
While there is quite a lot to ingest in this short course, I would like to conclude with a summary of the recommended training exercise suggested in this lesson.
– Don’t go straight your pencil! Take some time to brainstorm, and it might help you to find out even more exciting ideas to develop. Do not forget to gather references for your project.
– Get a sketchbook and draw in it regularly. Practical and fun, you will improve your drawing skills quickly!
– Observe your favorite pieces of art and deconstruct them into simple shapes to train in composition; a lot can be learned with replication.
– Reproduce simplified objects from different angles to practice perspective. Once you are more familiar with the concept of this theory, you can move onto more detailed subjects and start to add shading.
– Understand anatomy; begin with skeleton studies before drawing muscles.
Drawing, and more generally, art, opens the door to a life-long, neverending, and fascinating journey. Be patient and humble; try to improve little by little every day. My last essential advice would be to show your work and gather as much as possible critics to progress. Do not fear public opinion; even if it might be harsh sometimes, it will help you to become a better artist.
I wish you good luck with your artistic odyssey!
The author
My name is Mehdi Abdi, and I am an independent game illustrator. I also offer courses in drawing, anatomy, and character design at the Brassart Aries School in Annecy. You can browse my work on my portfolio (https://www.mehdiabdi.fr/) and social media.
Instagram :https://www.instagram.com/mehdiabdiart
Interested in concept art or what it takes to become a concept artist?
Check out the link below!