How to Make Stickers (Full Tutorial with Video)
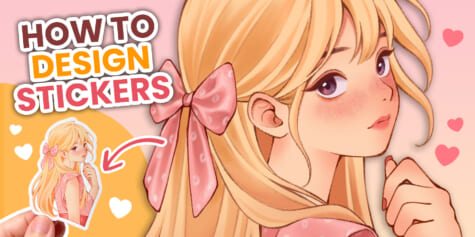
Learn to design and make custom stickers! Meeco’s step-by-step tutorial covers everything from drawing to printing and cutting your character stickers.
Contents
Hello everyone! I’m Meeco, a freelance illustrator and small business owner. I love turning my artwork into cute items, and one of my favorite products are stickers. Today I’m going to show you how I design character stickers using Clip Studio Paint, before printing them and bringing them to life!
Note that this is just my typical process. There are many other great drawing styles, printing methods, and materials to make custom stickers, so try to experiment and find what works best for you.
Setting up the canvas
The canvas size I usually use is 3000×4000 pixels. The resolution needs to be 300dpi or higher because we need to print the design once it is finished.
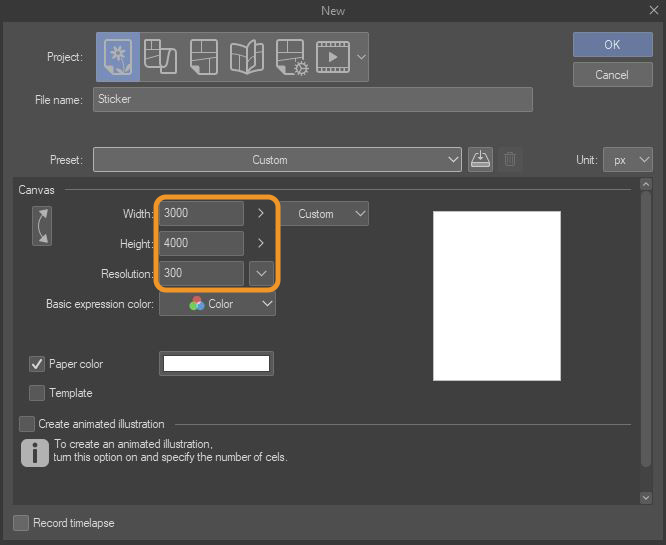
If you need a refresher on how to set up a canvas in Clip Studio Paint, you can find more information in this article.
Sketch
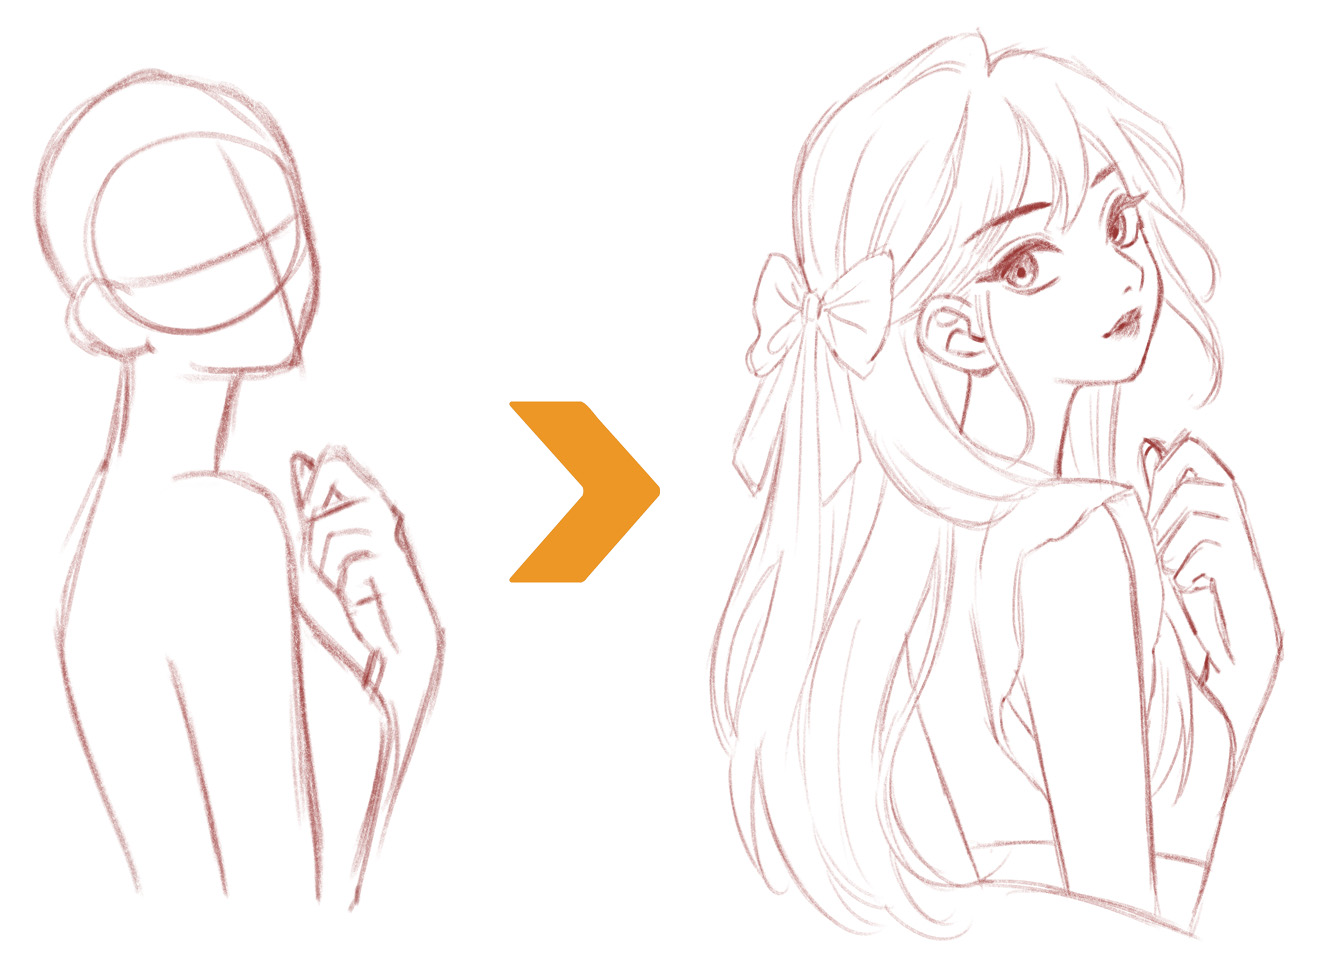
I’ll start by defining the pose of the character, then develop a rough sketch. This is a compositional layout, so I’m just trying to get my ideas in without trying to create perfect lines.
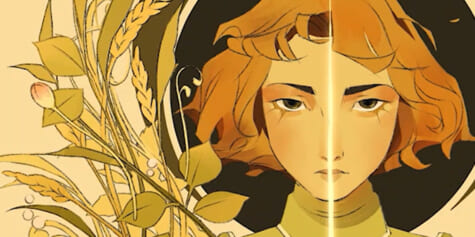
The idea of a blonde girl wearing a pink dress and bow comes to mind. So I try to draw soft lines, the curve of the hair will emphasize the gentleness and cuteness.
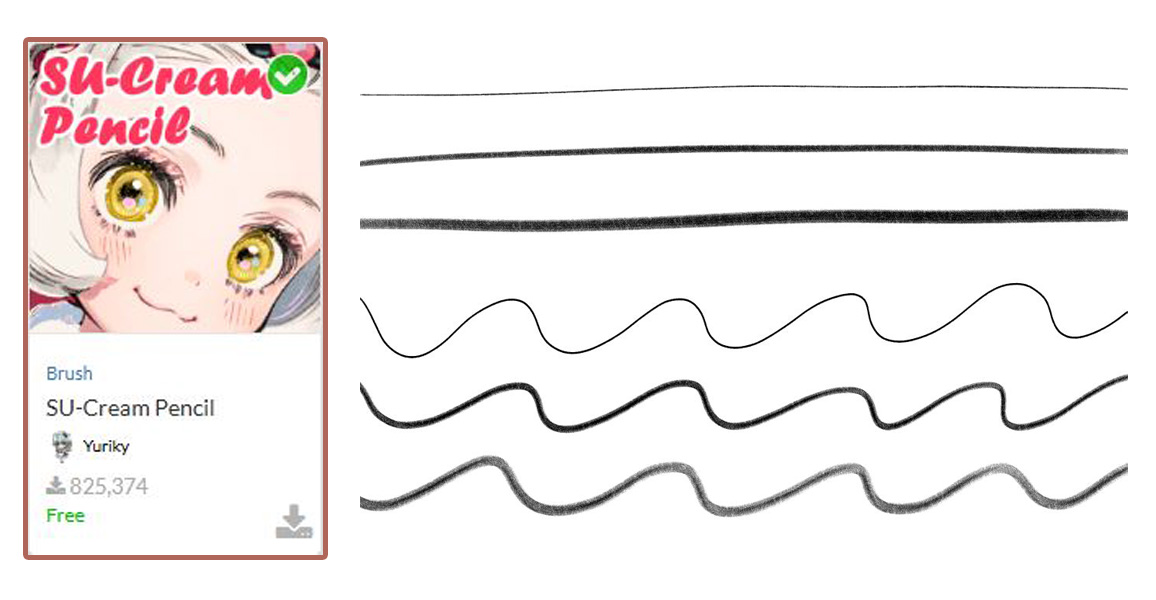
Recommended Brush
I usually use the same brush “SU-Cream Pencil” for both sketching and line art. Because the brush has a texture that gives a realistic effect like drawing on paper. But it also depends on how you want your artwork to look. Check out the standard brushes or explore Clip Studio Assets. There are tons of free brushes you can download and use to experiment with different styles.
You can download it here.
Line Art
As mentioned before, I still use SU-Cream Pencil for line art. But in this step, I try to make the lines more perfect and soft. I do this part very carefully especially with small details, trying to close all gaps to make the coloring part easier.
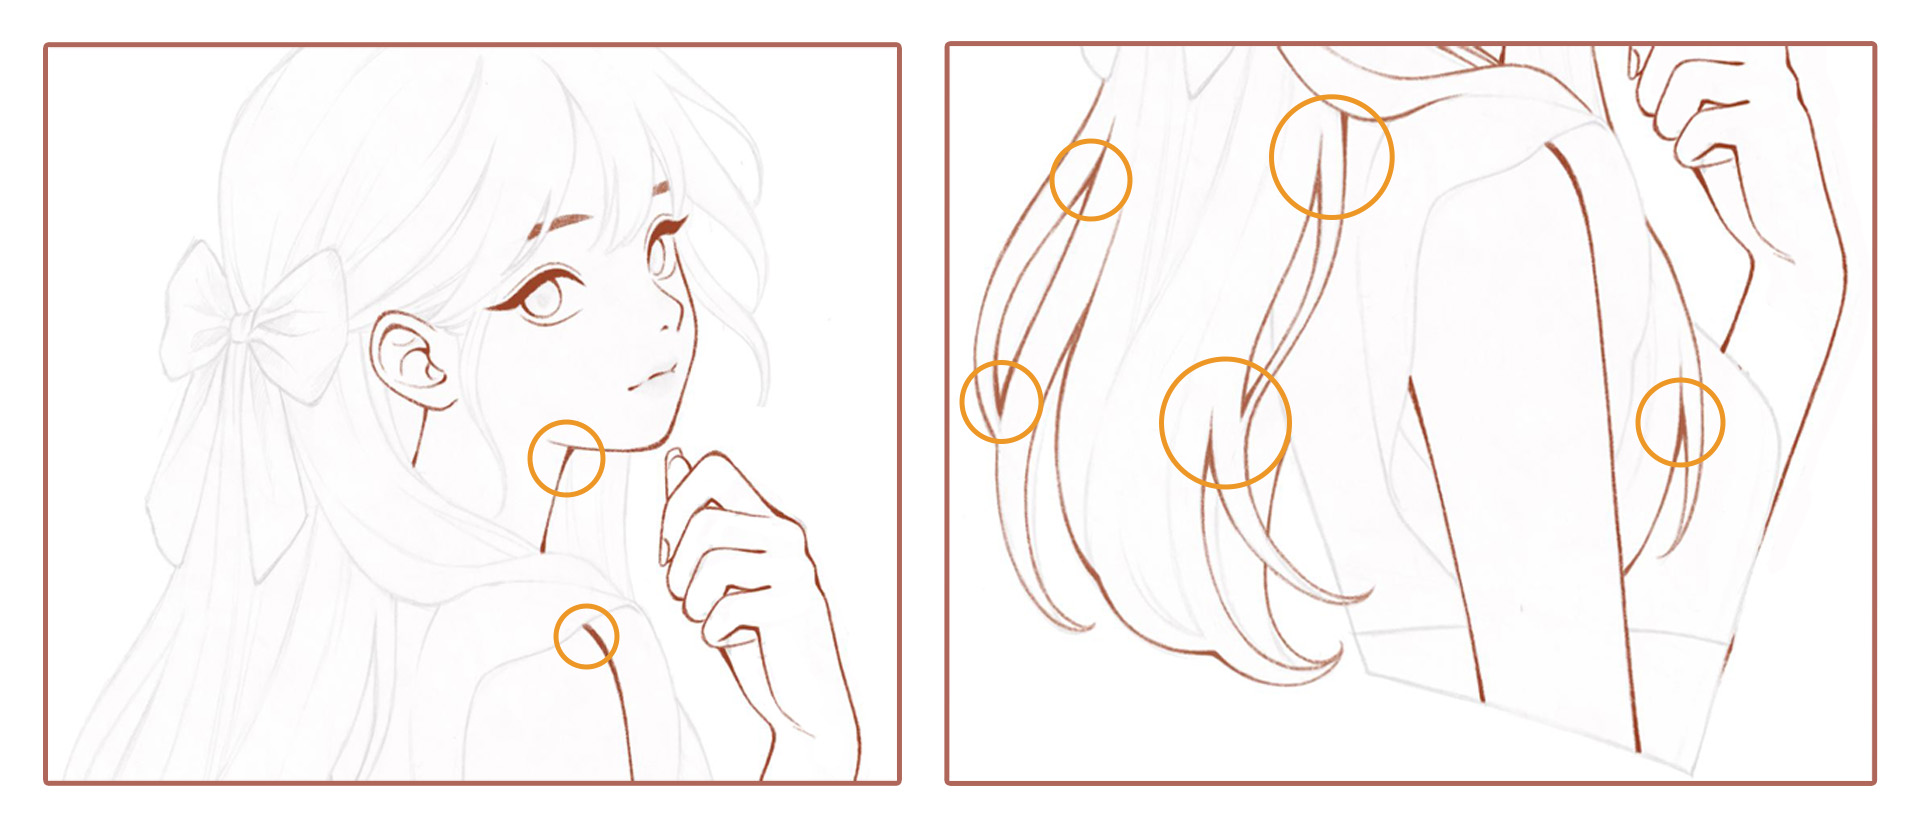
One trick I often do when drawing line art is to make the lines thicker and darker where they intersect. This gives the lines and the overall drawing a lot more depth.
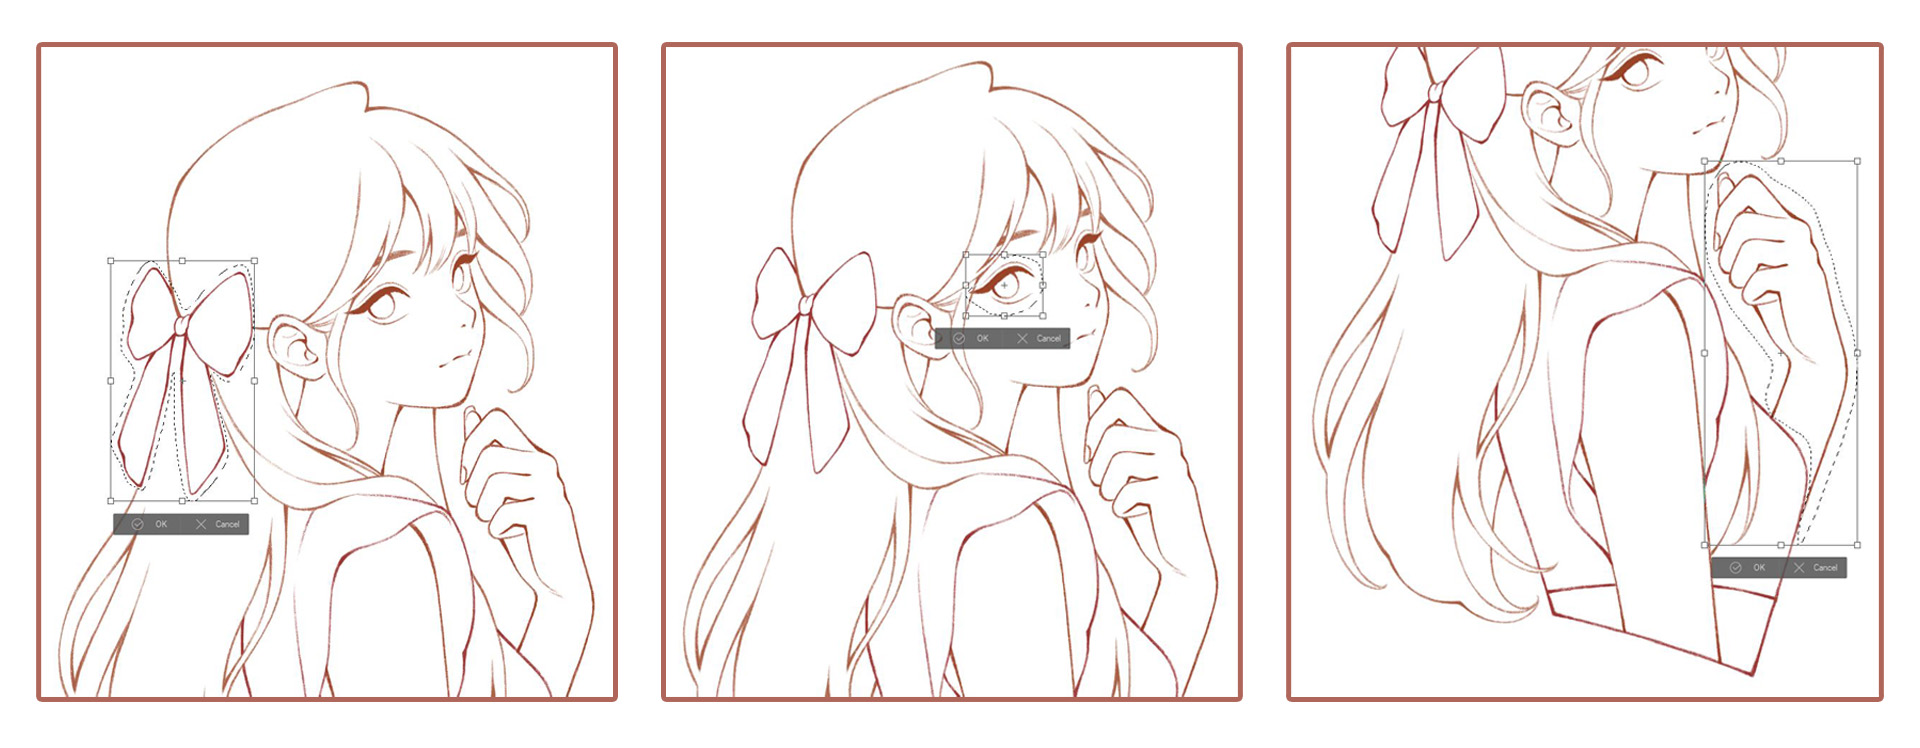
I also often use Clip Studio Paint tools to adjust the drawing to my needs. The Transform tool (Edit > Transform) is essential for adjusting the sketch, from resizing to moving parts that I am not happy with. First, I select the Lasso tool, and circle the area I want to edit. Then I use the Transform tool and move the selected part to the position I want, or edit the size of the part by zooming in or out.
Setting up the color palette
Since I already have an idea of the main color scheme, I will create a sample color palette before I start coloring.
I often find color palettes online, and based on that, develop lighter or darker tones to suit my drawing.
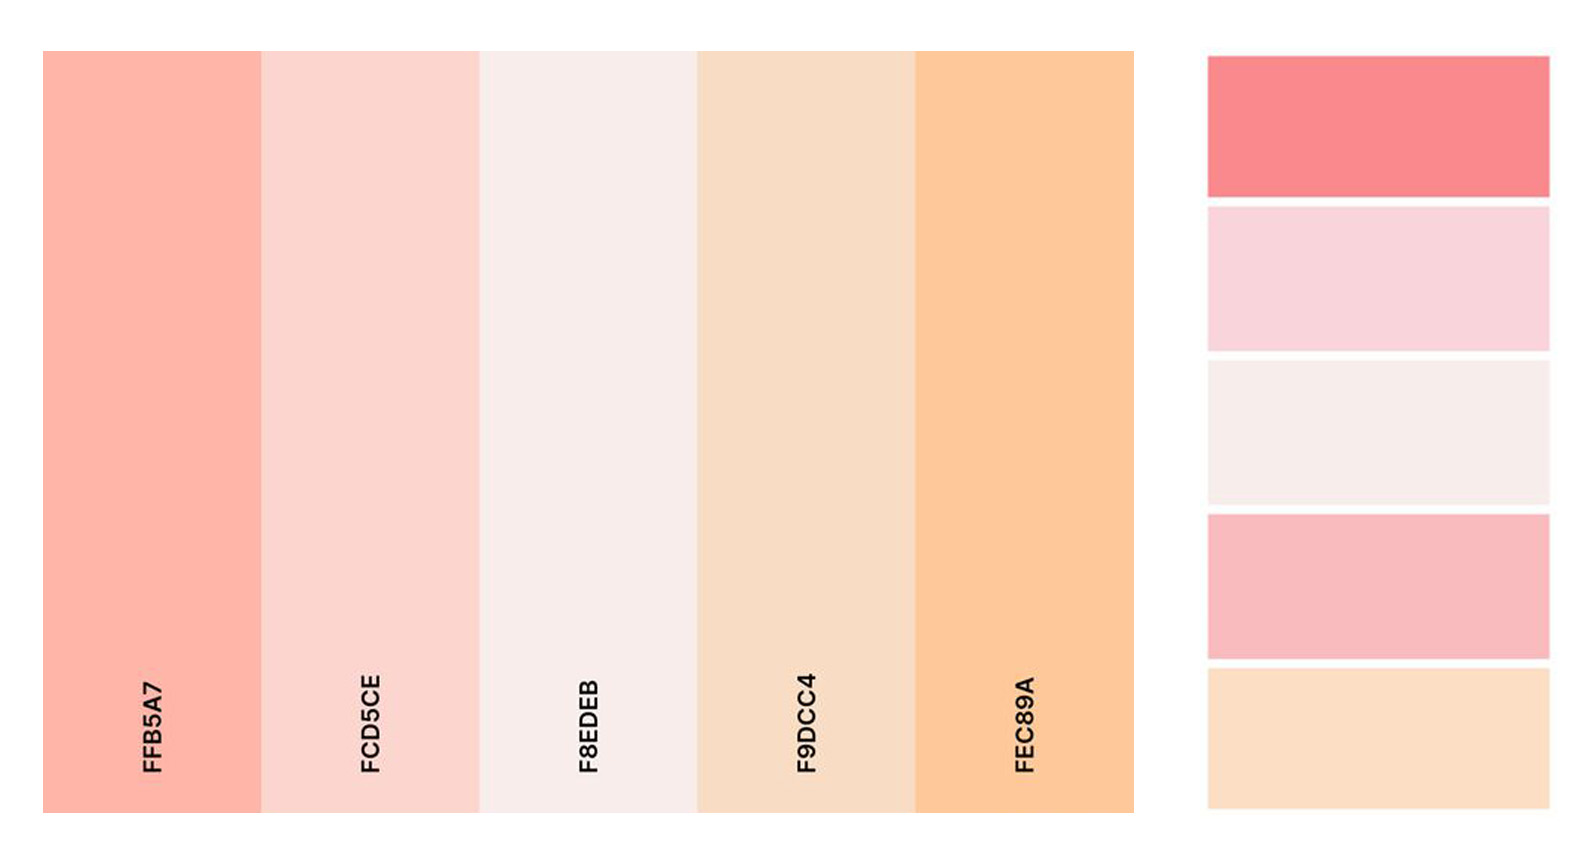
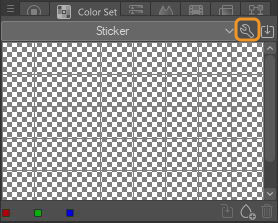
To create a color palette, select Window > Color Set to display the Color Set tab. Then follow these steps:
Step 1: Select the wrench icon in the Color Set tab
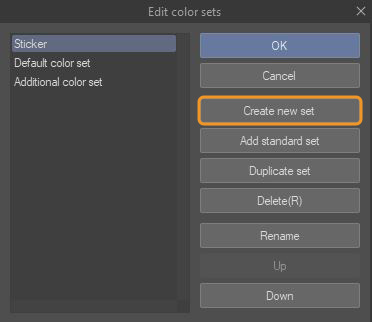
Step 2: Select Create new set and name your palette
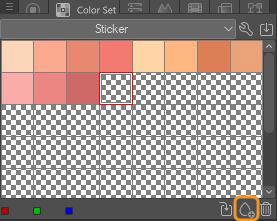
Step 3: Select the color you want to add, and select the teardrop icon to add it to the palette
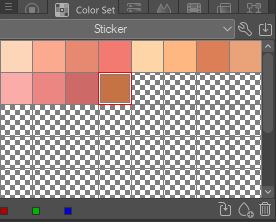
Step 4: Continue repeating step 3 until your color palette is complete
Coloring
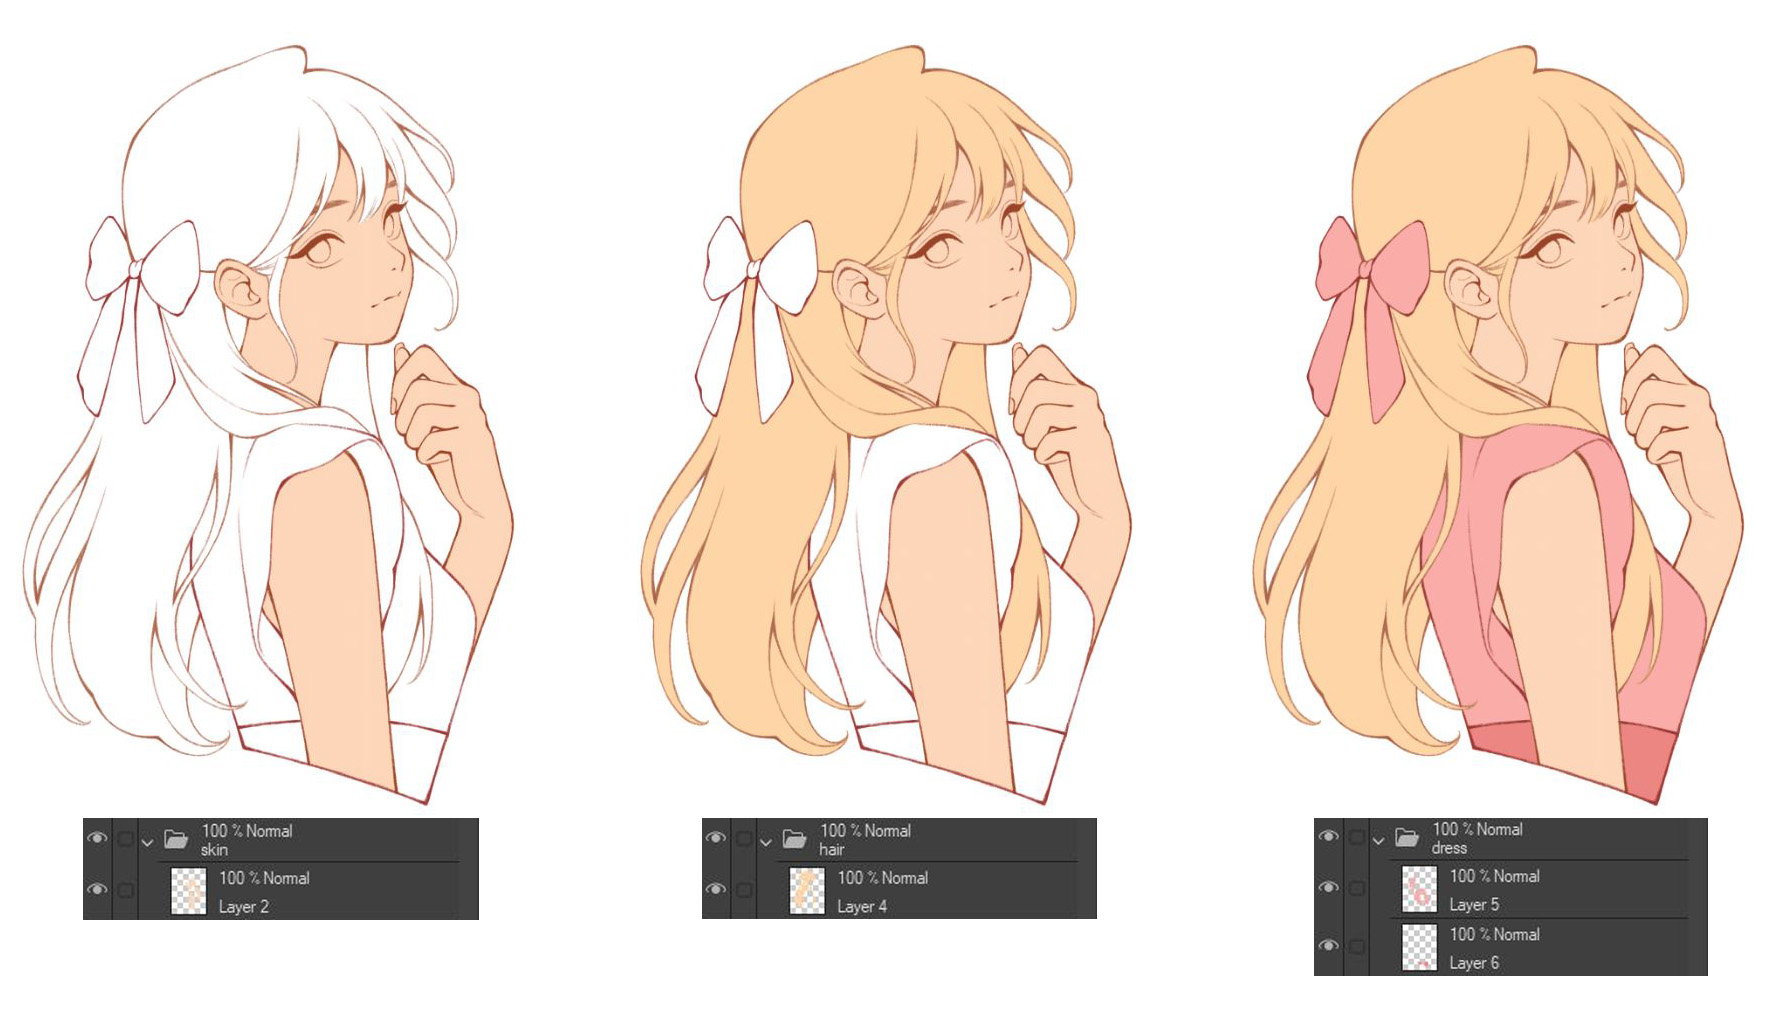
Step 1: Base Colors
In this stage, I will fill the base colors of all the elements of the illustration, such as the skin, hair, and dress. To avoid confusion, I will create a layer, folder, and set a name for each new element. This will help me manage the color layers more easily.
Recommended Clip Studio Paint Tools
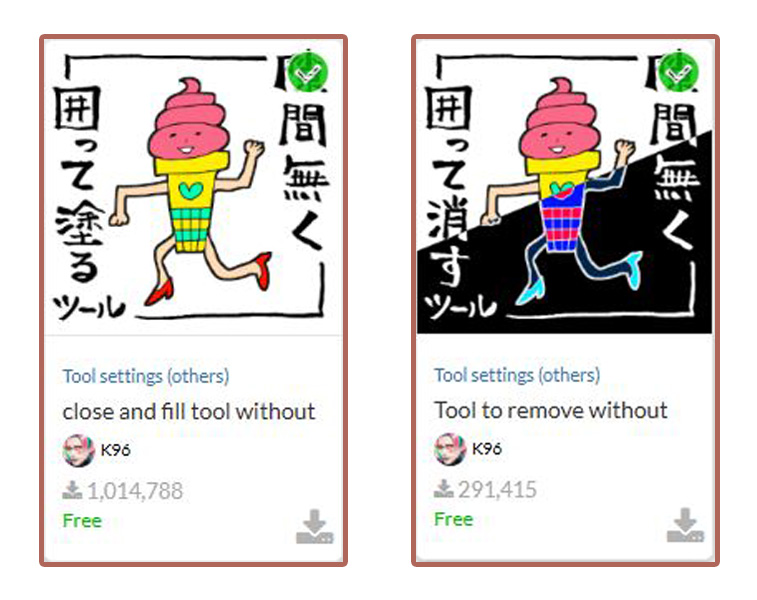
For base colors, I found 2 tools in Clip Studio Assets extremely useful. They are “Close and fill tool without gaps” and “Tool to remove without gaps.” They basically work like the Lasso tool (or if you have CSP Ver 4.0 or above, the Magnetic Lasso tool), they will help you fill the circled area with color, or remove the color in the circled area. A smart automated tool!
You can download the first tool from here, and the second from here.
Step 2: Shading and Blending
Now I’ll work with each element of the illustration and start shading them. I won’t be working directly on the base color layer, I’ll create a new layer above the base color layer and select Clip to layer below. This will make your drawing actions only work on this layer and not paint over other elements of the illustration.
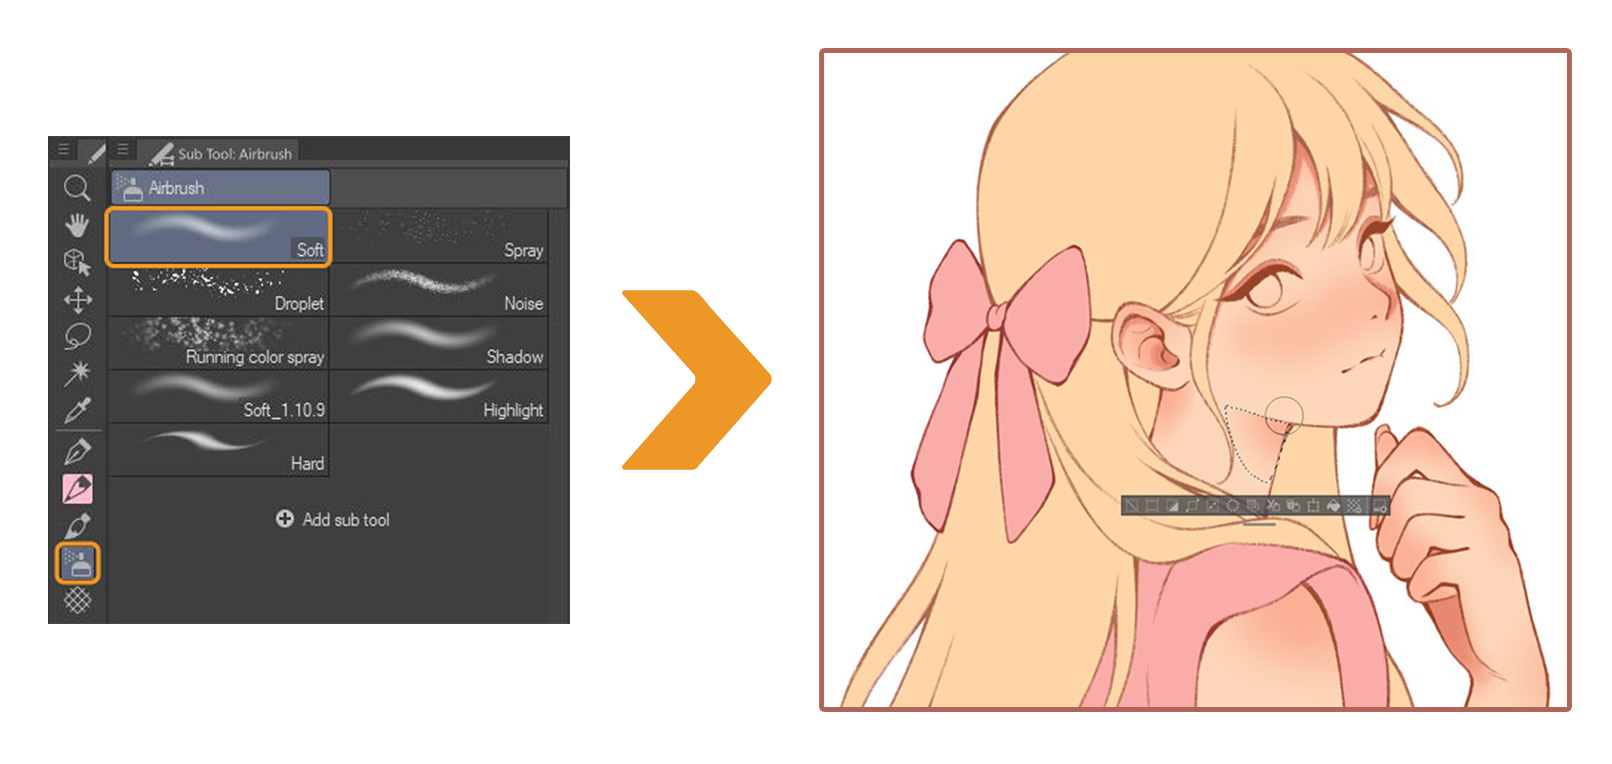
I like to use the Airbrush tool to highlight before painting the details. I will highlight areas like the cheeks, nose, ears, shoulders, elbows, knuckles… with a pink that is darker than the skin tone.
Or use a color darker than the base hair color to highlight the ends of the hair with the Airbrush tool.
I also colored the eyes with 4 different layers, from base eyes color, to making the eyes more soulful by drawing white dots.

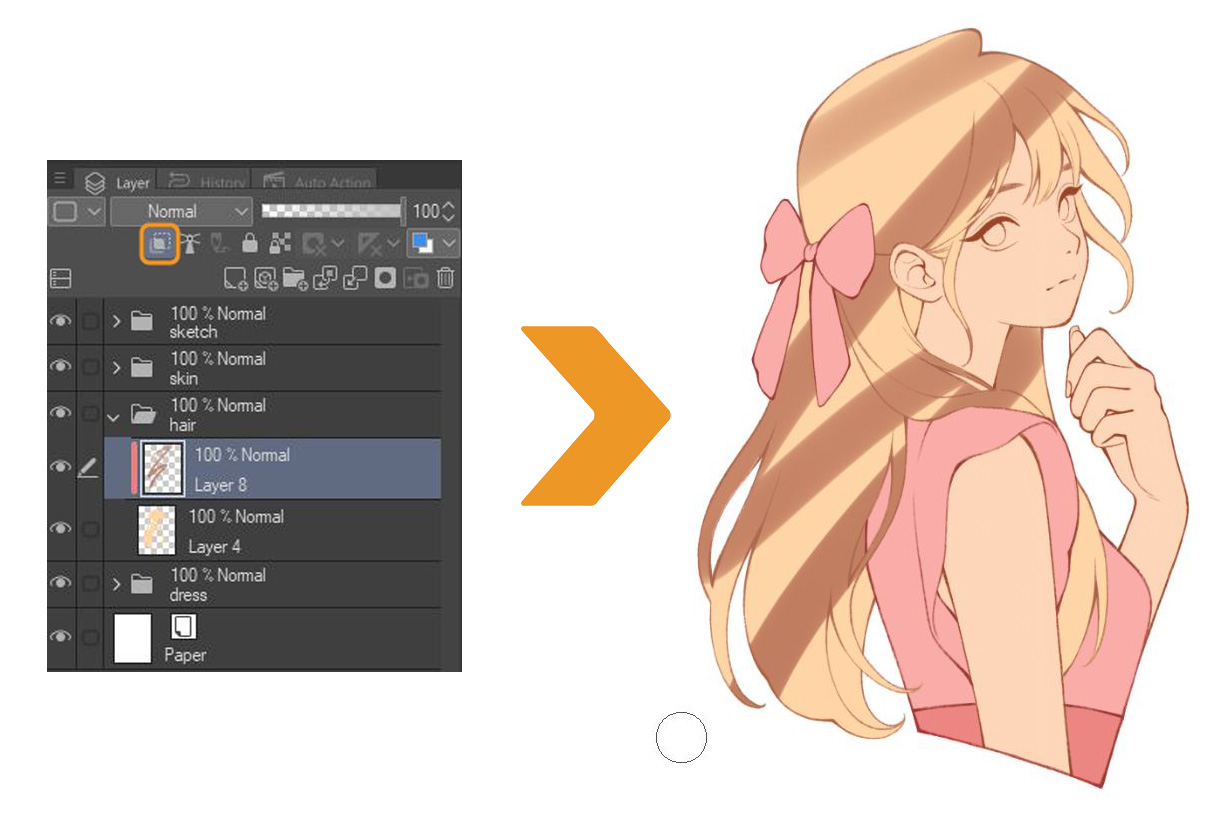
Next, I’ll start detailing the hair using the “TPU Skin Brush”:
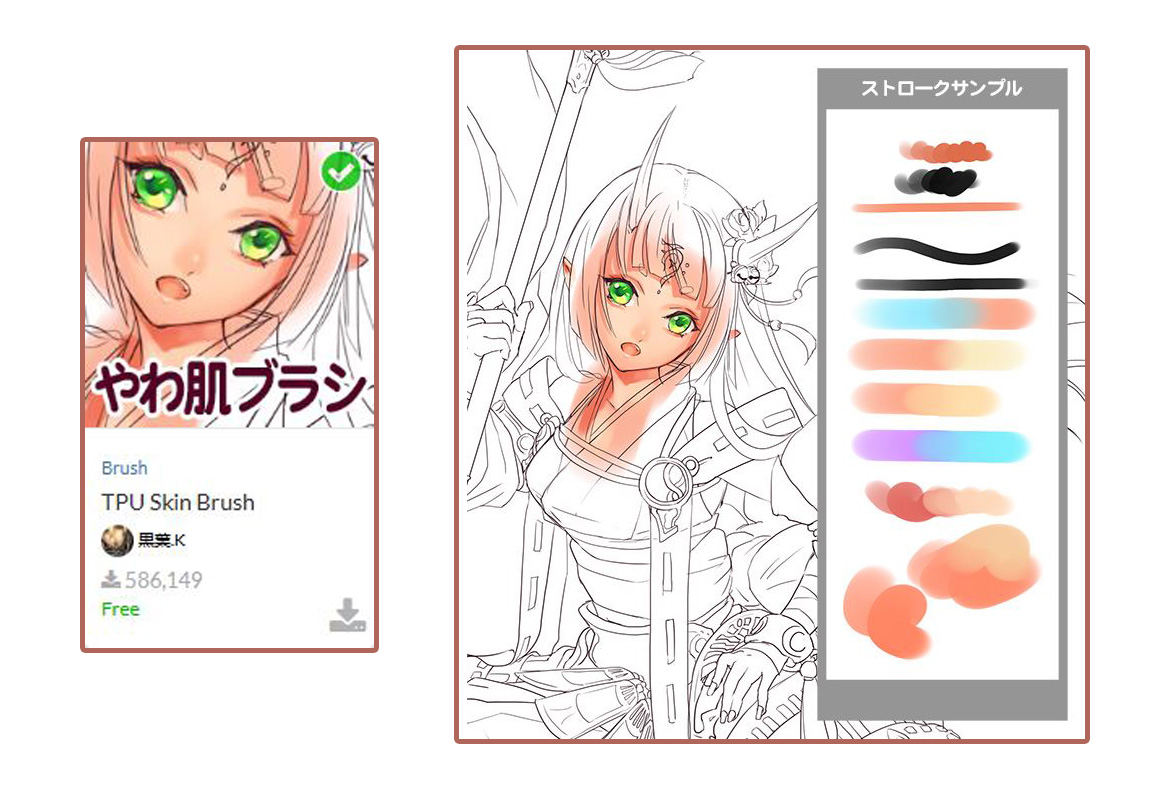
I use 2 colors darker than the base hair color and use the Blend tool to blend the 2 colors together. With this technique, I create the impression that the hair strands are more detailed and accentuated.
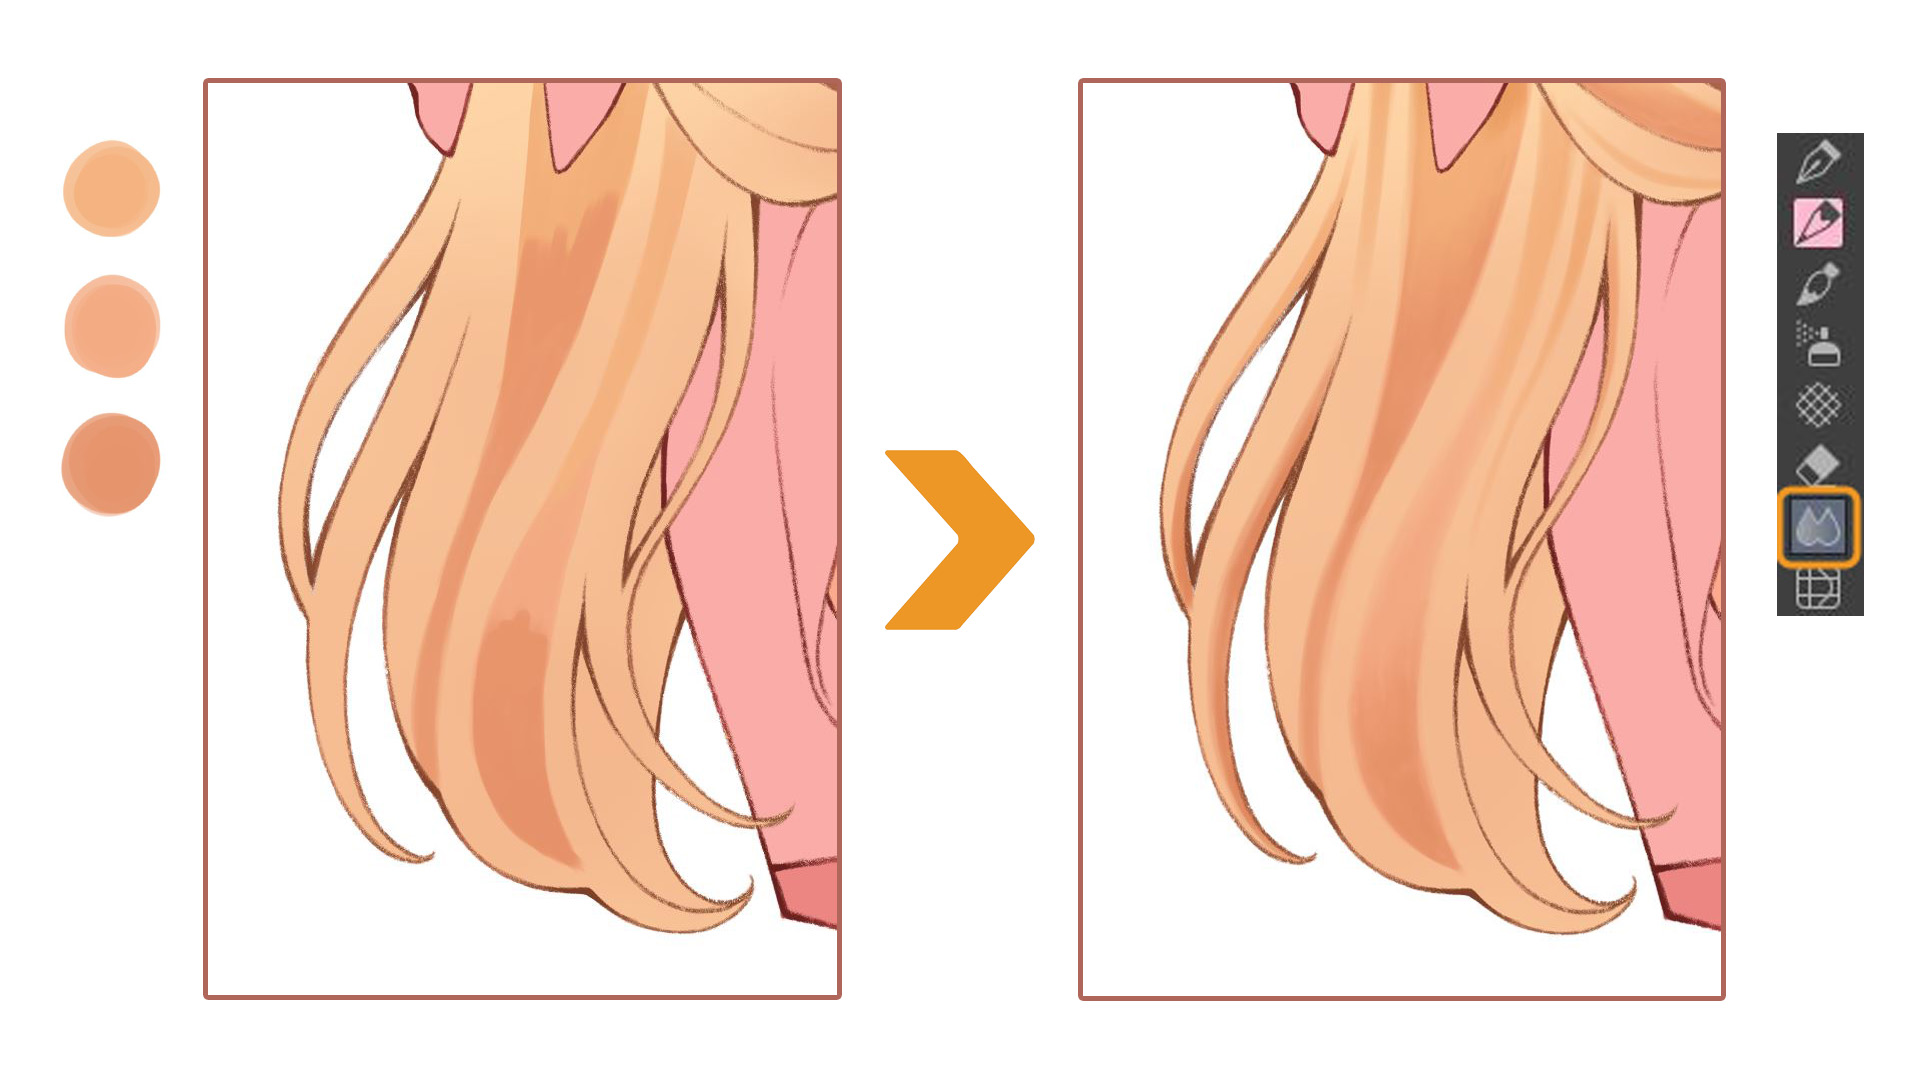
Finally, add some strokes to give the hair strands more depth.
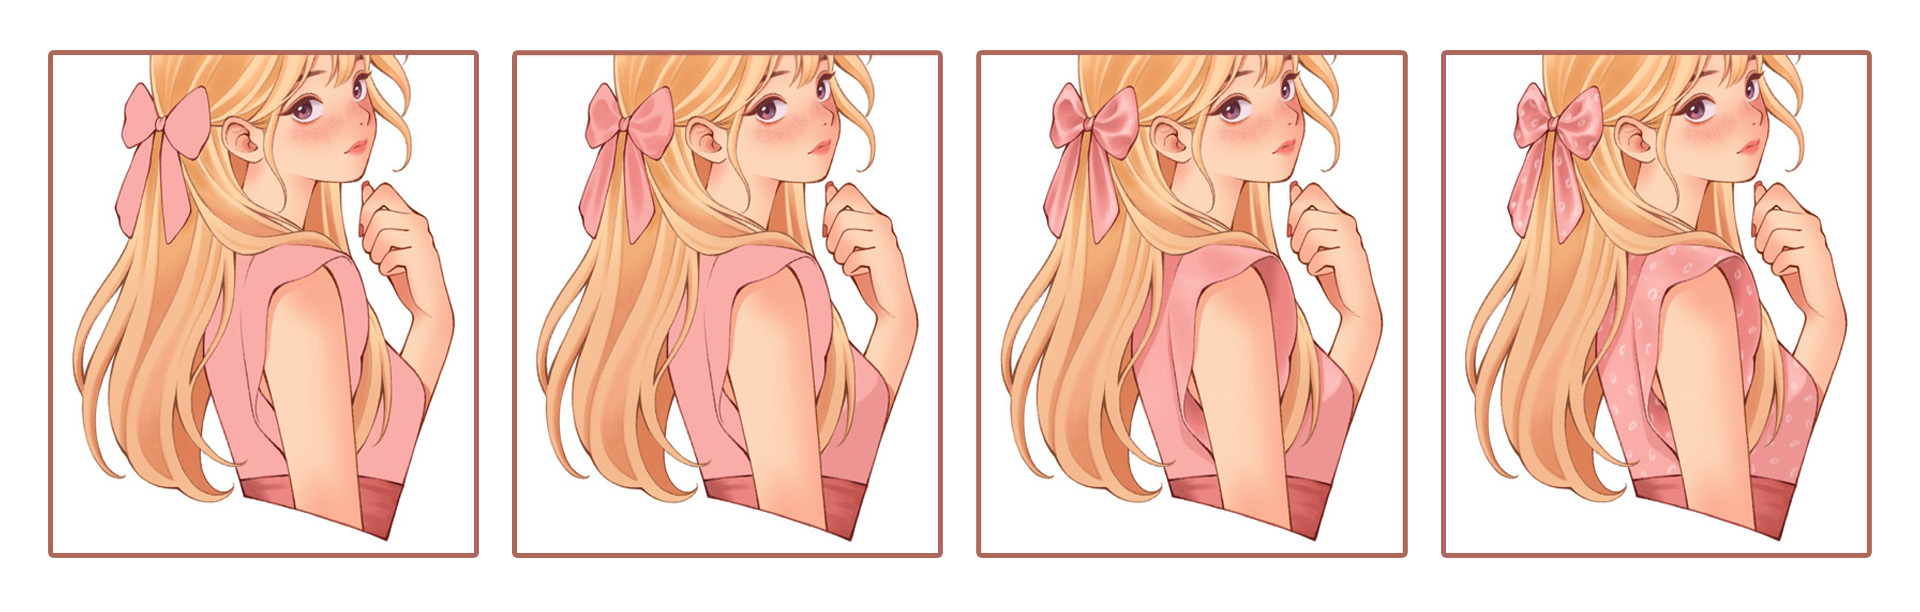
Do the same steps for the dress and bow, and finally add some simple patterns to keep it from looking too boring.
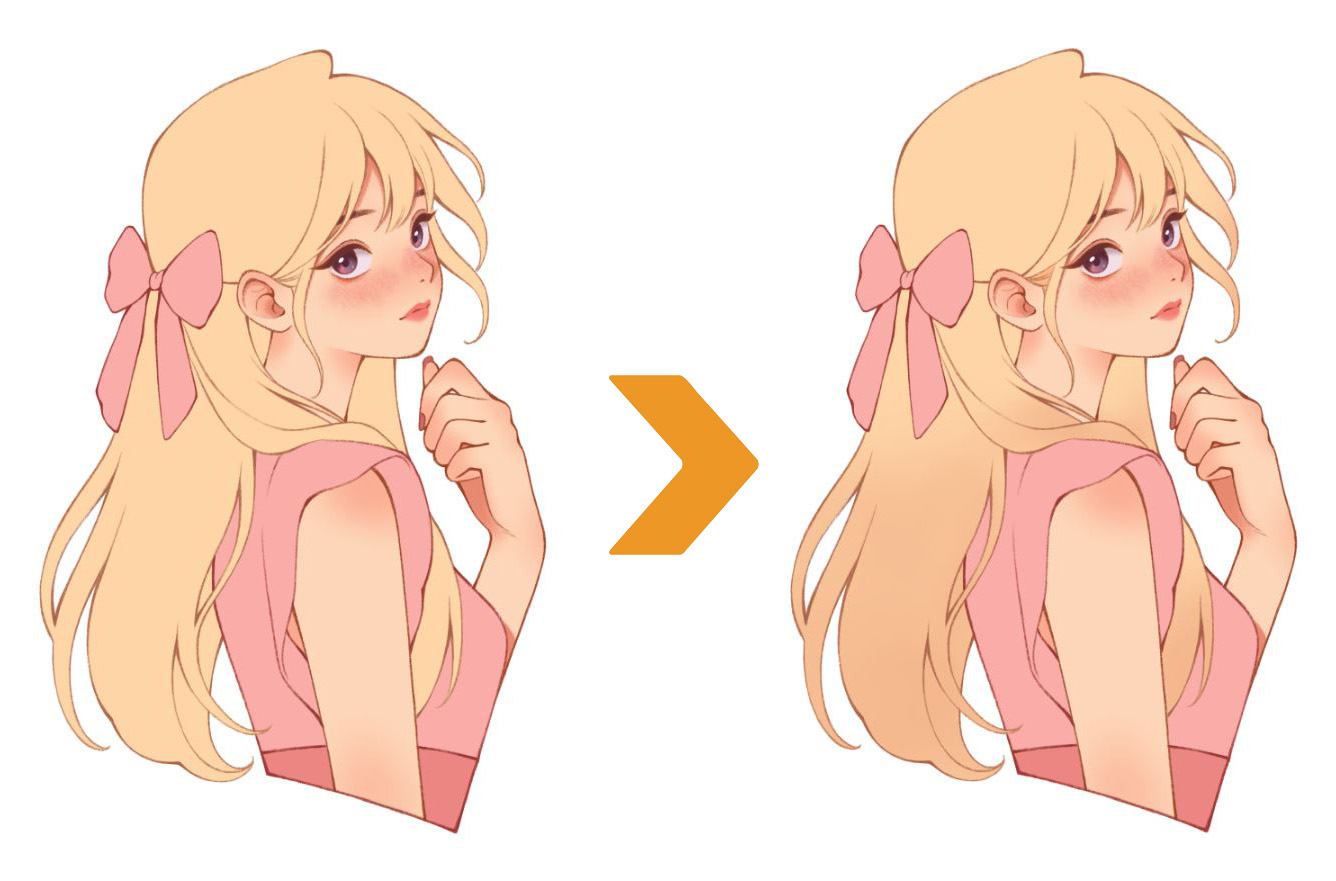
Final Adjustments
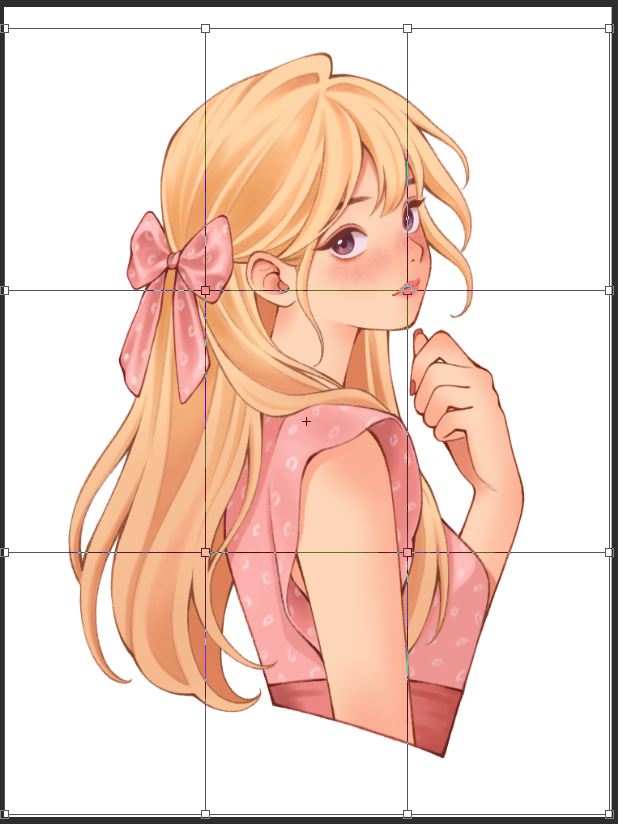
Once I’m done coloring, I usually put all the layers into a single folder to fine-tune the final drawing.
You can go to Edit > Transform > Mesh Transformation, to edit some parts of the drawing that are out of place.
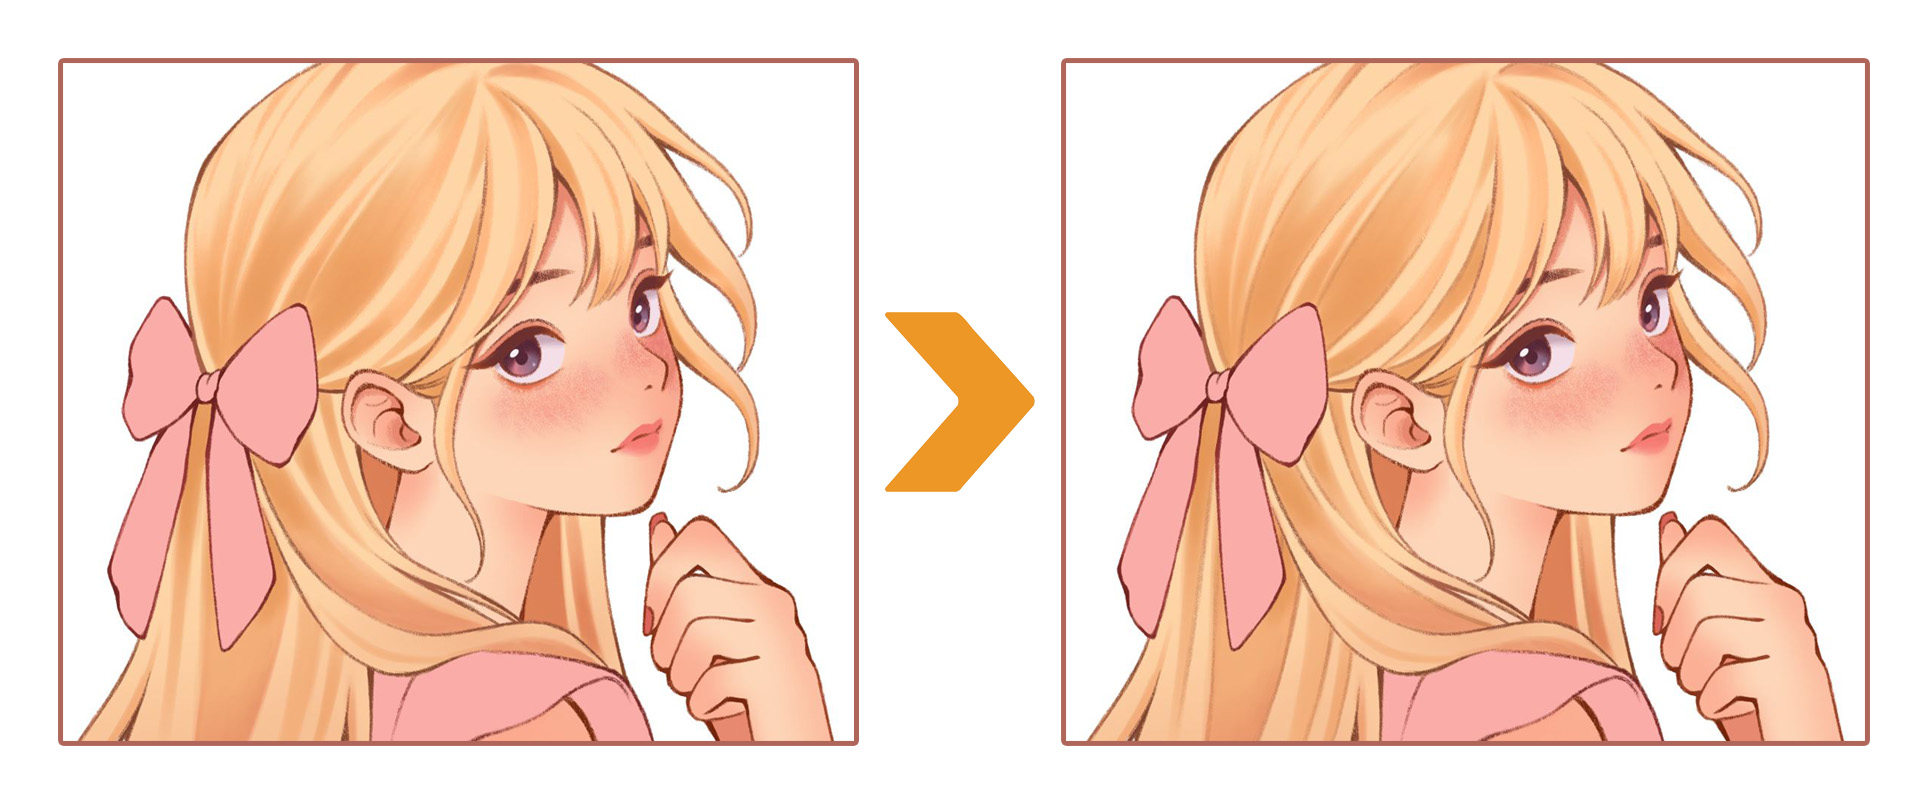
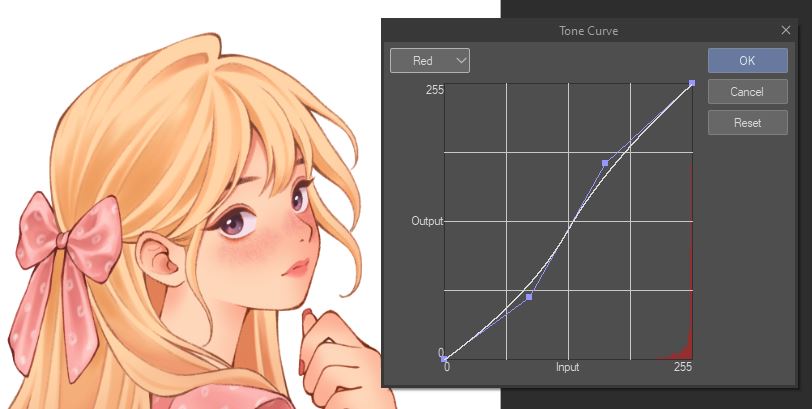
Sometimes I’m not completely satisfied with the colors or values of the drawing. I can fix that by going to Layer > New Correction Layer > Tone Curve. Here I can adjust the overall tone and colors of the drawing.
Here I’ll go ahead and adjust some colors and increase some of the red values, and also change some of the darker values.
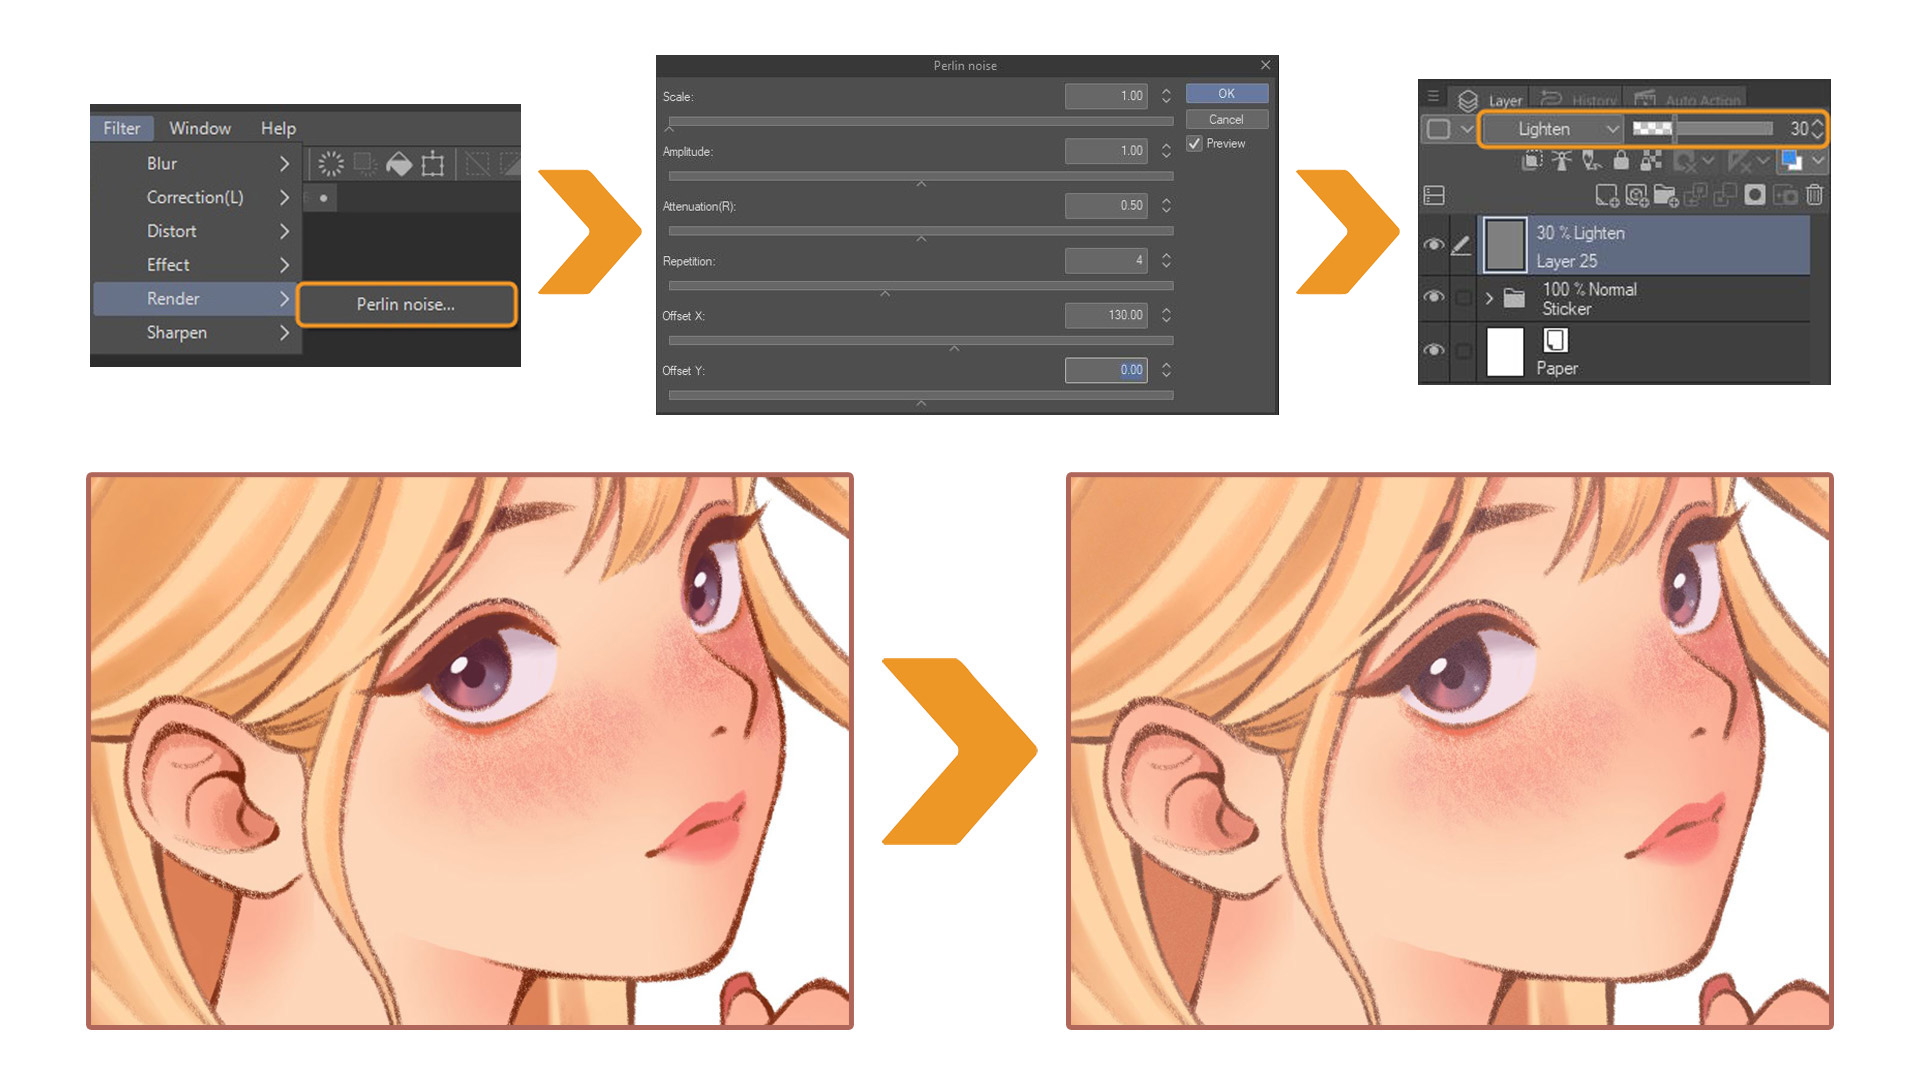
Another effect that I often like to use is Perlin noise. Select Filter > Render > Perlin noise onto a new layer. Here it’ll create a pop up where you can adjust the scale, amplitude and a bunch of other settings. I usually adjust the Perlin noise scale to 1.0, just so that the grain and noise effect is pretty minimal. After that, I turn down the Opacity on the Perlin noise layer to a low percentage, and then I set the Blending mode to Lighten. It creates a very nice looking grainy filter.
And that’s how I finished the design. Next, just print it out and use scissors to cut out the stickers, you don’t need a cutting machine if you’re just making stickers for fun.
But if you’re making stickers in bulk for a small business and you have a cutting machine, see how I prepare the file for printing in the next step!
Creating Sticker Outlines
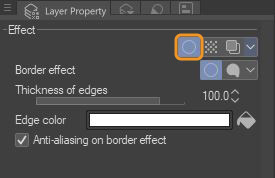
To cut the sticker with a cutting machine, I will need to create an outline for the design before putting the file into the cutting machine software. To do this, I will use the Border effect in Clip Studio Paint. This is an effect located in the Layer Property panel, select Window > Layer Property to bring up this panel.
Then select the circle icon in the Layer Property panel. Here, I will adjust the Thickness of edges to 100, and set the border color to white in the Edge color section.
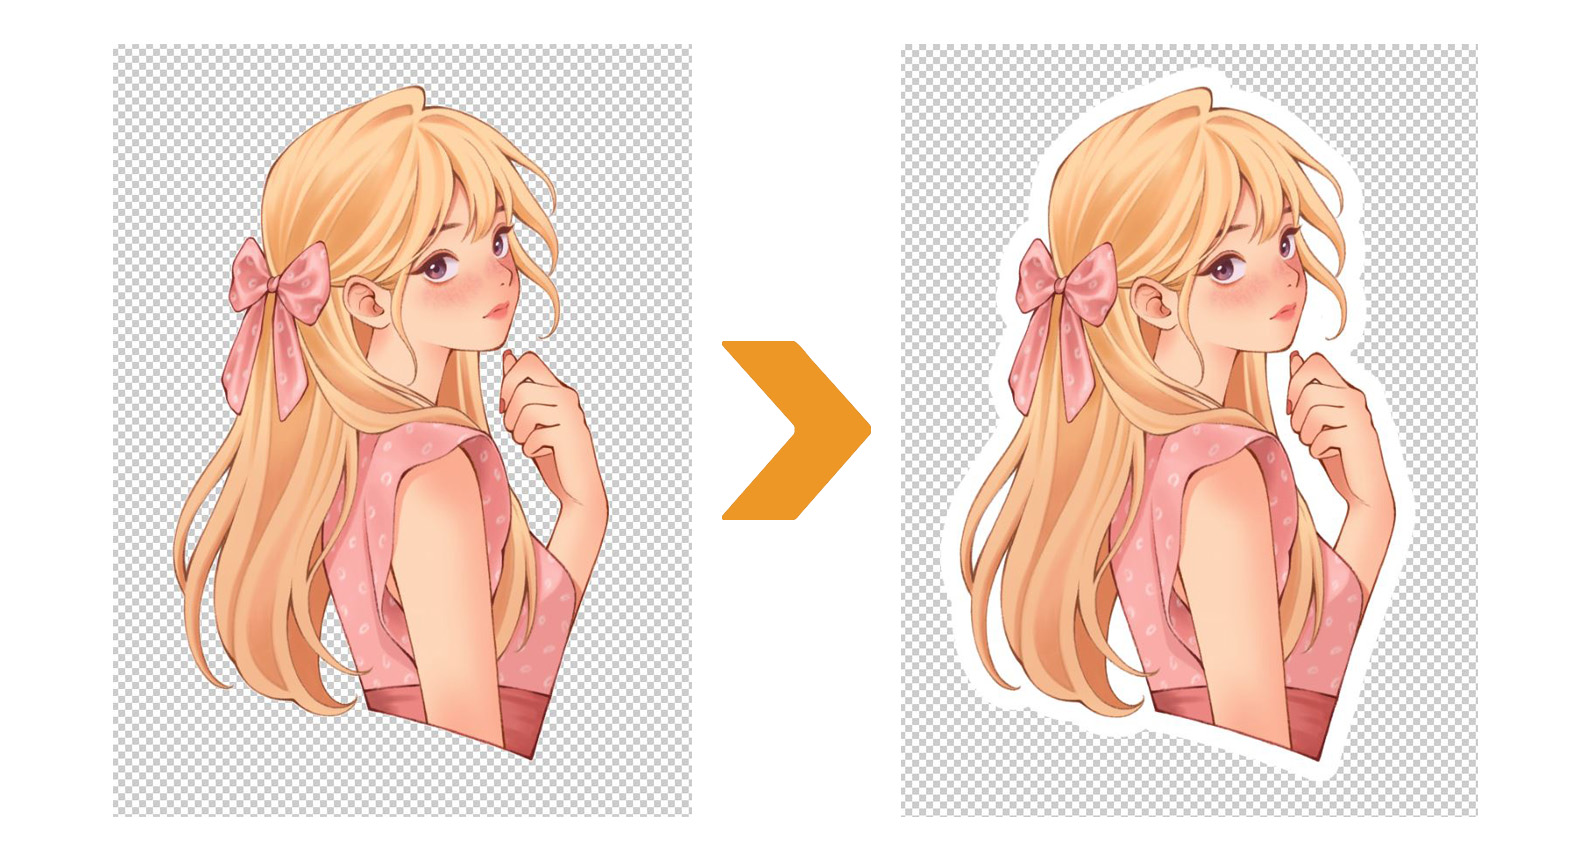
And this is the result after using Border effect:
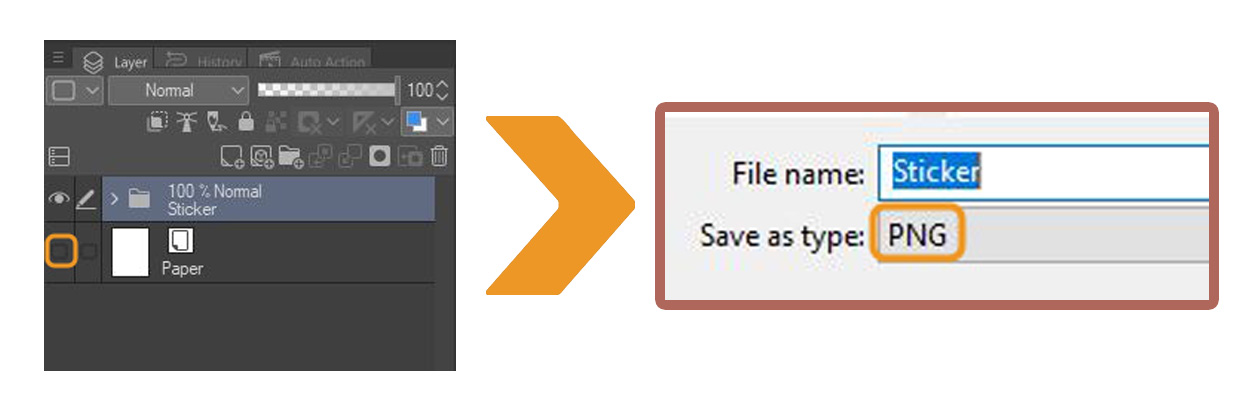
Once the outline for the design is ready, turn off the eye icon on the “Paper” layer. And save the file in PNG format.
Printing and Cutting Stickers
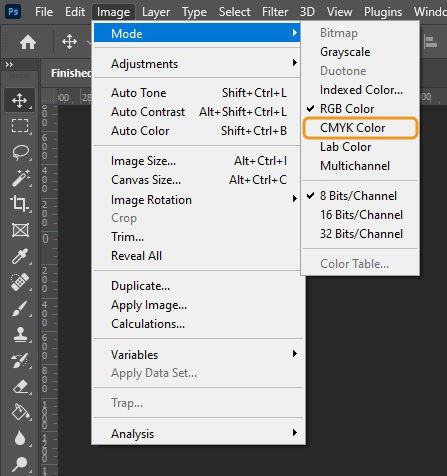
Before you start printing your custom sticker, make sure your print file is color corrected from RGB to CMYK.
CMYK is the color mode used for physical printing. What looks vibrant on your screen in RGB might appear dull or shifted when printed in CMYK, so color correction to CMYK is necessary to ensure that the printed colors are as close to the original design as possible.
I usually use Photoshop to adjust the color to CMYK. From Clip Studio Paint, save your work as .PSD and open it in Photoshop. Select Image > Mode > CMYK Color.
If you only want to work in Clip Studio Paint, there is still a way to create CMYK data and prepare your file for print. You can learn more in this article.
When you have your color corrected artwork, you’re now ready to print!
I use the LOKLiK iCraft cutting machine to print and cut my custom stickers. The LOKLiK iCraft cutting machine can cut paper, vinyl, faux leather, fabric, and cardboard… It’s a versatile tool for various crafting projects. What I like about LOKLiK iCraft is that it is easy to use and has a very high level of precision.
To begin printing, I open the cutting machine’s software, LOKLiK IdeaStudio. After connecting the cutting machine to the software, I upload the design file with the sticker border in PNG format. Select Print-Then-Cut to create a cut contour around the outer line of the design.
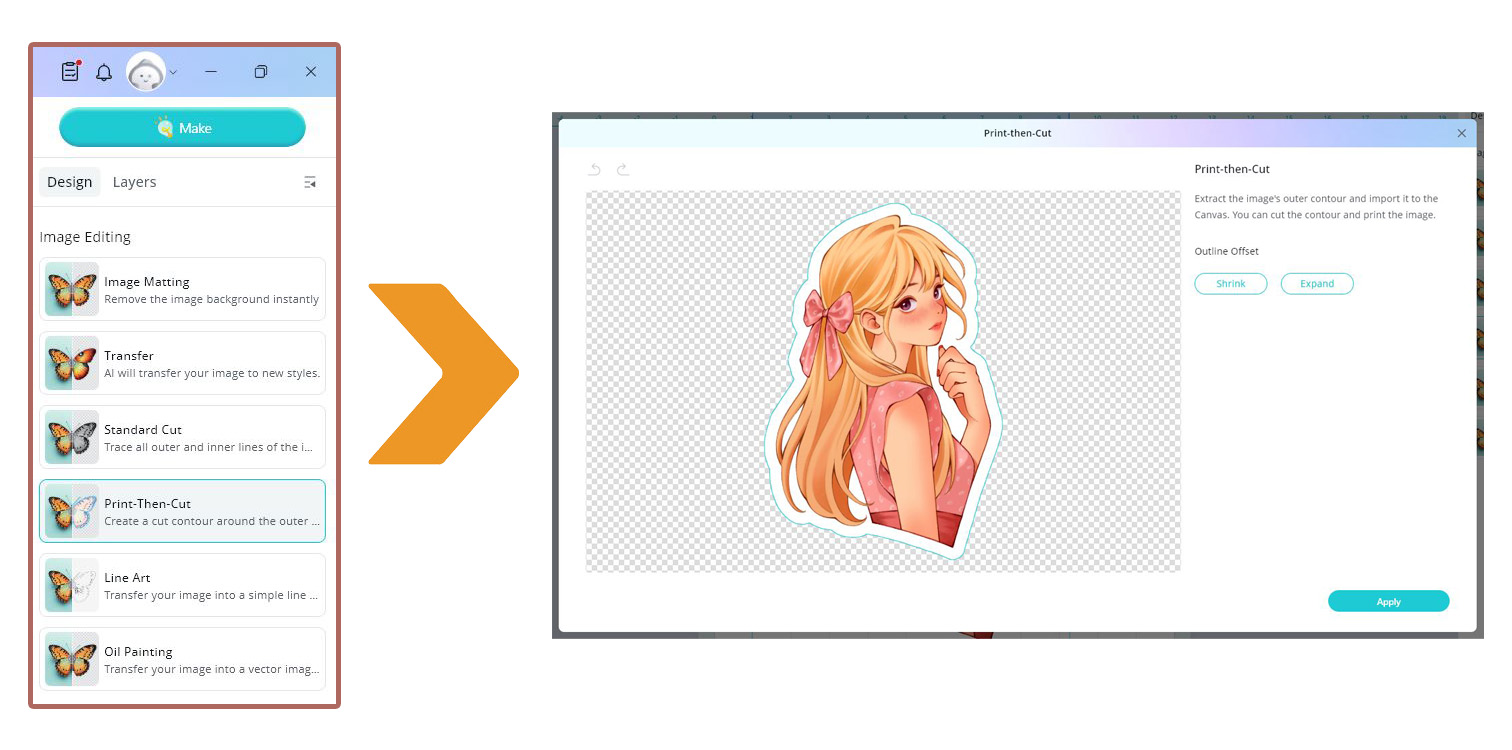
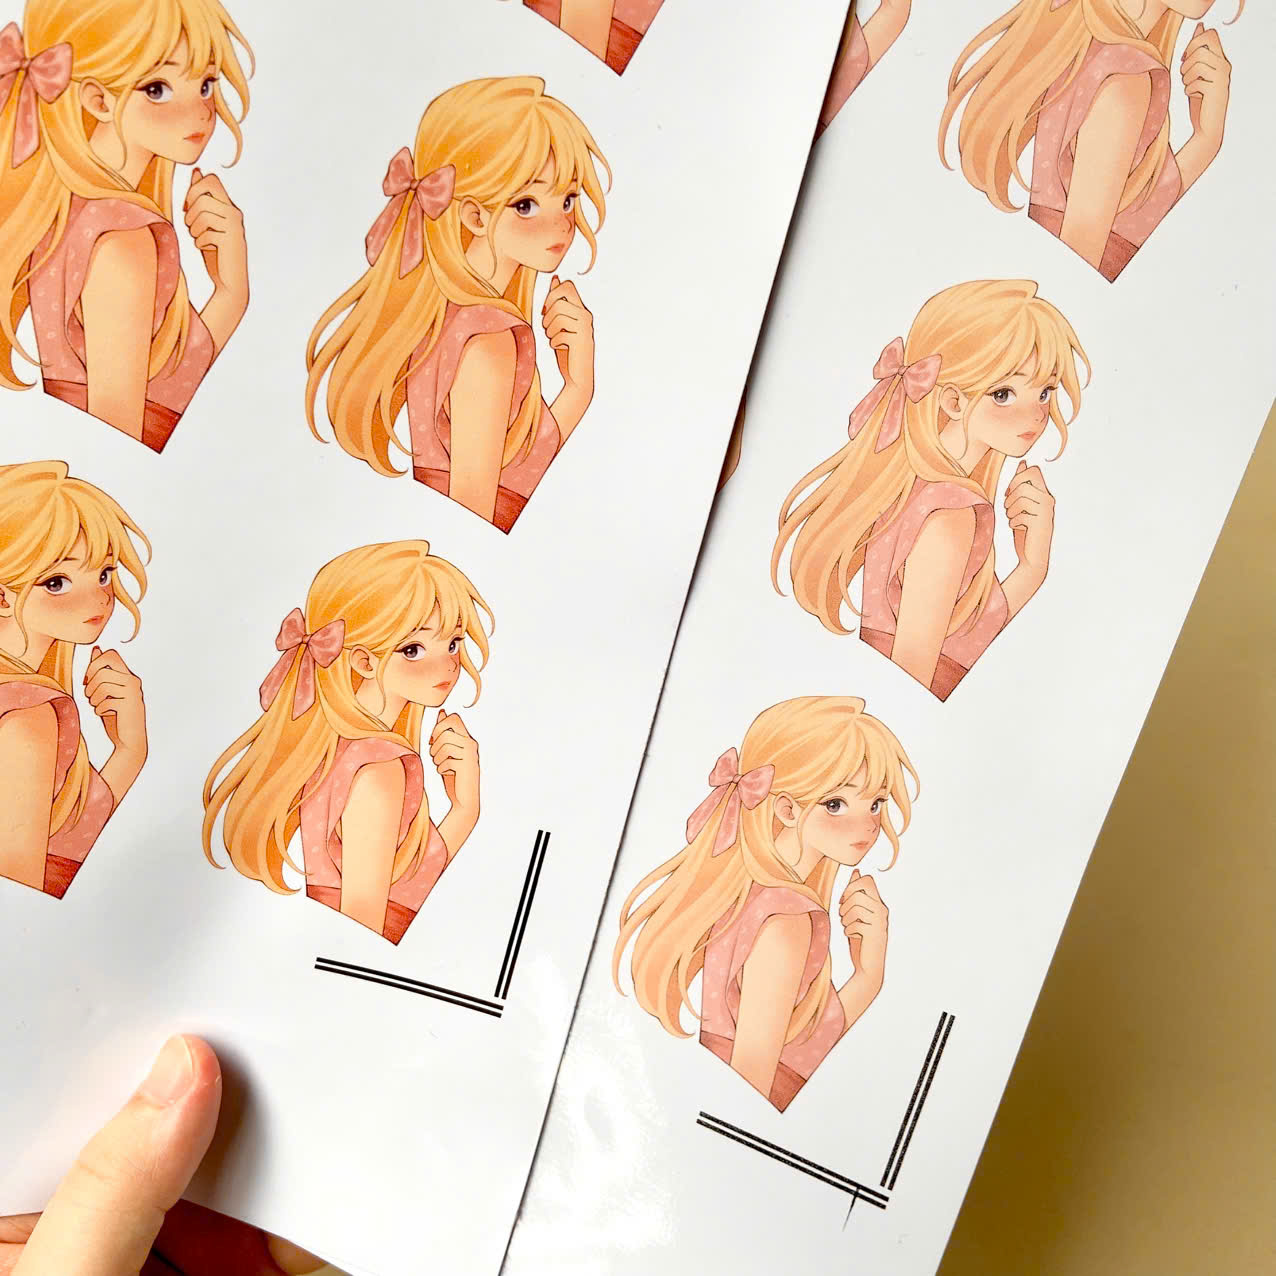
Then, adjust the sticker size as needed. In my case, all my character stickers are 3 inches tall. One thing to note is that all the designs need to be within the area surrounded by the 4 black brackets in the corners, because the cutter will only work within this area. Make sure all the designs are selected and then choose Make.

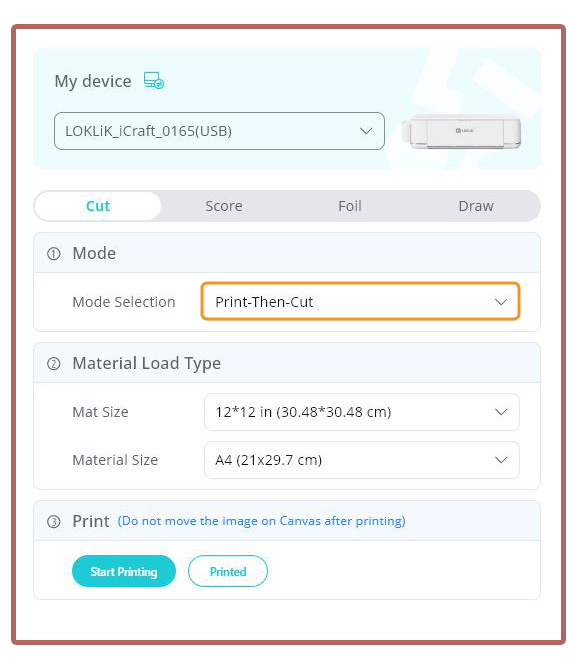
In Selection Mode, choose Print-Then-Cut. Then select Start Printing to print.
What paper should you use for printing stickers?
You can use any type of paper and follow the same printing process, but your design’s color may change depending on the paper. Glossy paper tends to make colors look more vibrant and saturated because of its smooth, reflective coating. On the other hand, matte paper has a non-reflective surface, which can result in softer, but more precise colors.
Each type of paper has its own advantages, and I like to make both glossy and matte stickers to give my customers more options.
Personally I like to use Lzerking Vinyl Sticker Paper for printing stickers. It’s affordable, good quality, and comes in both matte and glossy versions.
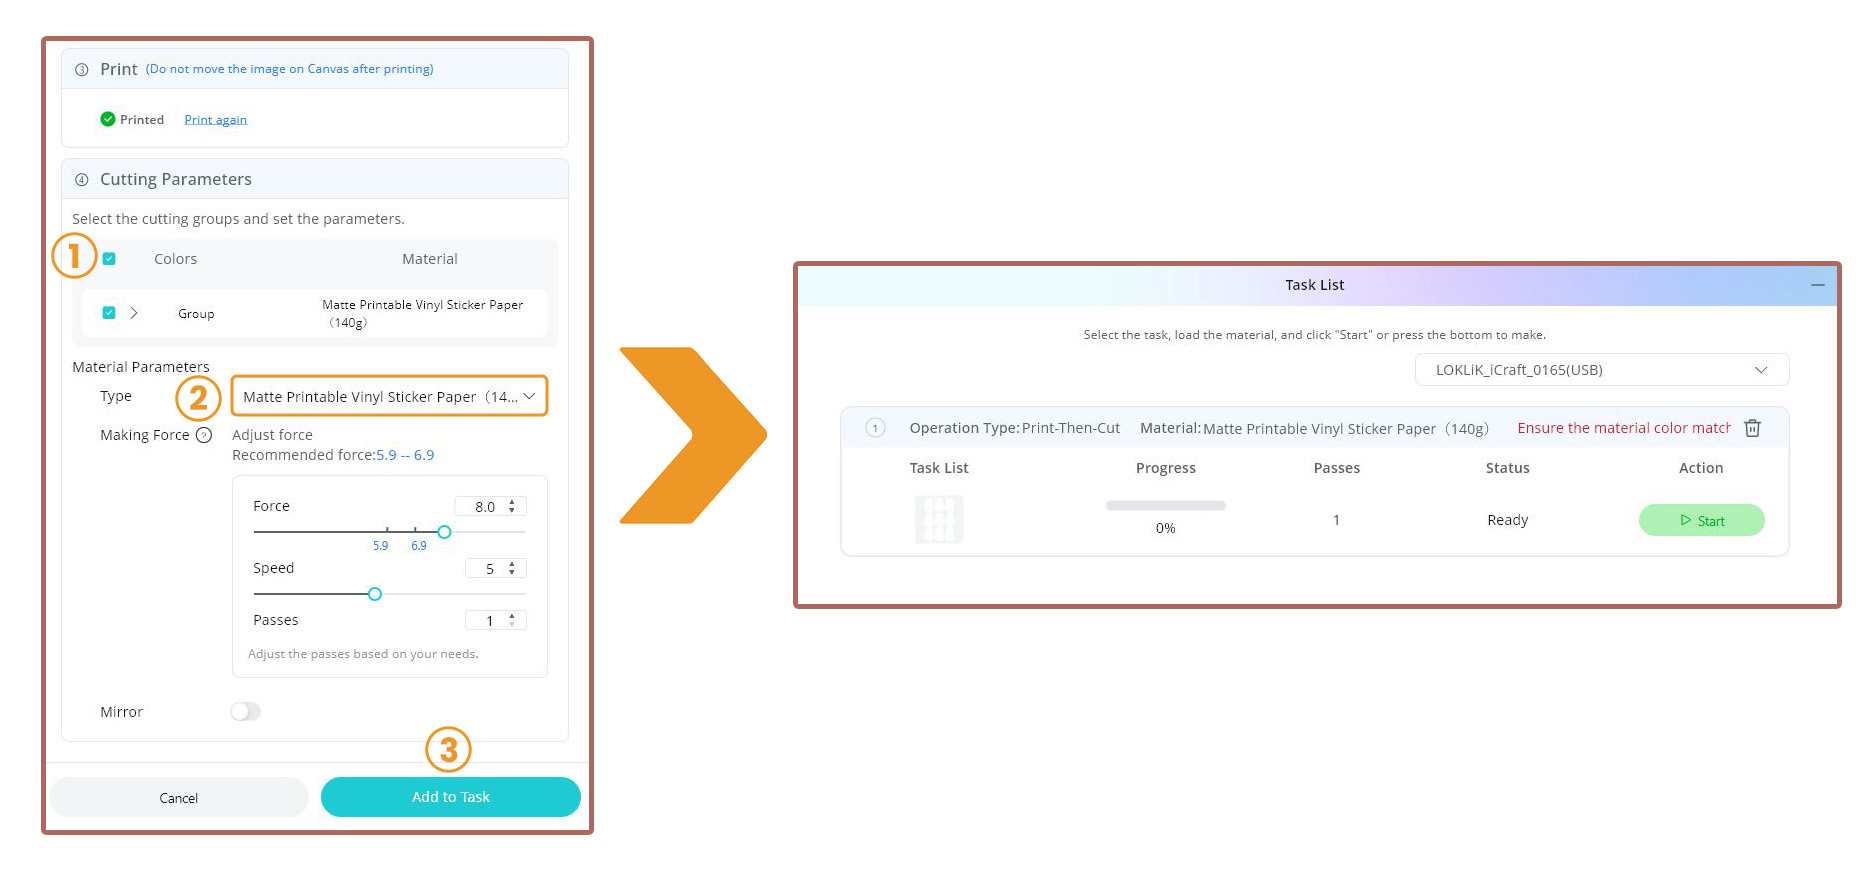
After printing, place the print on the cutting mat and load it into the cutting machine. Back in the software, check the Colors box under Cutting Parameters. Select the type of cutting material (in my case, Matte Printable Vinyl Sticker Paper). You can also adjust the cutting force. For this, I recommend you experiment to find the right parameter for the type of paper you use.
Finally, select Add to Task and click Start to let the cutting machine start cutting the stickers.
Conclusion
If you’re just starting out with making your own custom stickers, remember to keep it simple and focus on creating characters you love. Start with clear shapes, bold outlines, and colors that pop.
Don’t stress about perfection, because your unique style is what will make your stickers stand out. Most importantly, have fun with the process and experiment often!
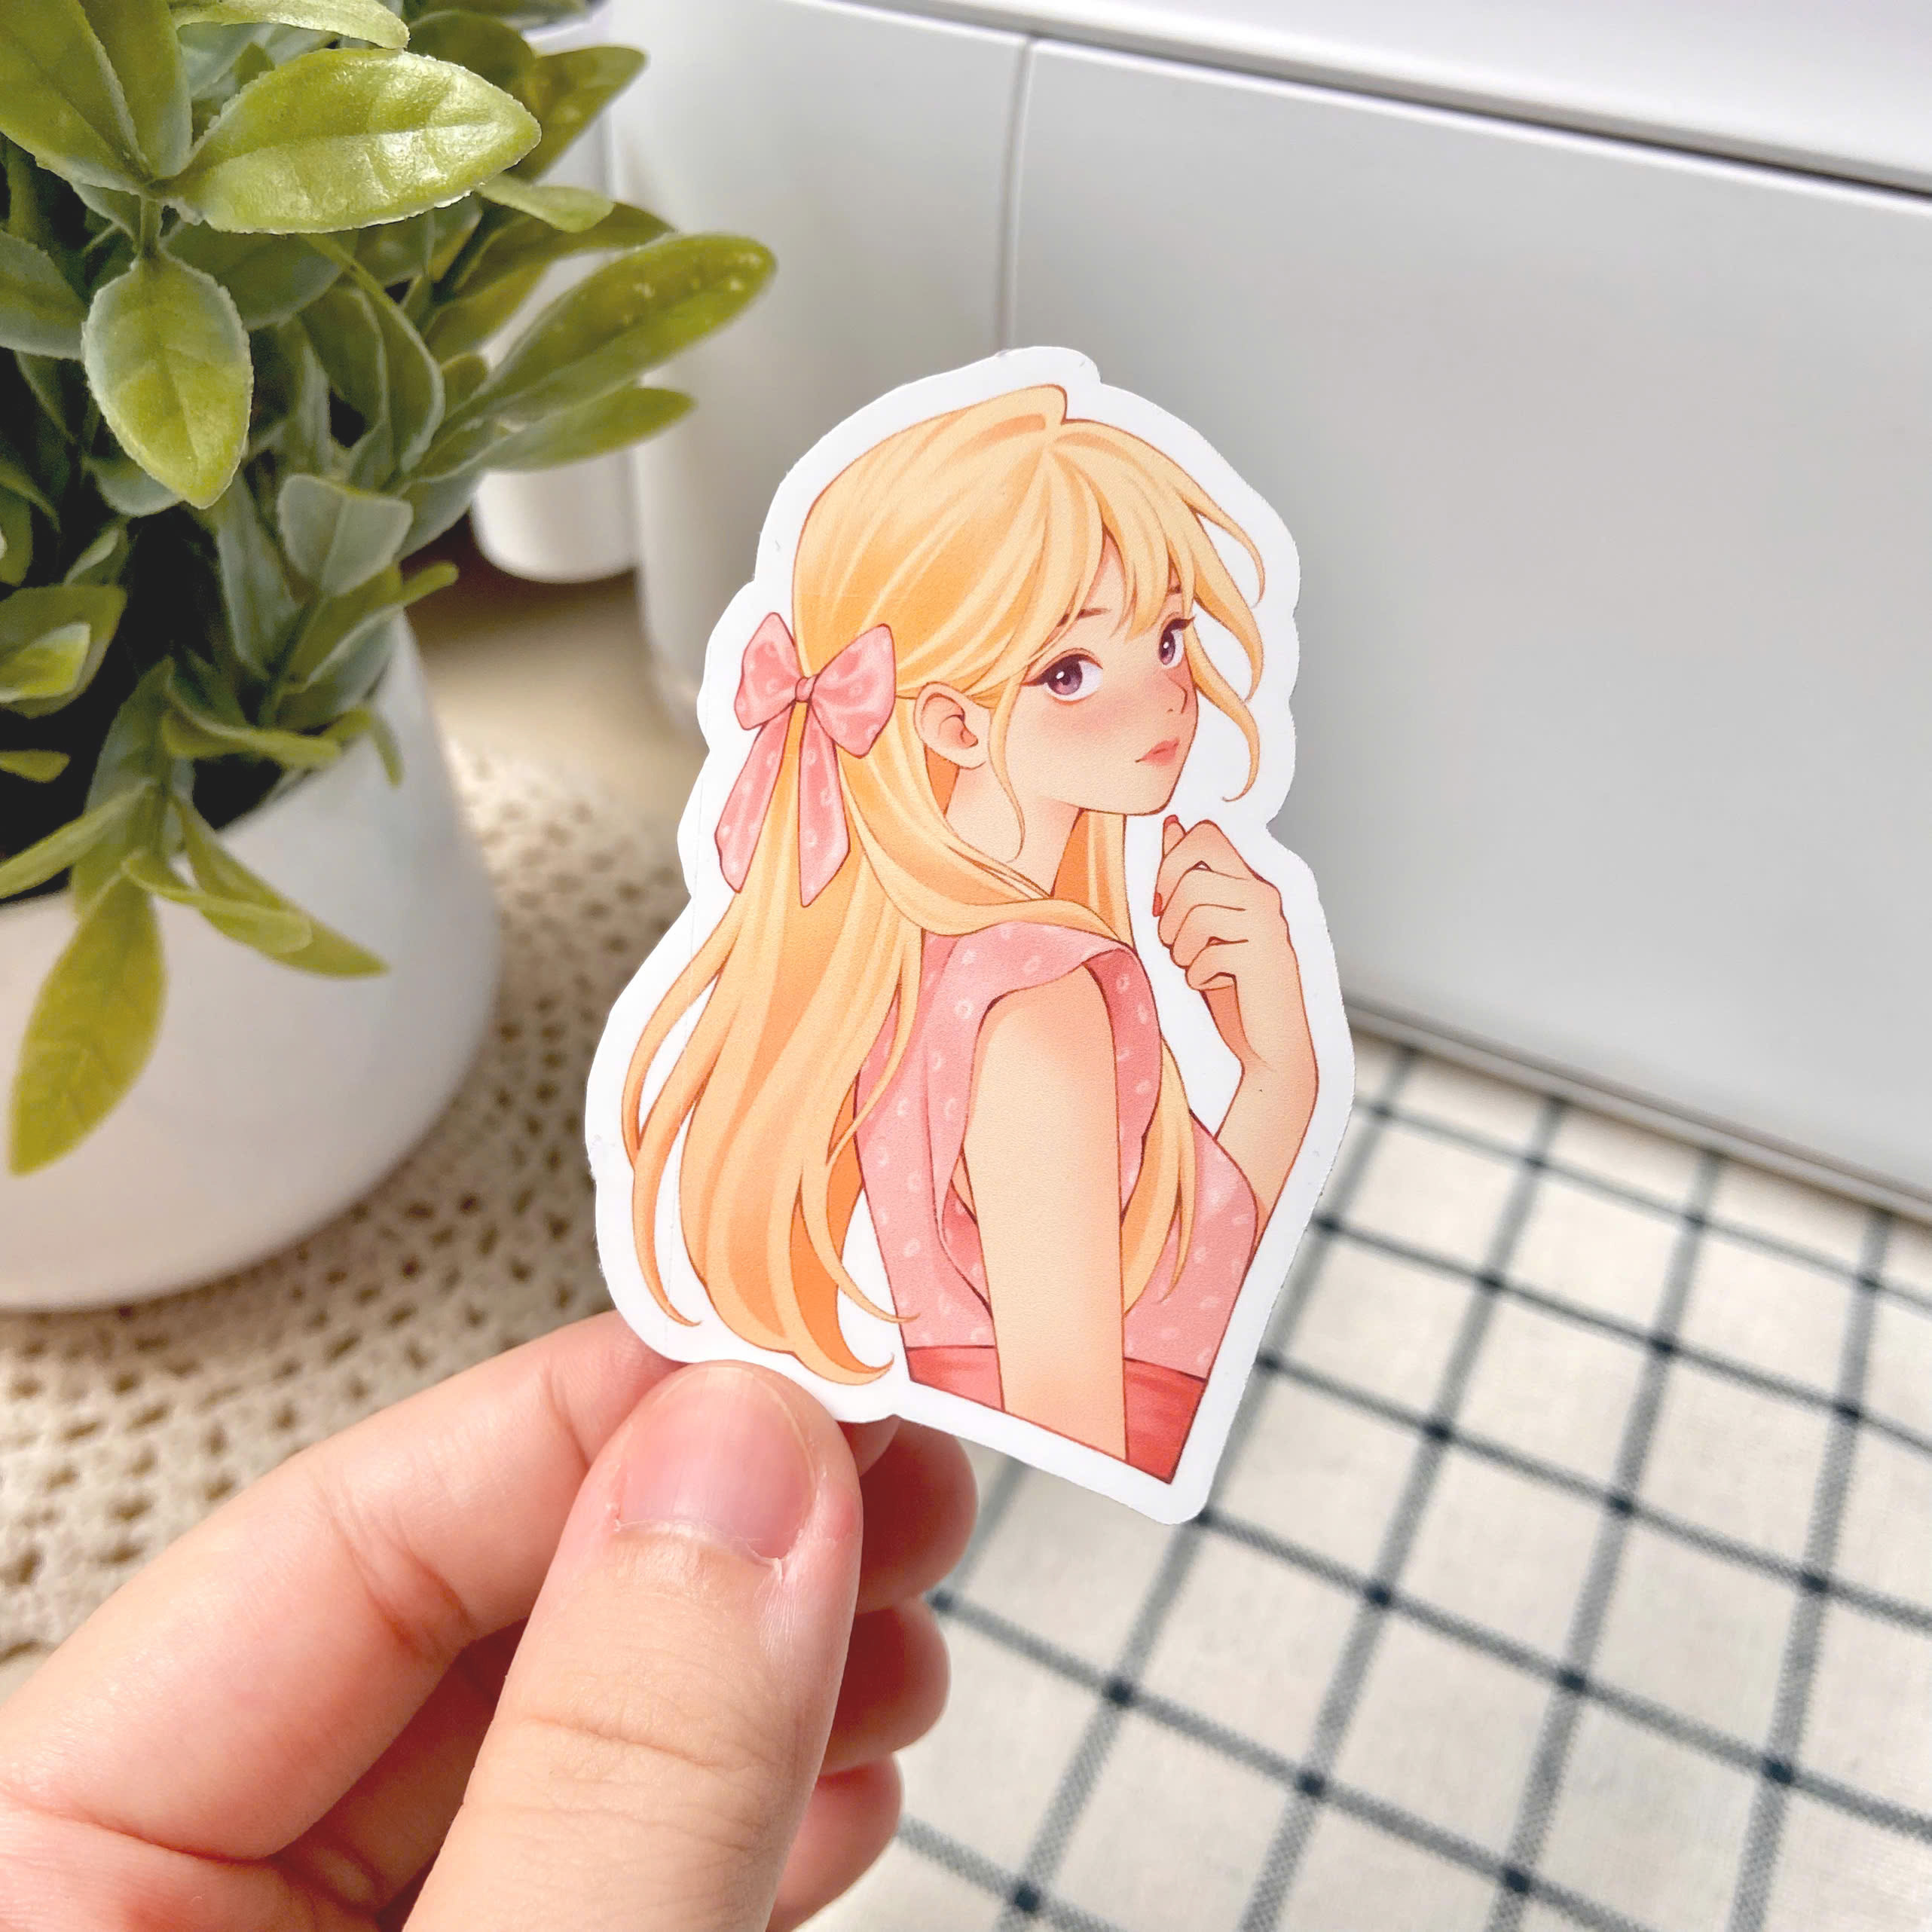
I am extremely pleased with how the sticker turned out! I hope you like my artwork and hope this tutorial was useful. Have a great day and have fun creating art!
Bonus Tips for Designing Your Own Stickers
Work in High Resolution
Start your designs at 300 dpi to ensure they print crisp and clear.
Test Different Outline Thicknesses
Bold outlines make stickers pop, but sometimes a thinner line works better for detailed designs, experiment and see what fits your style!
Print a Few Test Stickers First
Before printing in bulk, test a few designs to check colors, size, and how they look in real life.
Laminating for Durability
If you want waterproof or scratch-resistant stickers, consider adding a laminate layer, your stickers will last longer and feel more premium!
About the artist
Meeco is a freelance illustrator from Vietnam specializing in character art and works in both digital and traditional mediums.
You can find more of Meeco’s artwork by following her Instagram or watching other painting processes on her YouTube channel.
Instagram: im.meeco
YouTube: @meecoart
Website: https://www.meecoart.com/
Threads: @im.meeco
Cara: meeco
)