3 Quick and Easy Color Techniques in Clip Studio Paint

Ever wondered what each tool in the Fill tool group does? Discover various ways in which the fill tool can help you color your art.
Hi! In this tutorial, you’ll learn 3 special techniques inside Clip Studio Paint to apply color quickly and easily.
If you’re painting just as a hobby and you have fun manually painting, that works just fine. However, when you have deadlines and many projects to work on, you need to speed up your workflow. That’s when these techniques will come in handy.
All the techniques we’ll see in this tutorial are related to the Fill tool (the paint bucket).
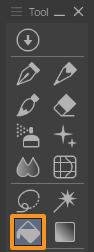
The Fill tool is one of the most powerful tools in CSP for quickly applying flat colors, blocking in large areas, and achieving clean, consistent fills.
At its core, the Fill tool detects enclosed areas or boundaries and fills them with a chosen color. Once you select the Fill tool in the Tool palette, you can click on any enclosed area of your artwork, and the tool will fill that area with the chosen color.
Click and drag to fill multiple areas:
What many artists don’t know is that the Fill tool group has several tools with different specificities, and you can use each of them to color much more quickly. After selecting the Fill tool, go to the Tool Group to find the various tools. We’ll start by covering the Refer other layers tool.
1. Refer other layers
Within the Fill tool, there are two opposite tools: Refer only to editing layer and Refer other layers. Here is how they work:
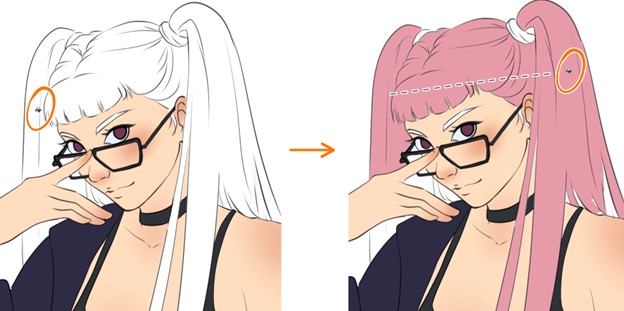
Refer only to editing layer: This is the most basic tool on this list. It fills areas only on the active layer you’re working on, and it won’t consider any information from other layers, which makes it ideal for filling regions enclosed on a single layer.
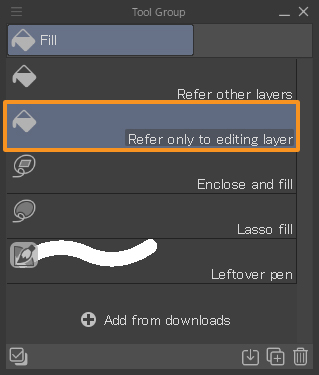
When the line art is on one layer and you are coloring on a separate layer, the color will disregard the line art layer. Instead, it will only consider the colors already present on the coloring layer, as shown in the following figure:
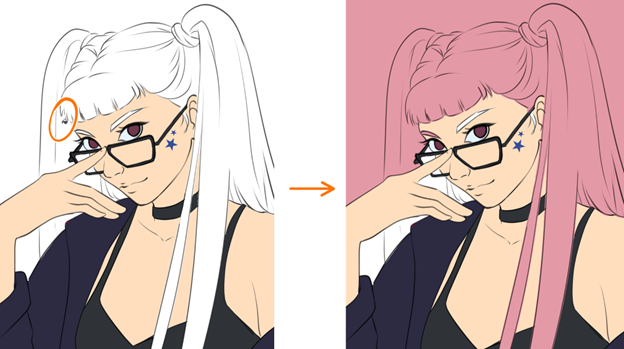
Refer other layers: This tool allows the Fill tool to reference other layers when deciding where to apply the fill. When the line art is in one layer and you are coloring on a separate layer, the Fill tool will also consider the line art layer, as shown in the next figure:
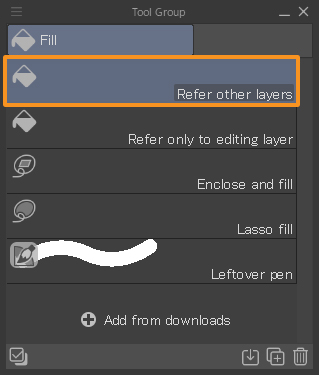
By using Refer other layers, you can significantly increase your painting speed.
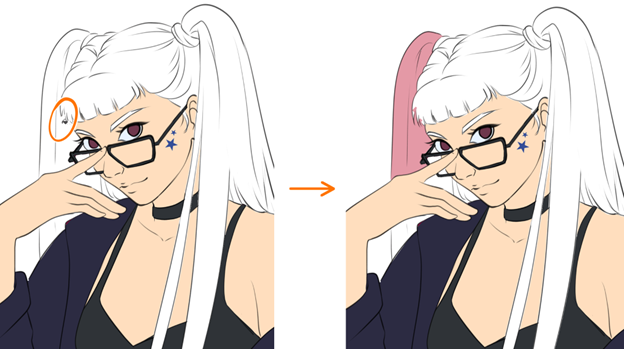
2. Enclose and fill
This tool allows you to draw a freeform boundary around an area, and everything inside that boundary will be filled with the chosen color.
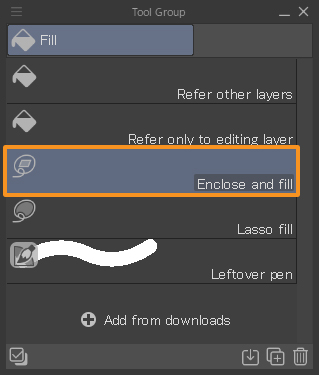
This is perfect when you want to block in color quickly without worrying about precision — CSP will do the heavy lifting for you:
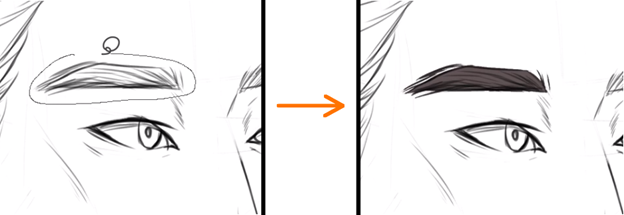
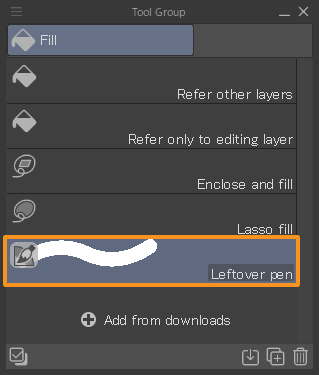
3. Paint unfilled areas
As the name suggests, this tool is used to fill any areas that haven’t already been filled. It helps to cover gaps or overlooked spots where color didn’t reach in earlier filling steps.
When in use, it shows a green overlay over areas that will be filled:
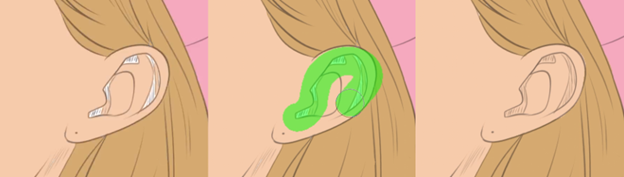
In the figure above you can see an ear with gaps (left), the green overlay of Paint unfilled area (middle), and the fixed image (right).
Notice how even though I painted outside the skin area and spilled my overlay to the hair, the Paint unfilled areas only colored the areas that were unfilled. This is perfect for cleaning up your painting and making sure there are no unwanted gaps in your flat colors!
Learn more
Clip Studio Paint has hundreds of incredible functions you can use to improve your artistic workflow, and these are just a few of the advanced techniques I dive into in the book Mastering Clip Studio Paint. This book is a complete Clip Studio Paint guide for illustrators, and it is filled with practical tips, visuals, and real artist workflows to help you feel in control and creative every time you open Clip Studio Paint.
Mastering Clip Studio Paint is now available on Amazon — you can check it out here: https://packt.link/wVrFF
Special thanks to Celsys and the amazing Clip Studio Paint community for supporting the launch!