Beginner’s Guide to Drawing the Female Face
In this tutorial Sara Tepes outlines how to draw the female face. Learn tips and how to find creative inspiration when drawing feminine faces.
Contents
Hello my friends!
In this tutorial we are going to be talking about a huge topic:
How to draw the Female Face
I want to talk about several topics:
-
- What makes a face look feminine? Defining the female face
- How to place facial features
- How to make your drawing or painting feel more alive
- Dealing with “Same Face Syndrome” criticism
I’ve asked you guys on Instagram what your concerns are when drawing the female face, I have noted down all your questions and I’m gonna talk about my process, my tips, and my understanding of how to draw the female face.
If you’d like to see more educational content like this or you enjoy my painting style consider subscribing to my YouTube channel. I love creating content that explains my process and that shares part of my art journey with you.
Disclaimer
My disclaimer for this tutorial is that we’re going to be talking about conventional beauty, this is a typical understanding of someone who is classically female.
Not all women look like this, and this is not a standard of beauty.
I think it’s important to learn about classically feminine and masculine features.
This is a great place to start, when you’re learning about facial features and learning how to mix and match these to create your subject.
Not all CIS women are going to look like this, and not all trans women are going to look like this. I would love to reiterate that this is conventional and classical understanding and what my understanding of hyper feminine features is like.
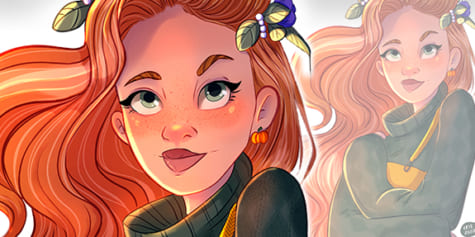
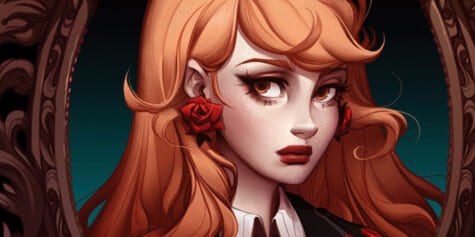
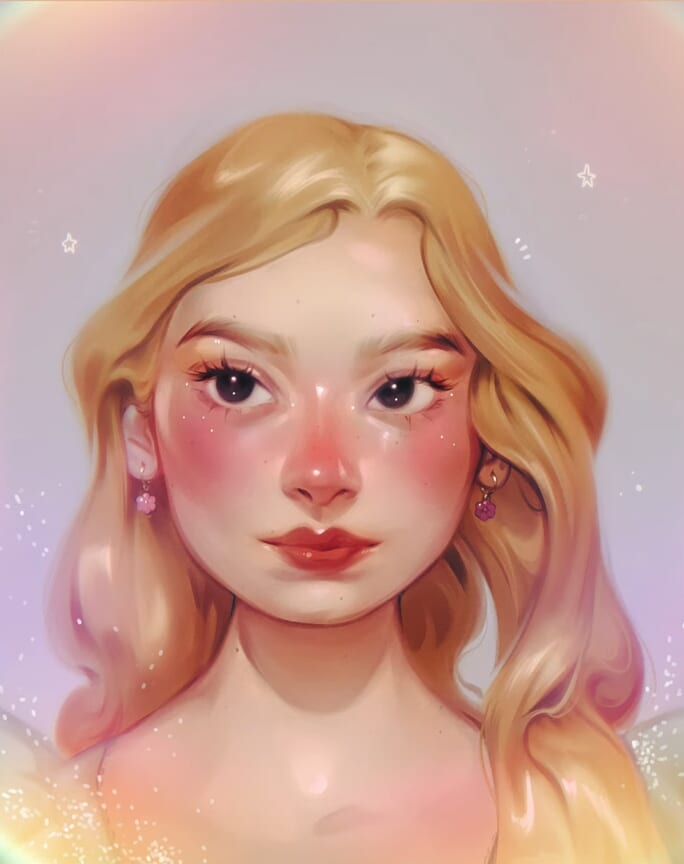
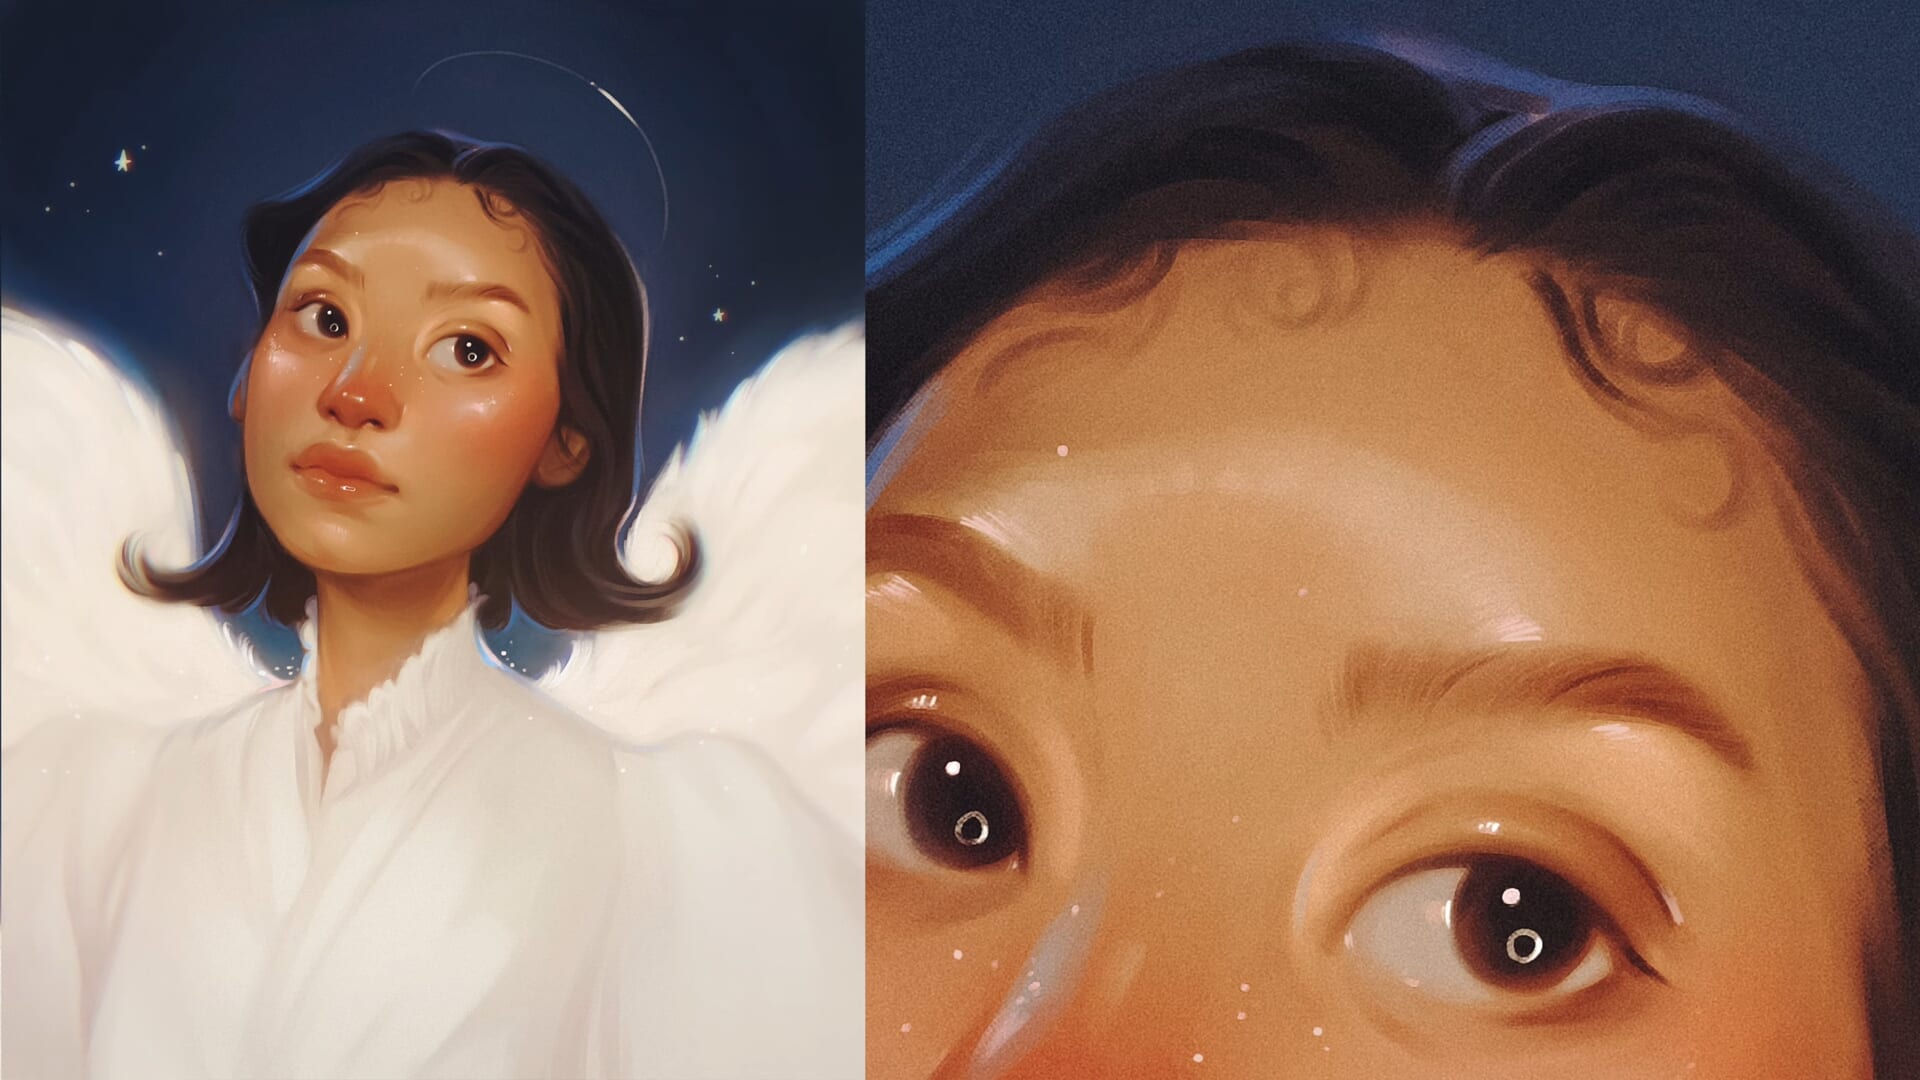
What makes a face look feminine? Defining the female face
Let’s talk about what makes a female face look female.
I have a couple of things here:
-
- Large eyes
- Softer and weaker chins and jaws
- Soft cheeks
- Softer brows: Both in shape and in bone structure
- Higher brow bones with more lid space
Something that has helped inform my understanding of the female face is watching makeup tutorials.
This is my very first tip to you.
Seeing where women apply contour, highlight, blush, eyeshadow…all of this has helped me understand anatomy so much more.
This is something I highly recommend to you, if you’re learning how to draw the female face.
You can watch TikTok’s or longer length YouTube videos, but being able to see these facial features close up, see what women like to accentuate with makeup, is a great place to start learning the anatomy of the face.
I can give you the typical advice of learning how to draw hyper realistically,
drawing skulls, drawing still lives, etc. These are all foundations for learning how to draw the human face and the female face. So I obviously recommend these to you, but if you’ve come to this tutorial, you’re coming for my stylized perception of the female face, not for hyper realistic and very natural looking paintings and drawings.
Recommendation
I do recommend that you look up resources that show you how to draw the human skull or the female face from life. These are important foundations for you to understand anatomy and start to familiarize yourself with a female face.
How to place facial features
The next point I want to talk about is placement.
Now that you know what to accentuate and hide when you’re drawing female faces.
Let’s talk about where to place these features.
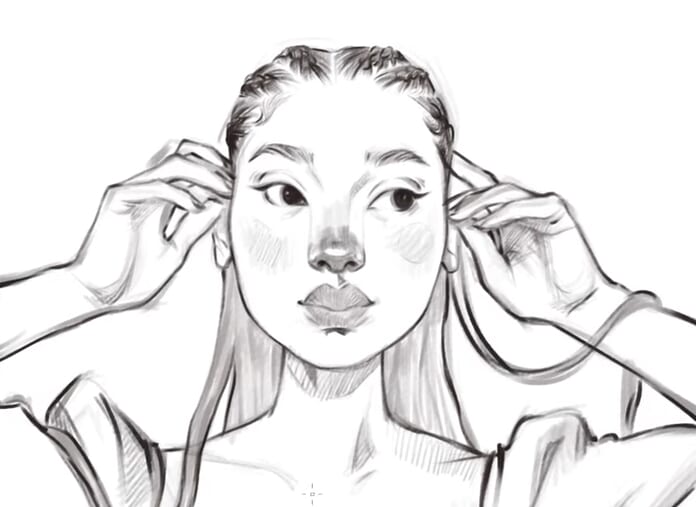
I use this main structure when placing facial features:
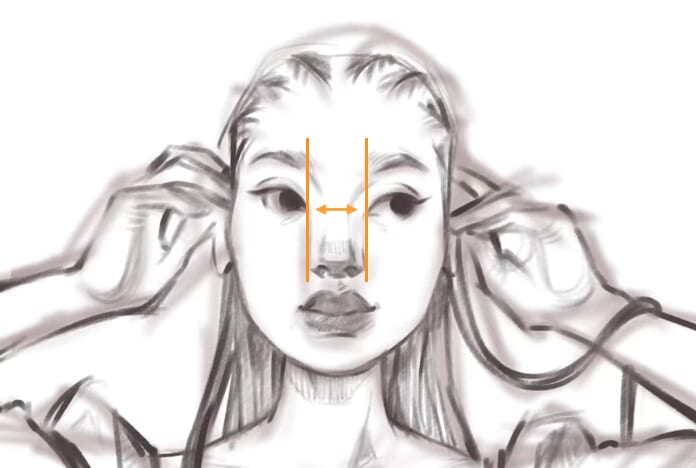
Eyes
I usually place the eyes right where the sides of the nostrils end, with about one eye’s length in between. There will be exceptions, if I’m painting a super narrow nose or a wider broader nose, however around one eye’s length in between each eye is the guideline that I usually go for. The sides of the nose usually line up with the corners of the eyes anyways.
Features
Place the features lower on the face rather than in the middle.
This will give you a smaller jaw and chin.
Forehead
The cranium is much larger than you might imagine it to be.
Something I struggled with when I was drawing women to begin with, is giving the actual mass of the skull. I was making it much smaller than it actually is.
Foreheads are pretty large, much larger than you might imagine.
So when you’re observing your reference photos or even yourself in a mirror, look at how large your forehead is and you might be a little bit surprised when you isolate it and think of it by itself.
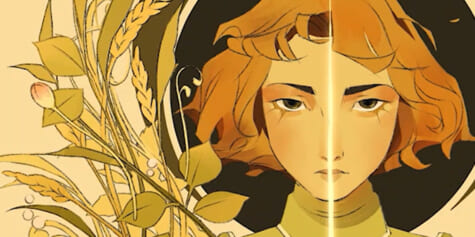
Masculine and Feminine Features
When drawing masculine women, accentuate some sharpness in the face.
Such as giving them a larger or sharper jaw, smaller eyes, a stronger forehead, more sunken cheeks and a stronger or harsher nose bridge.
The main word in all of this is contrast.
While typical feminine features are soft, masculine features are harsher.
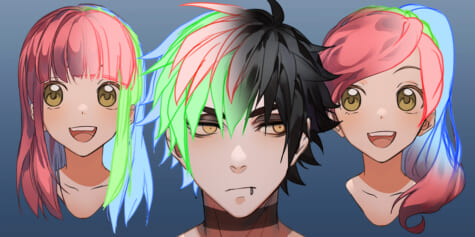
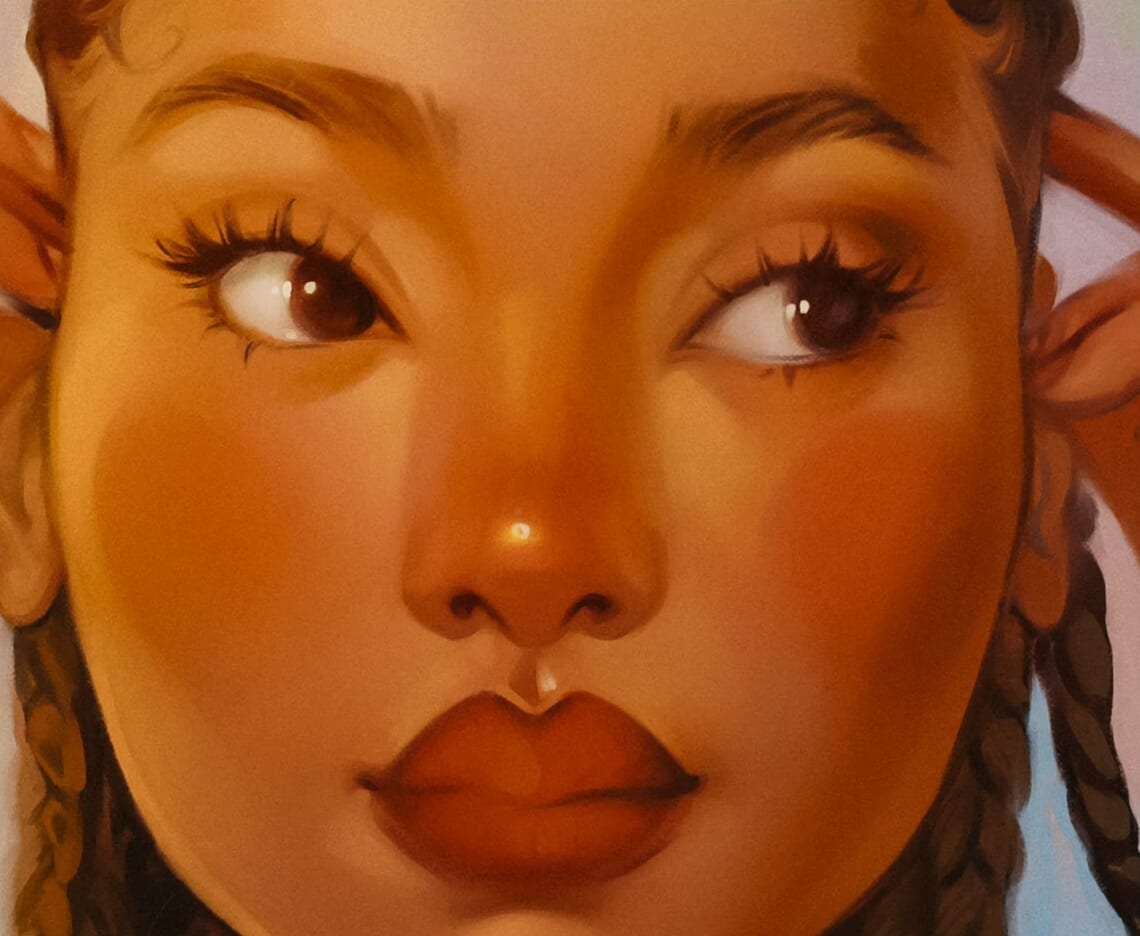
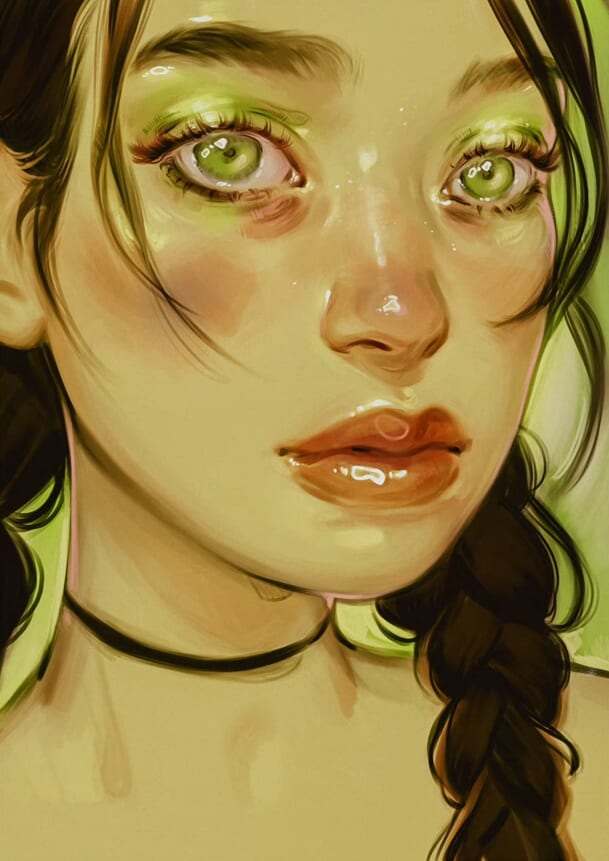
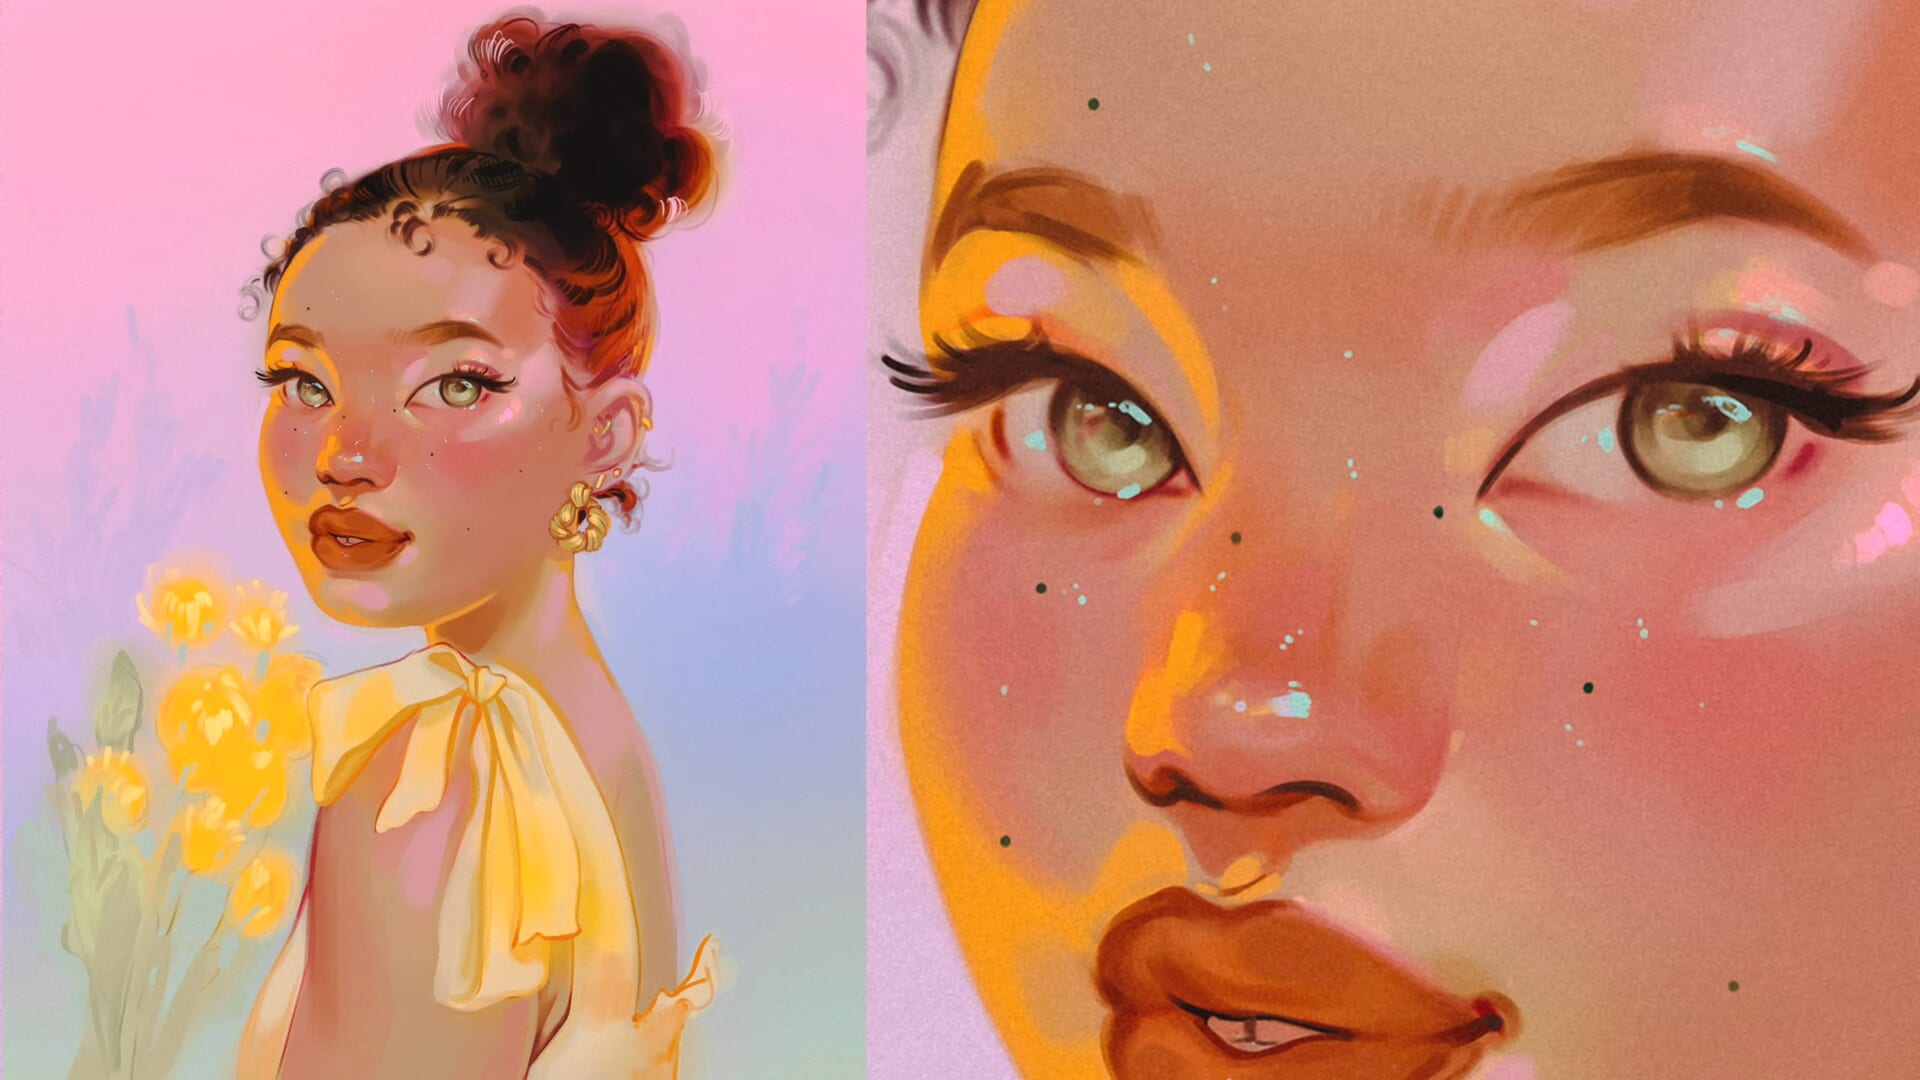
Color Variations
It’s also important to talk about color variations in the face.
Bonier areas on the face will be cooler, while fleshier areas will be warmer.
So the forehead and the jaw, which are bonier, can have more yellow, green and blue tones in them, while the fleshier areas like the cheeks, the nose, and the lips, will have more pinks, oranges and reds.
I love to accentuate this in my paintings and I would say that this is something stylistic for my pieces. Bright noses, bright cheeks…I think it’s so cute!
I love painting really like red noses and red red cheeks.
If you’re in doubt of where to place these colors or even fearful of adding color, paint in the base colors and tones the way that you usually would, and then use a light opacity and a light hand with a bright blue or bright purple or green and gently lay those over your base colors.
With light opacity, you should be able to add a tint of those colors to your piece in a way that will really elevate the colors of your piece without being too overwhelming.
This is how I learned to add blues and greens into my paintings
Because it is daunting to add such harsh and cold colors to skin that we usually know as being warm, pink, and orange.
Another way of implementing different tones and colors in your piece is by using blending modes like overlay or soft light on layers to include these tones.
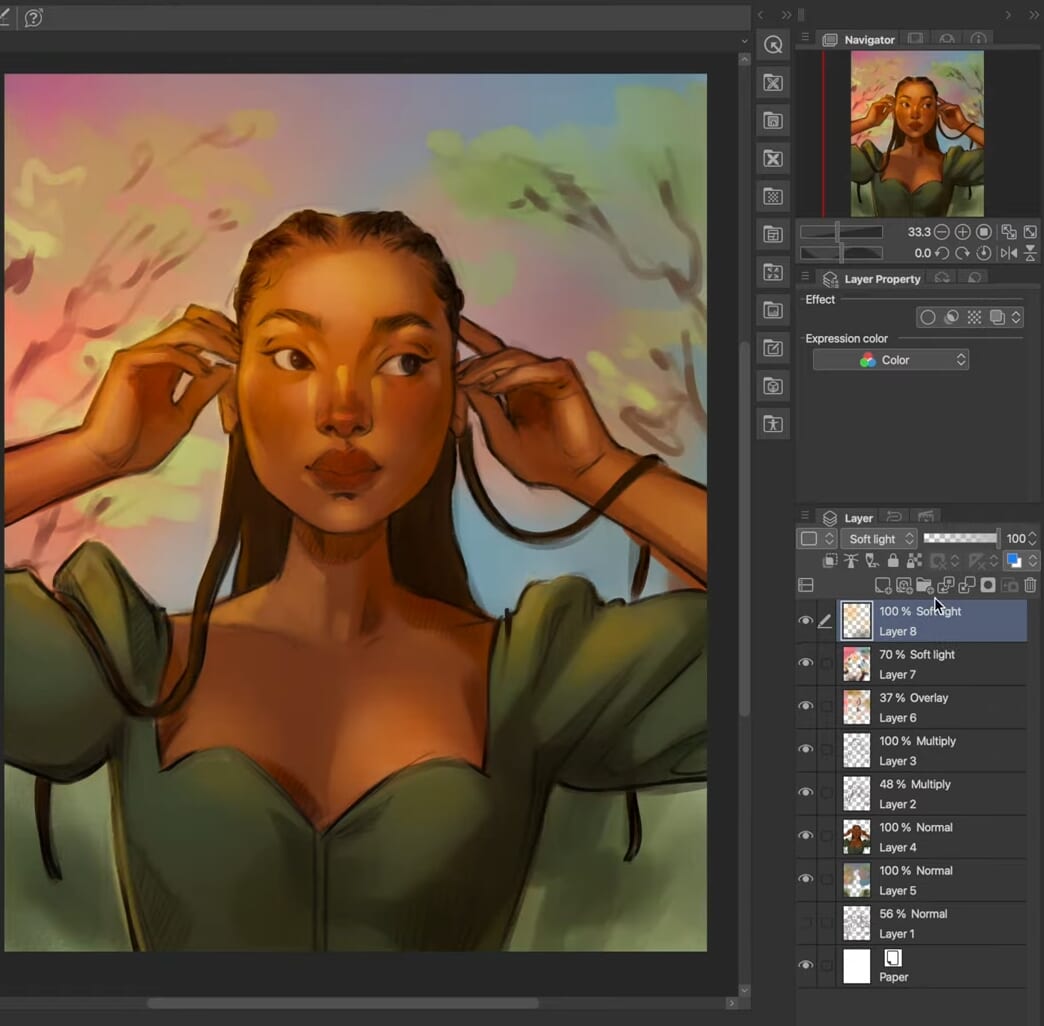
Adding pastel highlights will also create an iridescent look to the skin and is something that I employ in my pieces.

I love to add color to my work and to have almost an iridescent look to skin into my pieces. For me it’s important to add a lot of colors and variations to the skin to make it pop.
The Mood of your Character
Something else to consider is the mood of your character.
If you’re trying to paint someone in particular, think about their demeanor, personality, character and use their facial features to accentuate those characteristics.
If they’re innocent and young, give them rounder more open features and expressions.
Use round fluid lines when coming up with your design.
If your character is edgier or darker or more mature, use sharper lines, graphic shapes, and bolder colors. Try using a lot more contrast in your character.
Blush Placement
Blush can create a more youthful and innocent look to your character, so blush placement can affect how mature your subject looks.
I love to add blush on the apples of the cheeks of my paintings. It looks youthful and healthy.
While less blush or even blush on the cheekbones can look more mature more grown up.
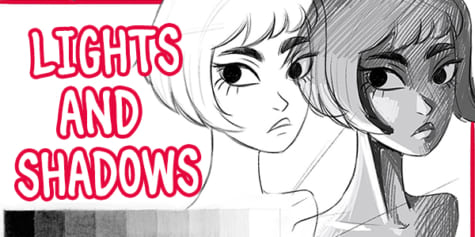
Make your Drawing Feel more Alive
Let’s talk about how to make your drawing feel more alive.
This is something that I love adding in my pieces and I think it’s a characteristic of my work.
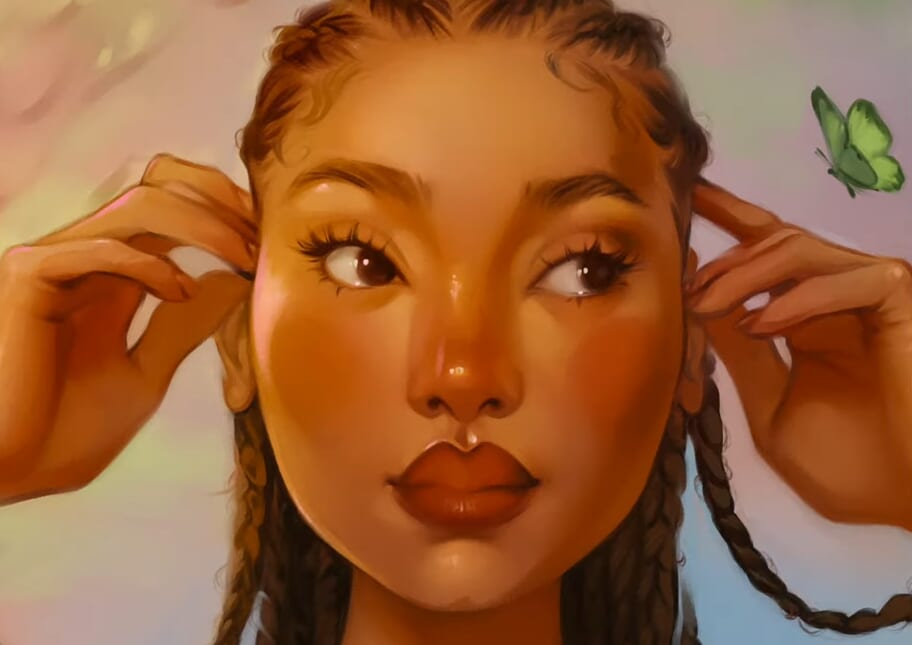
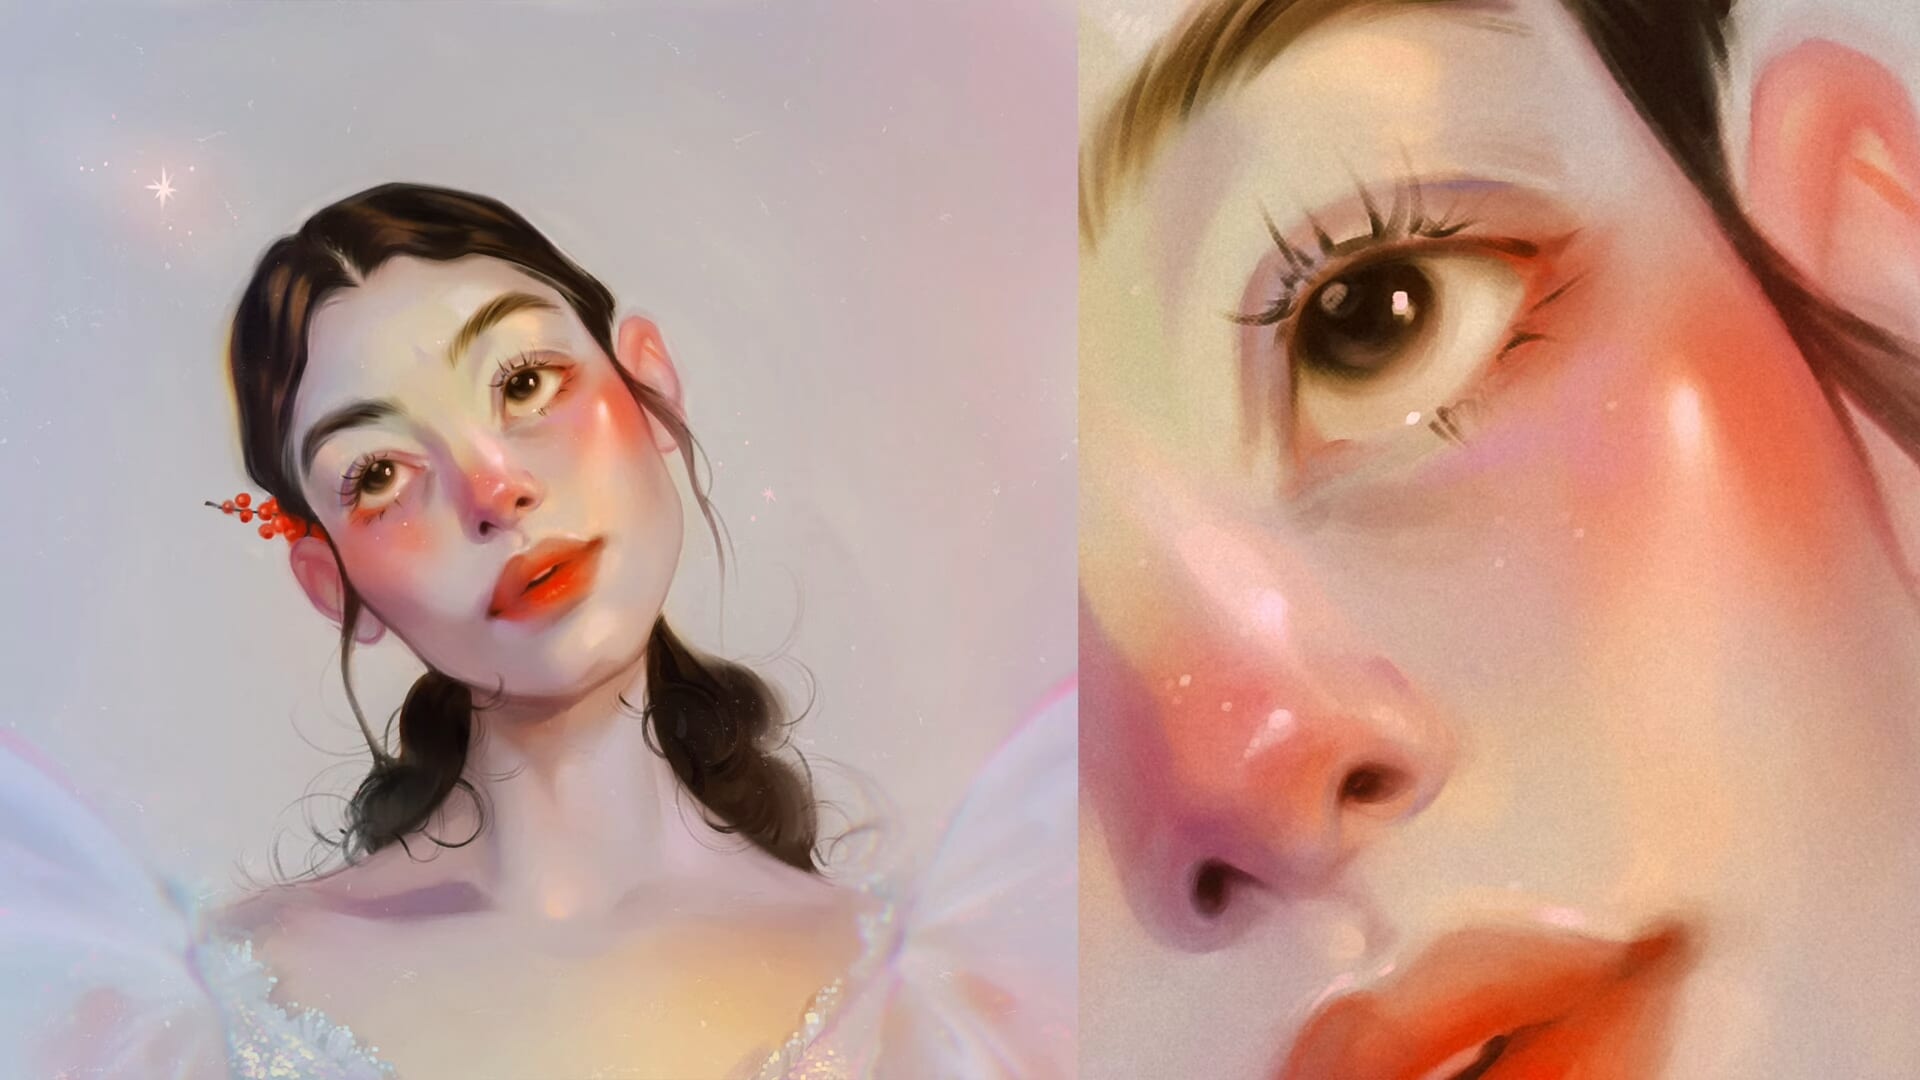
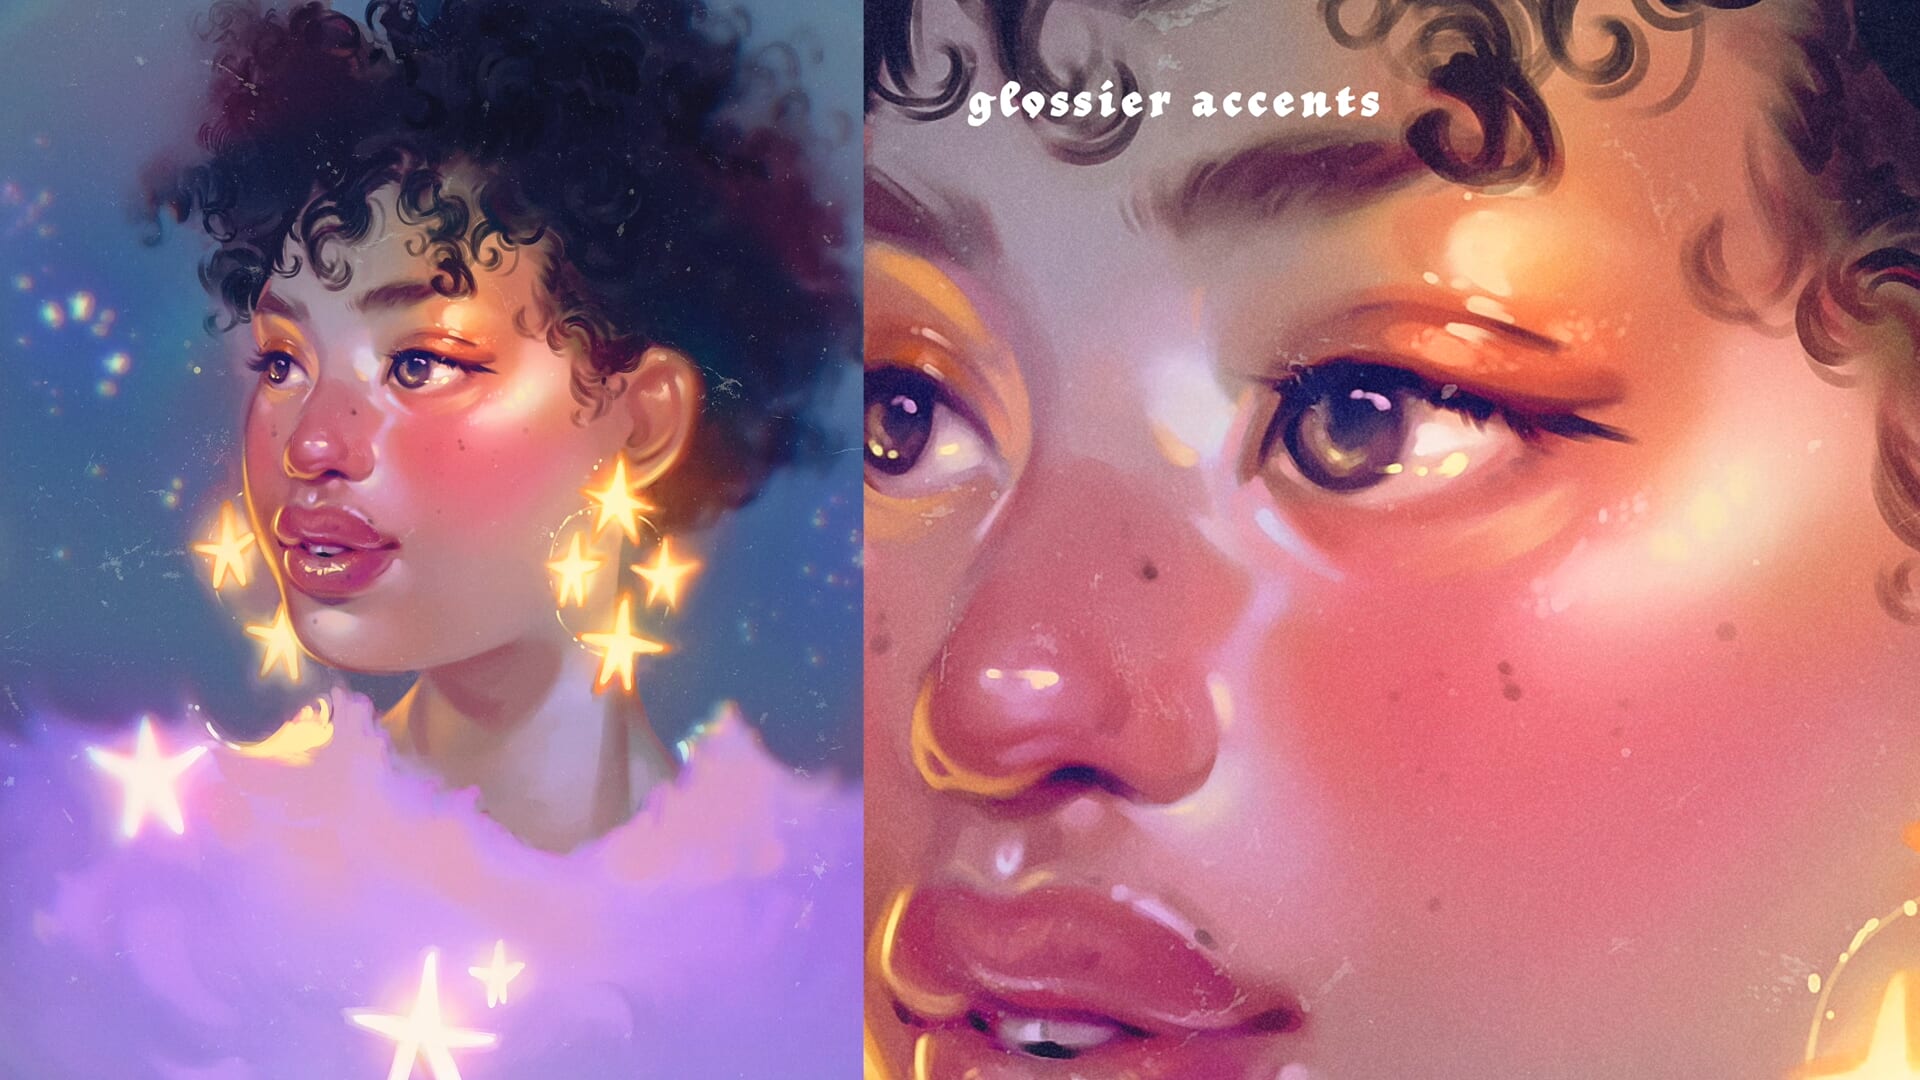
When it comes down to me creating a drawing that feels alive and vibrant, it comes down to texture.
Add glows to the eyes, use brighter highlights, and glossy texture on the face instead of lower contrast dull colors.
This will make your character feel vibrant and glowing!
Low contrast, without sharp highlights, will create a velvety matte look to your character.
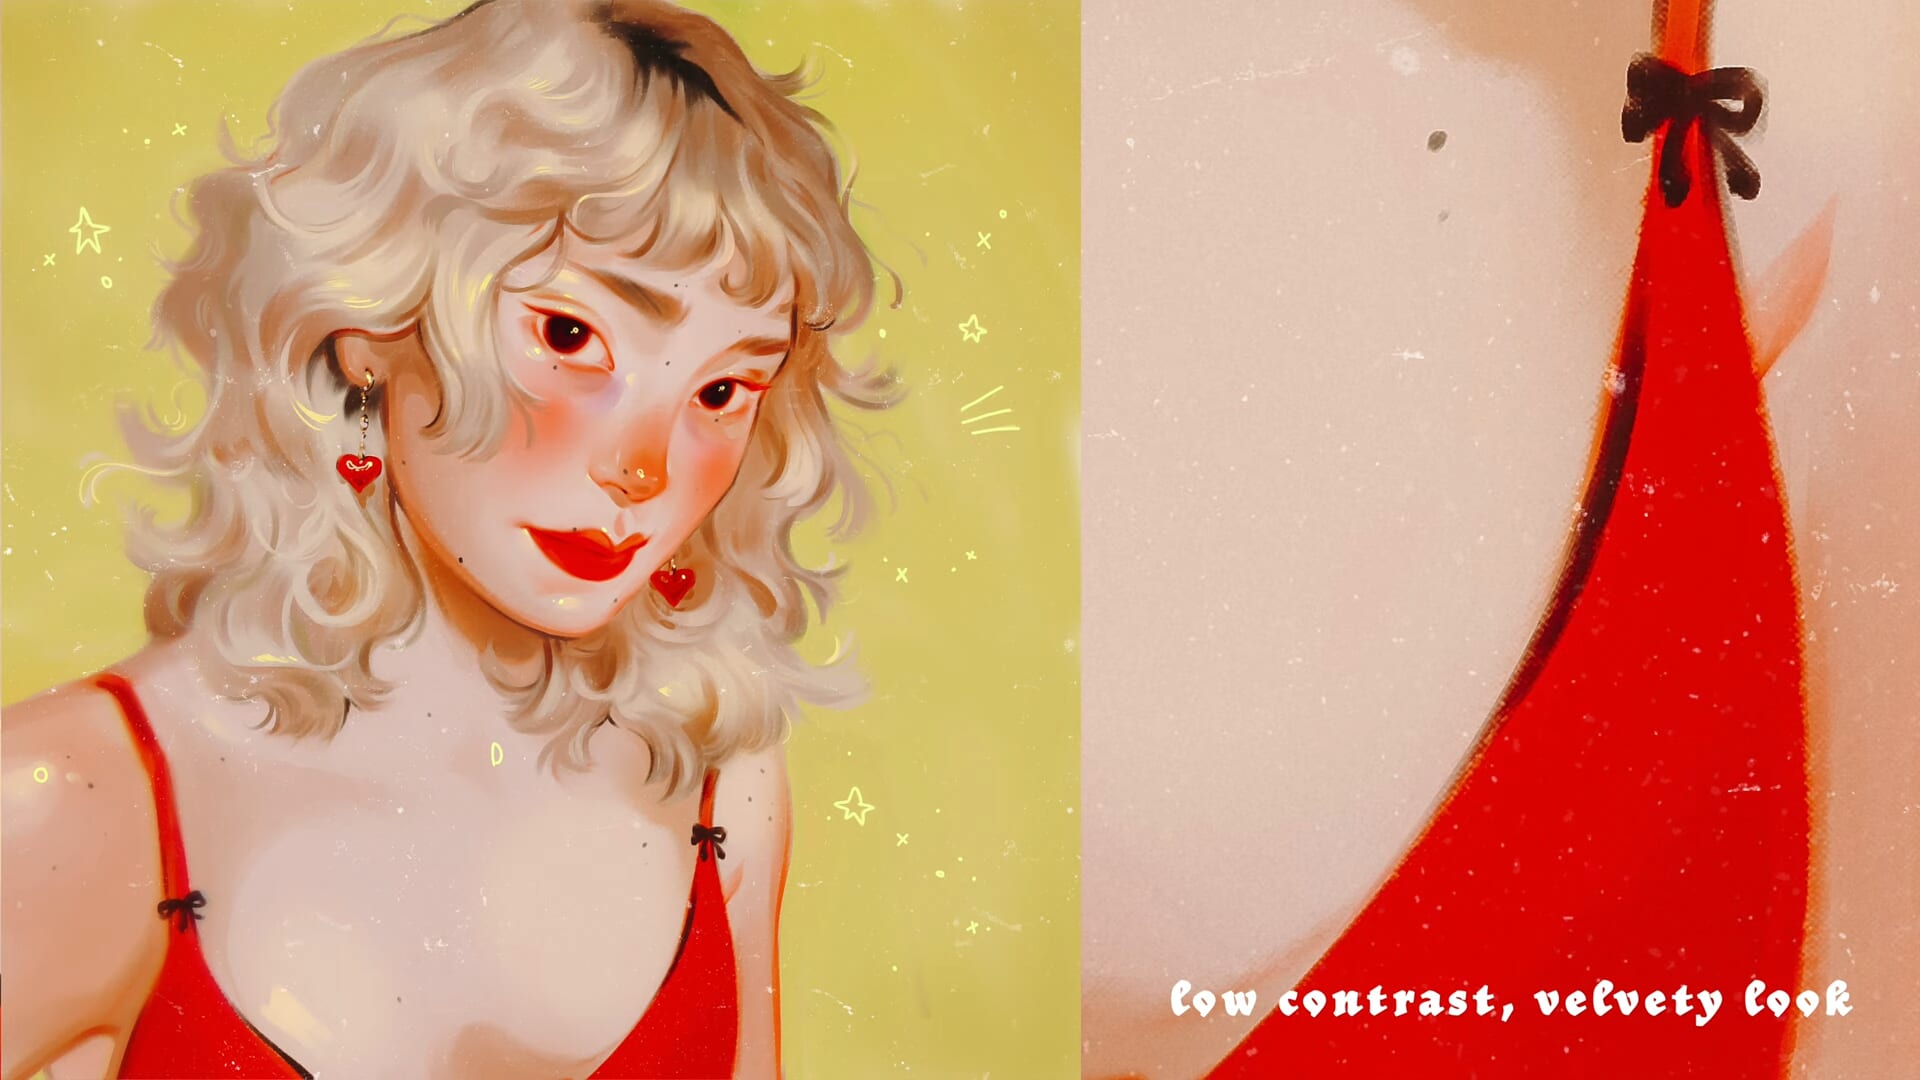
While bright highlights, sharp and glossy highlights will look juicier, wet, plump
good words right 🙂
Simply put, by adding highlights, they’ll just look a lot more vibrant and alive.
So glossy highlights on the cheeks, nose, lips, brow bone.
Anywhere you see somebody applying highlight or gloss in a makeup video are great places to add sharp highlights to make your character pop.
Something else that I think is so important when painting is to add things like baby hairs.
Baby hairs add realism and interest to your piece.
These are details that you don’t necessarily need to have in your piece, but when you add them they create this “wow” factor.
They create a standout moment in your piece.
Because these details are not necessary, not everyone’s going to add them to their paintings. Therefore, being able to pick out realistic detailed parts of your subject matter to accentuate will give your character more life.
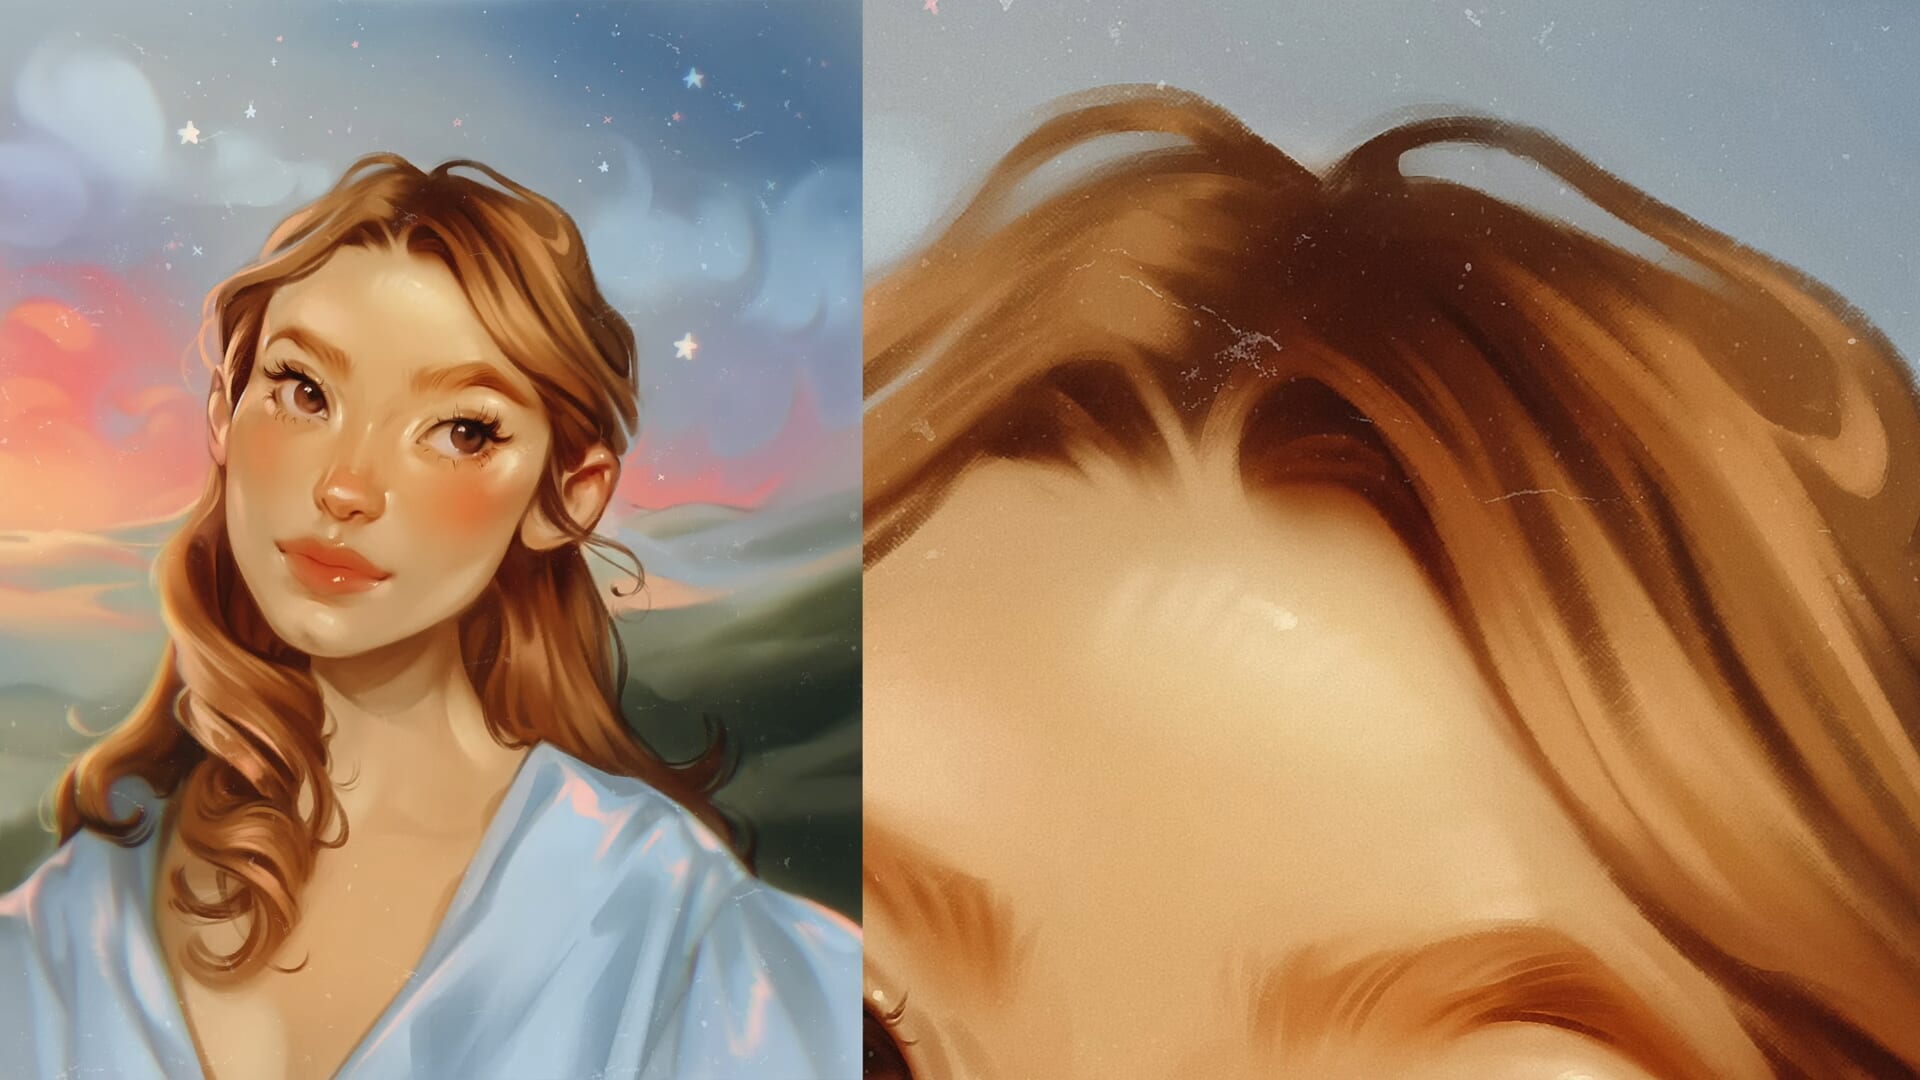
Something else to note is to thin the hairline around the face instead of giving it a blocky shape.
This is one of my favorite details to look back on when I’m looking at my previous paintings.
Dealing with “Same Face Syndrome” criticism
Lastly, let’s talk about “same face syndrome”.
I’m gonna be honest with you, this is something that I consider super rude that people will say to artists, this is what people used to say to me and I think it’s a terrible critique.
I’ve been there, apparently, people have told me that I used to have “same face syndrome”.
I don’t see it, but people said it to me
Constructive critique can look like:
-
- “Would you consider drawing a character with a different ethnicity to tell the same story?”
- “Would you try painting with a different color palette, or different textures to the face?”
- “Could you draw a character with thinner lips or downturned eyes or a broader nose?”
These are great ways to encourage someone to draw something different in their style.
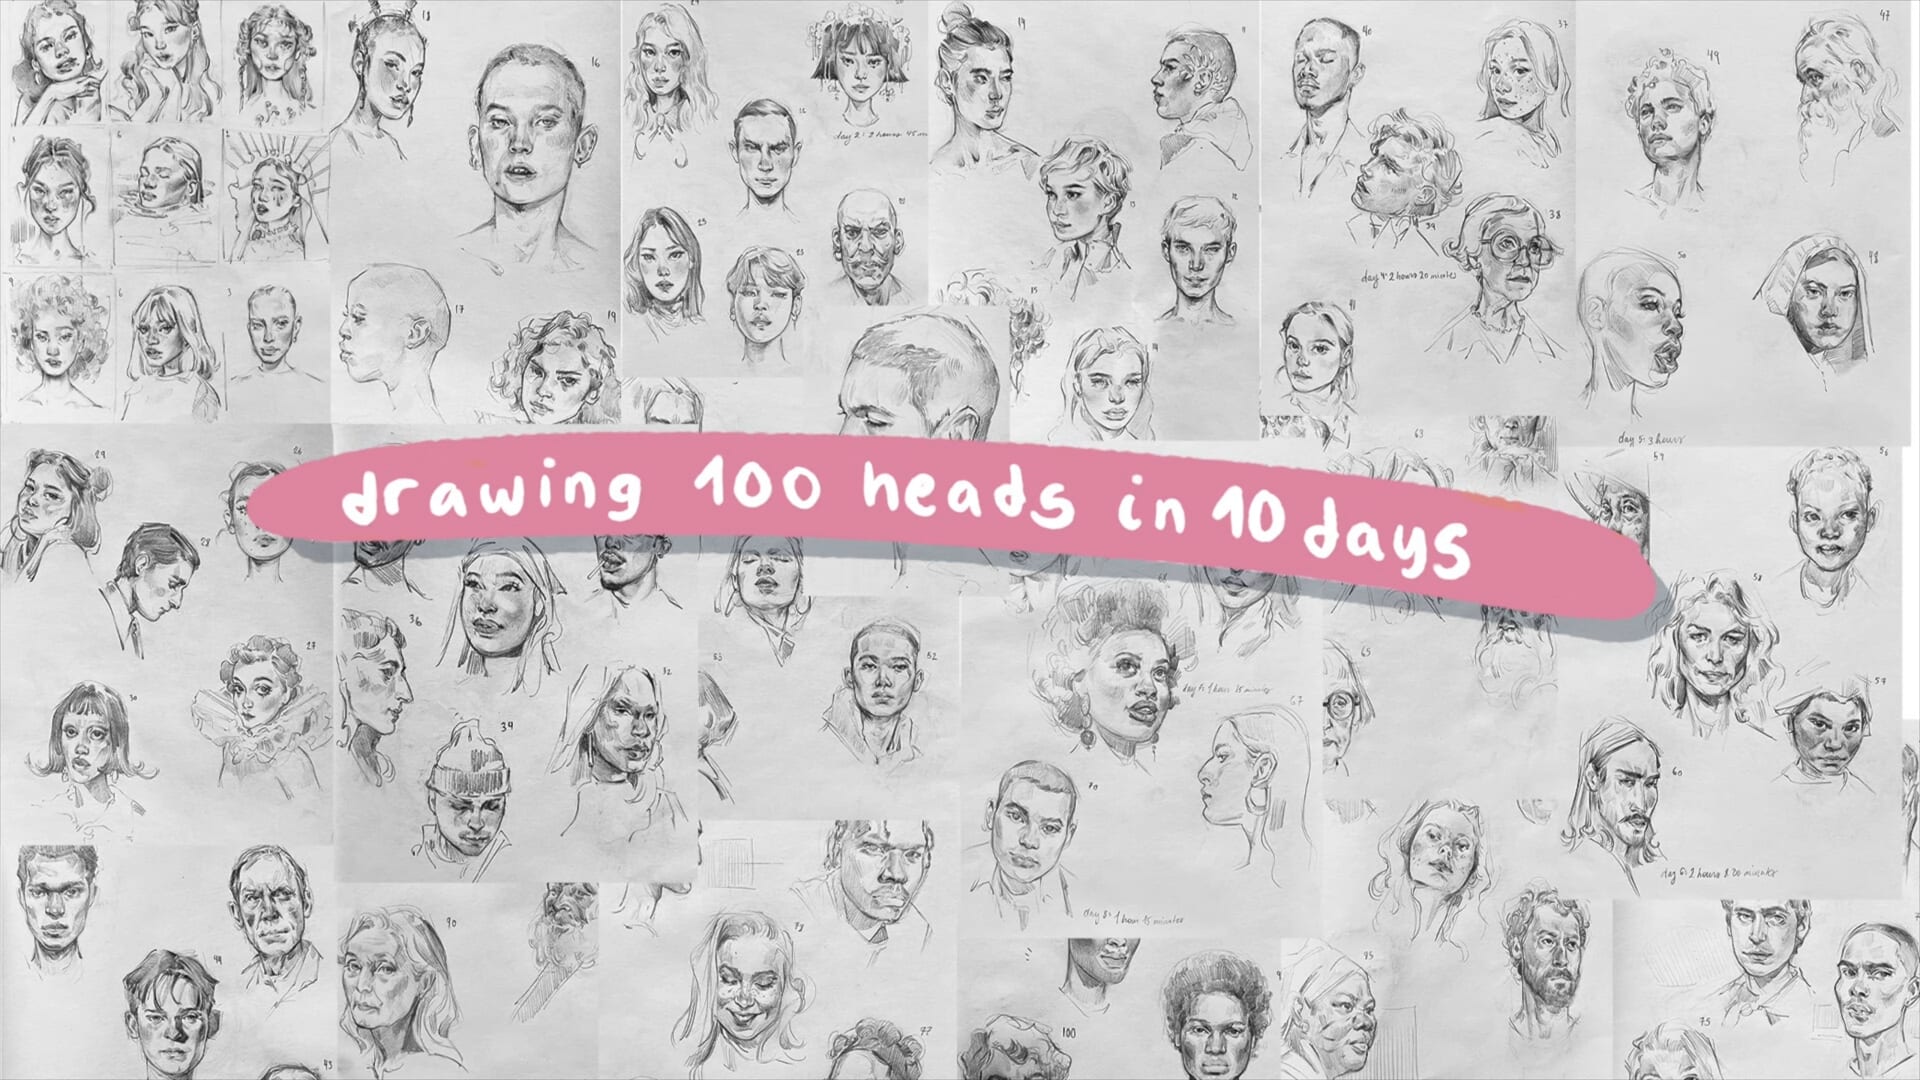
Practice Recommendation
There were several ways that I pushed myself to draw different characters, one of those was by working on the hundred heads challenge!
I love that video, it was a lot of work but I’m very proud of my growth and what I learned in it. I recommend this for you, if you are struggling with “same face syndrome”.
You can find the video here.
Learning to draw features
Another way that I pushed myself, was by hyper focusing on learning to draw specific features. Such as monolid eyes or broad noses or specific hair types.
This means dedicating a lot of time back to back to learning to draw these features.
It’s not going to come naturally to you, unless you have these features yourself.
I mean there’s a reason that so many people say my drawings look like me, it’s because I spend the most time looking at myself in the mirror and am so comfortable with my own face that I subconsciously incorporate these facial features into my subject matter.
The way to be pushing yourself and to learn how to draw these features is by hyper focusing on learning to draw them.
Try to pin or find photos of characters with specifically monolid eyes and try to paint them over and over, until you have an understanding of the way that the skin moves and 3D shapes work with each other.
My last tip, which is kind of crazy, for learning how to draw specific facial features is when studying these features, go out of your way to exaggerate these features.
This sounds wrong, like it could be stereotypical, but it’s something I had to learn the hard way.
For me, it’s pushed me out of my comfort zone and created an obvious change in growth.
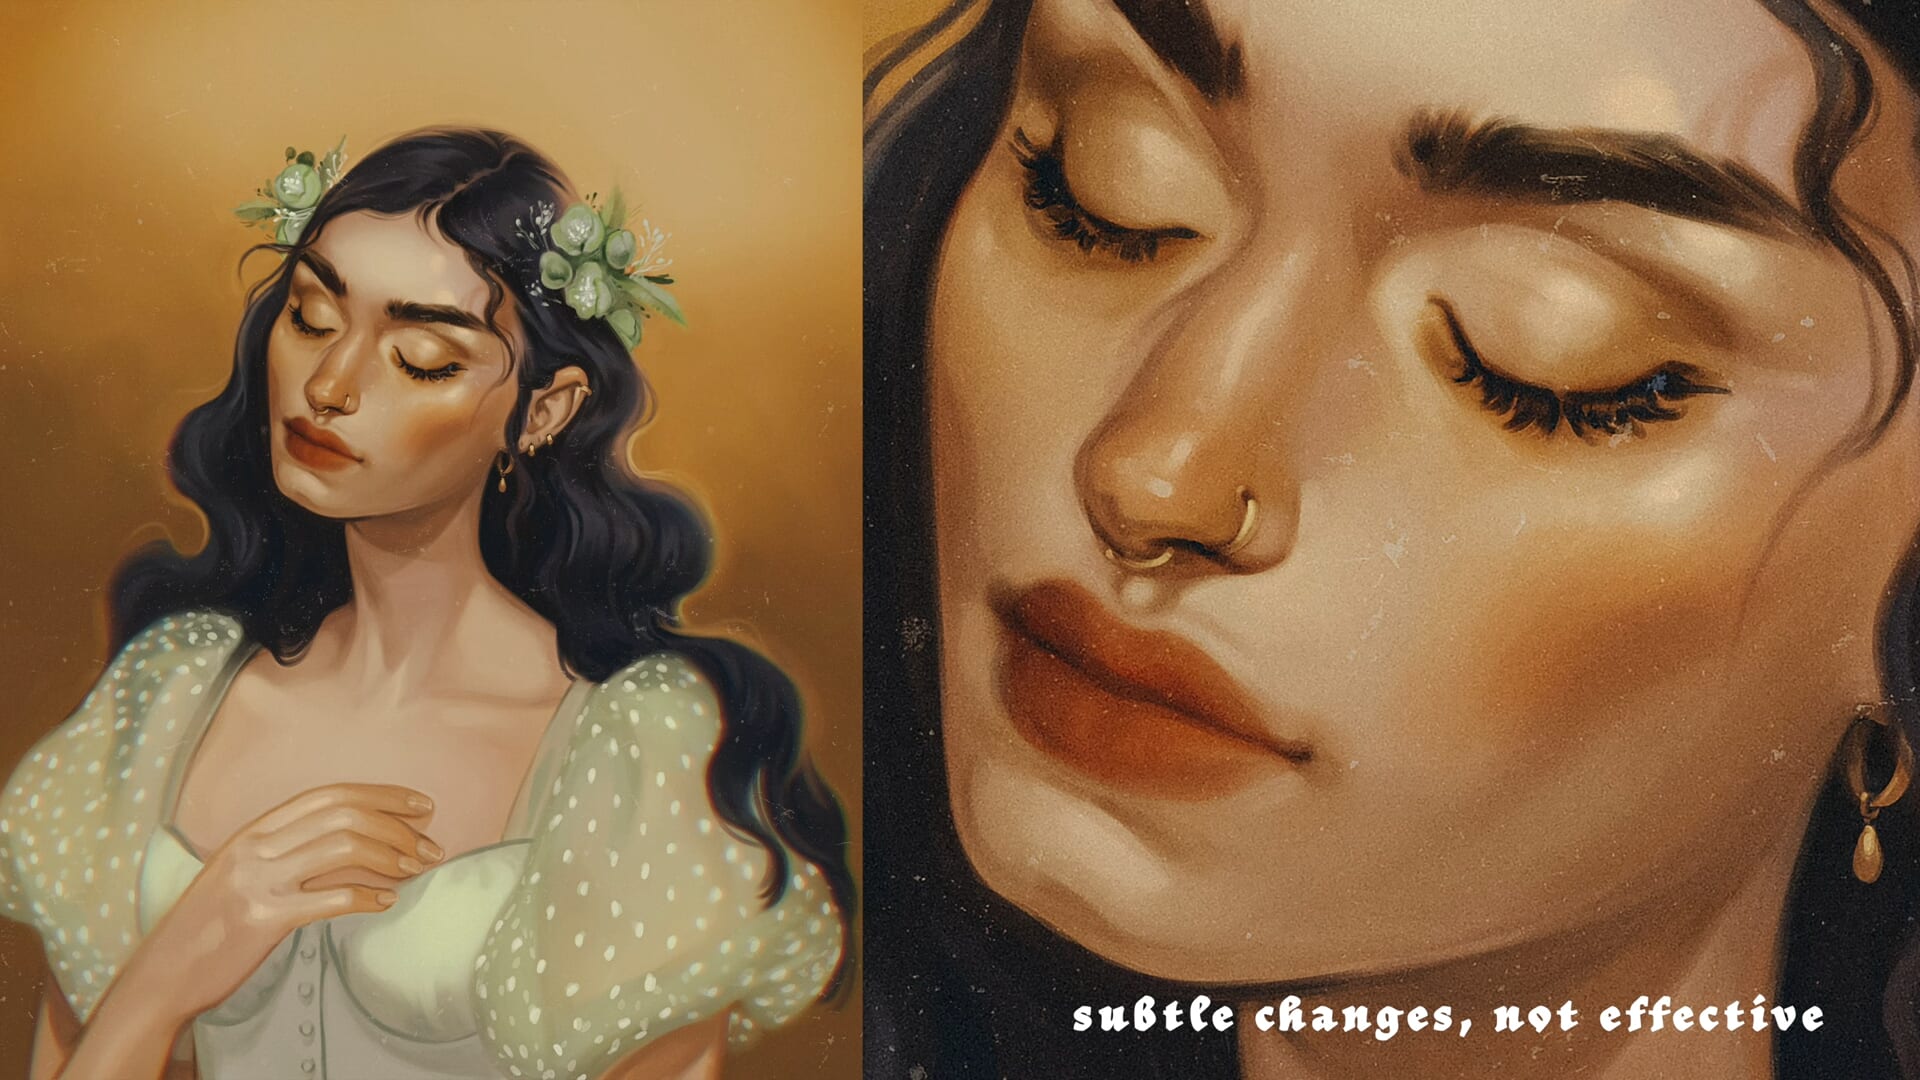
I used to try to subtly paint these features in my subject matter and it wasn’t enough.
I wasn’t straying far enough from what I know and paint usually, to actually see a change.
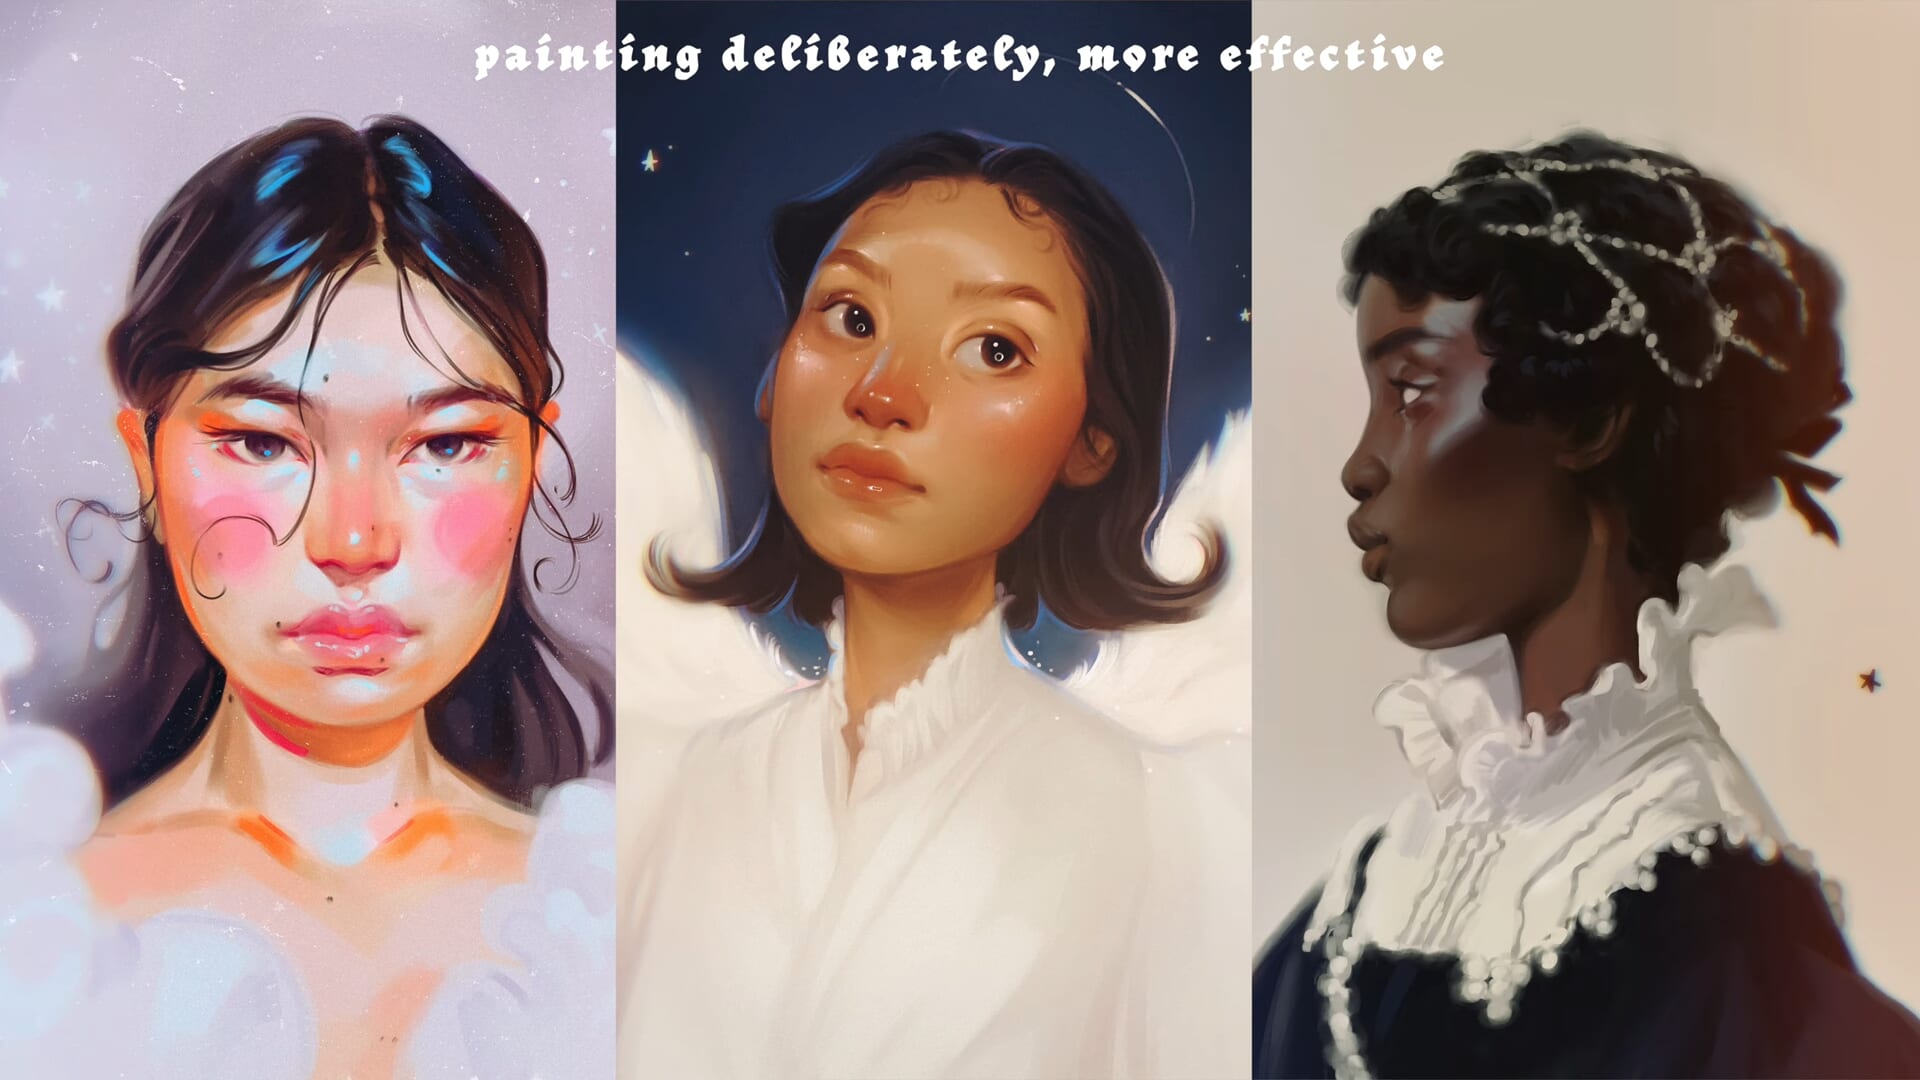
I am so proud of the growth that I have made so far in learning to paint different ethnicities, and I really hope to continue growing in this skill.
It’s something that you have to work hard at, and you have to focus on.
It’s not easy, but it’s definitely rewarding.
Because I feel like my art has drastically improved since I’ve started putting this work in.
Conclusion
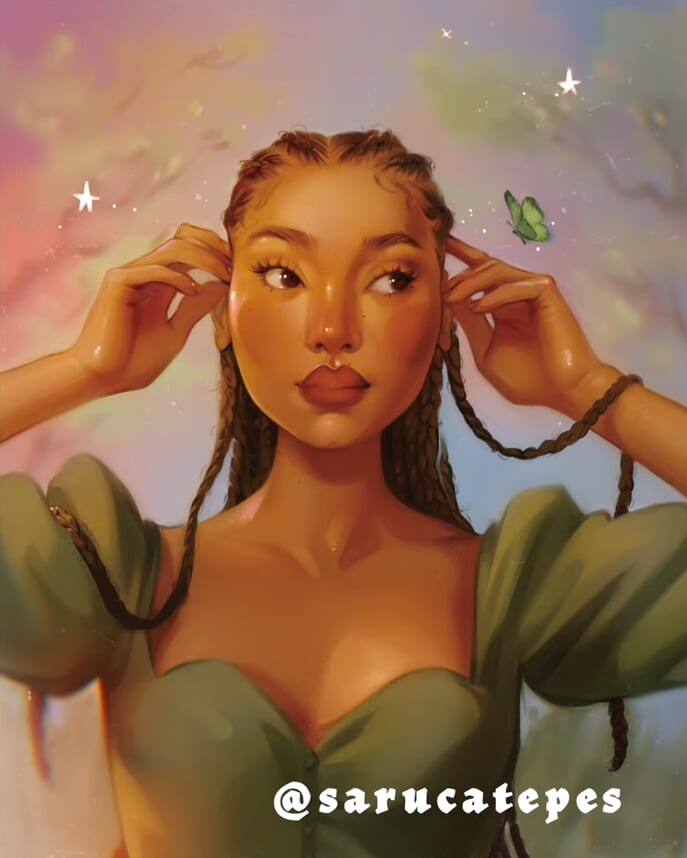
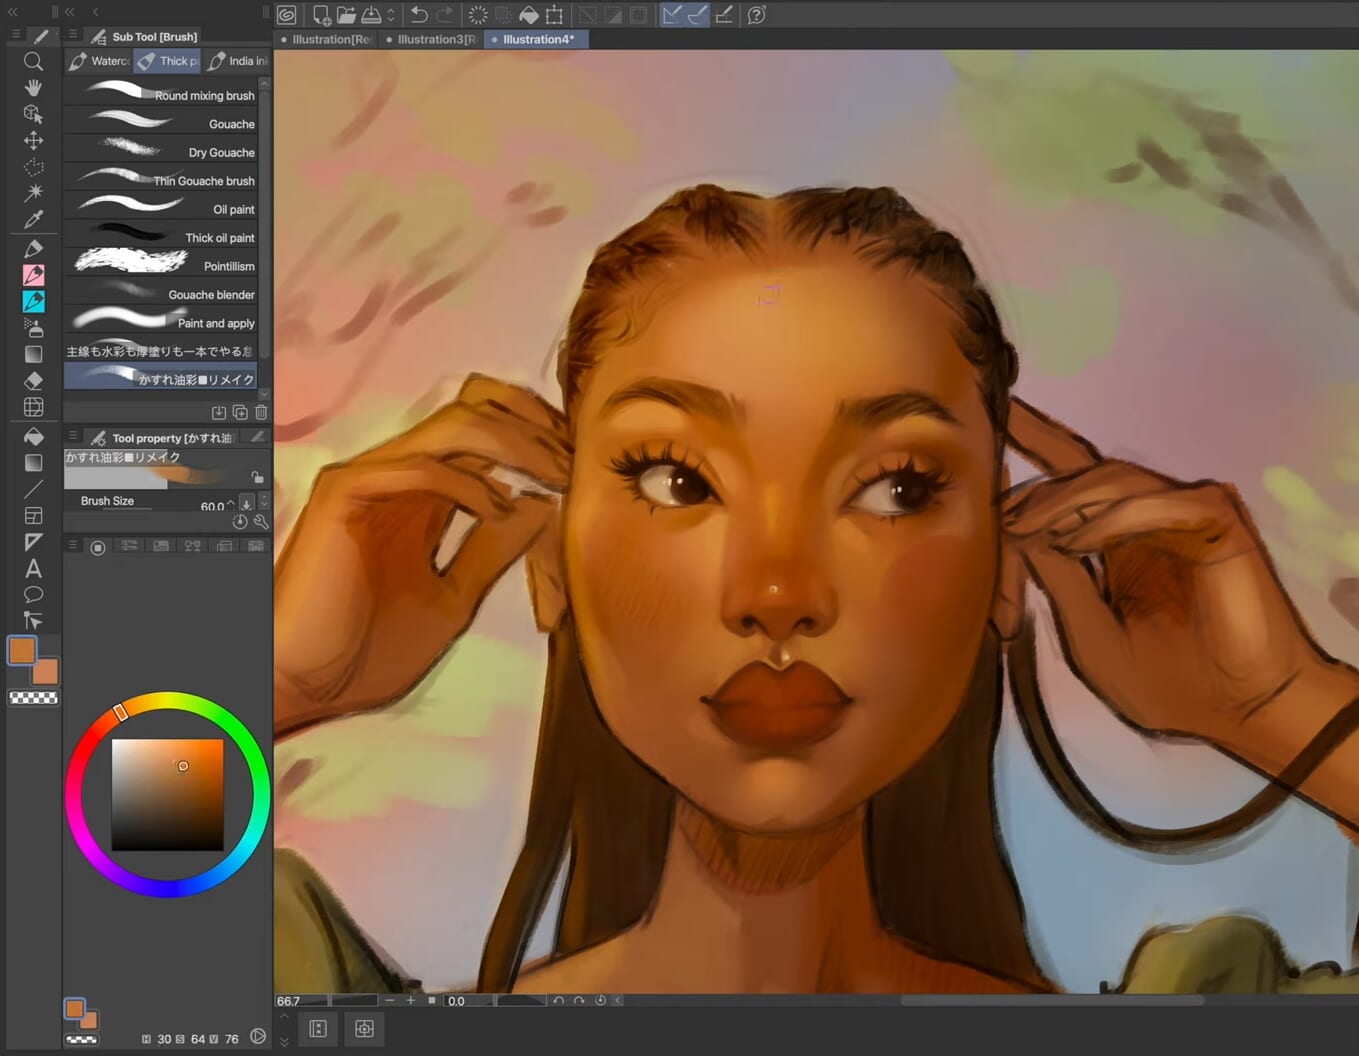
I hope that being able to hear my thought process when I am painting the female face has helped you. While seeing me implement these specific tips in today’s painting.
This painting took me a total of six and a half hours to paint, and I am so happy with my progress. As I have been spending more and more time planning out my paintings and executing them with many details.
I think one of the standout parts of this painting for me is the braids, and the way that they cascade across her shoulders and how there’s a weight to them.
If you enjoy this tutorial and hearing my tips, I invite you to give the video linked at the top of the article a link and to subscribe to my YouTube channel.
I hope you have a great rest of your day and let me know if any of these tips were helpful to you. Bye!
Artist Profile – Sara Tepes
Sara is a freelance illustrator, who works with digital and traditional mediums and shares her thoughts and tips for creating art with her followers.
YouTube: SaraTepes
Homepage: sarucateoes.com
Instagram: sarucatepes
Pinterest: sarahandaric
Recommended Tutorials
Push your face drawings further with these tutorials!
Learn more about drawing expressive faces:
https://www.clipstudio.net/how-to-draw/archives/157239
Learn about shading techniques:
https://www.clipstudio.net/how-to-draw/archives/165400
Learn more about coloring skin: